When you click on links to various merchants on this site and make a purchase, this can result in this site earning a commission. Affiliate programs and affiliations include, but are not limited to, the eBay Partner Network.
About to replace right cv axle and I've got manual transmission. Does the transmission need to be in neutral during cv axle replacement or it doesn't matter? Thanks for helping out!
About to replace right cv axle and I've got manual transmission. Does the transmission need to be in neutral during cv axle replacement or it doesn't matter? Thanks for helping out!
I did this job 26 months ago and I guess I am embarrassed that I don't remember worrying about that at all. But I just blindly followed Mod MINI's video to do the work. If he says to put it in neutral, then I did (but I don't think so). But I have not re-watched it...
I did this job 26 months ago and I guess I am embarrassed that I don't remember worrying about that at all. But I just blindly followed Mod MINI's video to do the work. If he says to put it in neutral, then I did (but I don't think so). But I have not re-watched it...
I do this for a living I can have the motor out in under a hour too
And I don't do this for a living! Do you work in the rust belt?
When I watch Mod MINI's videos of Pacific Northwest based cars, I know I have to add an extra time factor for all of the corrosion cars experience in the Midwest/Northeast. I grew up working on cars on the west coast; moving East was an eye opener.
Last edited by WhoHasGotTheBlueS; 11-14-2023 at 05:38 PM.
Yes I am in Wisconsin. Luckily all the R53's I work on are summer only cars dont see salt/brine and come apart like they did when new. That being said I also worked for local Ford dealer for 20 years so I get it lol. But Even Kurt in Washington aka Mod Mini can yank a engine in a hour. Just takes skill/experience and correct tools. I know every bolt size etc so again just experience. You get the hang of stuff and mini is really crazy simple to work on.
I was more or less saying that at most shop time in alldata is a hour for the job so dont pay a shop more than a hour for the job. If they are saying more they suck and are lying about labor rates in all data which is industry standard for labor times when quoting.
I hear you. The CV axle took me longer for sure and there was certainly a learning curve. When I did the pass. side CV Axle, I rented a lift bay fully outfitted with tools--though not MINI specific--so it was my lack of experience and a car that has lived in the Northeast and driven year round for 21 years that caused it to take so long, I suppose.
I hear you. The CV axle took me longer for sure and there was certainly a learning curve. When I did the pass. side CV Axle, I rented a lift bay fully outfitted with tools--though not MINI specific--so it was my lack of experience and a car that has lived in the Northeast and driven year round for 21 years that caused it to take so long, I suppose.
Do you remember where you got the cv axle replacements from? I�m thinking of doing this over the winter.
How are they holding up? I�m also in RI
Last edited by allanrangell; 11-14-2023 at 07:16 PM.
Reason: Quote missing
Do you remember where you got the cv axle replacements from? I’m thinking of doing this over the winter.
How are they holding up?
I just looked in my records and confirmed it, and I'm sure I'll get grief for it. I used a Cardone CV axle from Rock Auto. To be clear, I did the passenger side only. I did a lot of work on the car then and the budget was thin. However, the part has been flawless so far, though I haven't put a ton of miles on the car in the last 26 months so really the jury is still out. At the time I had some remorse about not holding onto the OEM part to rebuild later, still wish I had held onto it even though I have no place to store it, but they say some things you have to let go...
Welp, ordered a replacement from rock auto. That didn't work. It fits the transmission but the bracket that holds the passenger axle is off laterally by centimeters.
Last edited by isk; 11-17-2023 at 02:23 PM.
Reason: added pic
You may need to pull off your old carrier bearing holder and put it on your new axle. I believe with a certain amount of tapping they should slide off. You'll have to take the axle back out, of course. When you do that compare to the old axle and make sure they are the same (splines and such) and then compare the carrier bearing to see if they are different. I'm guessing they will be. If not, the axle isn't in far enough or too far. The carrier bearing holder is transmission specific but many axle rebuilders/ builders just put on whatever they have not knowing that they are different. OEM ones have a number stamped on them, compare that to see if they are the same.
I decided to go ahead and rebuild my oem passenger axle after the replacement that I got from rock auto (gsp axle). The OEM axles are getting expensive. I lost 5 needle bearings on the tripod bearing during my first foray in boot replacement due to leakage and it has been a learning experience. I've only seen 1 website selling the tripod bearing 23 spline with the same specs as original. A gkn ....worth $80! I could buy a used OEM axle for that price in eBay.
I just need 5 needle bearings!!! After careful measurements. Found one on eBay for $8 with shipping
Use grease axle to "stick" those needle bearings to tripod body
The tricky part is sliding that ring on top of those needle bearings . First try , the bearings just went ...nope! Not gonna let you win ..so next best thing...zip tie them suckers!
Apply equal pressure on the ring by pushing the whole thing down on a hard surface. Just reverse the image from above . Remove the zip tie and it locks itself. Move the ring forward, backwards, rotate it, smooth?? On to the next step.
Pound the tripod bearing in the shaft via 24 mm socket. Don't hit them rings or else you go back to square one.
Attached your c clip , apply axle grease on half shaft carrier and above image. Use the replacement clips for boots. And tada, you've got your oem axle back.
Total cost around $22. ( Replacement boot and tripod needle bearings)
I wish I could rebuilt my wife's 06 MCS 6-spd driver side axle but I don't think that's going to work.
I ordered a set of Sneed4Speed axles. I don't want to put the cheap crap in. Even the rep from my typical parts online parts supplier was like "Do not buy the GSP version. Total trash."
Was told OEM and GKN are discontinued. I see a bunch of retailers have the passenger side but not the driver side. Wth.
Are these rebuilt OEM or rebadged Drive Shaft Store axles? Drive Shaft Store no longer lists the R53 (or any MINI for that matter) as an option on their site.
The lip that seats into the hub carrier was flaking off in my hand.
Last edited by LordOfTheFlies; 02-20-2024 at 12:22 PM.
Let us know how the SneedSpeeds work out for you = i.e: perfect match, direct fitment/no issues, carrier bearing included?
Axles seem to be a crap-shoot nowadays with some non OEM/aftermarkets and the ones that sell/claim OE "rebuilt".
Let us know how the SneedSpeeds work out for you = i.e: perfect match, direct fitment/no issues, carrier bearing included?
Axles seem to be a crap-shoot nowadays with some non OEM/aftermarkets and the ones that sell/claim OE "rebuilt".
79k!!!
No carrier bearing based on the pictures. Will confirm upon receipt.
The ohio salt belt makes them look like that also. Mine were really bad and the boots were split. I have seen them fuse to the wheel bearing and needed soaked with PB blaster overnight. Use a large sledge and bang they are out.
Alright so the Sneed4speed axles arrived in this condition and to make short story shorter I just returned them. The axle shaft was sticking out of the box and it's just a little embarassing. Whoever packed this shipment up did not know what they were doing. The inner joint actually popped out of the cup and I could not get it back in and was not going to mess with it and just returned both sides.
Come to find out Meyle (and GKN) make the outer spindle as a kit!!! What the heck? I have looked at that diagram on realoem multiple times but I just glossed over it like a dumb dumb.
So I ordered 2 of the Meyle spindles from FCPEuro.com and I'll just hold on to the axle pair when it's time for the GP (which could be any day).
Oem part equivalent of 3144980002 or 31607518261 and sku is MEY-3144980002.
Click below to get taken to the FCP site (no affiliation).
Rebooting the inner was WAY easier than I remember it the first time on the GP.....but since then I've done a lot more mechanical projects. I have not received the Meyle part yet. I hope it's ok. I know they are not the OE manufacturer (GKN is) but I've had their stuff in the past for other parts and they seemed fine. Anyone done this?
Will update - there was a c-clip on the end of the outer shaft that goes into the outer spindle as seen in the diagram below. I did not notice the inner clip (part#8 top left subdiagram below) when I took mine apart but maybe it flew off when I whacked the spindle off. I will have to search the garage floor.
Huh?
Smh.
One piece of crappy bubble wrap on one shaft, the other 3 shaft ends had NOTHING.
This is how you wrap a package - stuff the inside at the ends and tape the ever living crap out of it. I used almost an entire roll of 3m tape.
Taped securely so nothing jiggles inside at ALL. Zero movement.
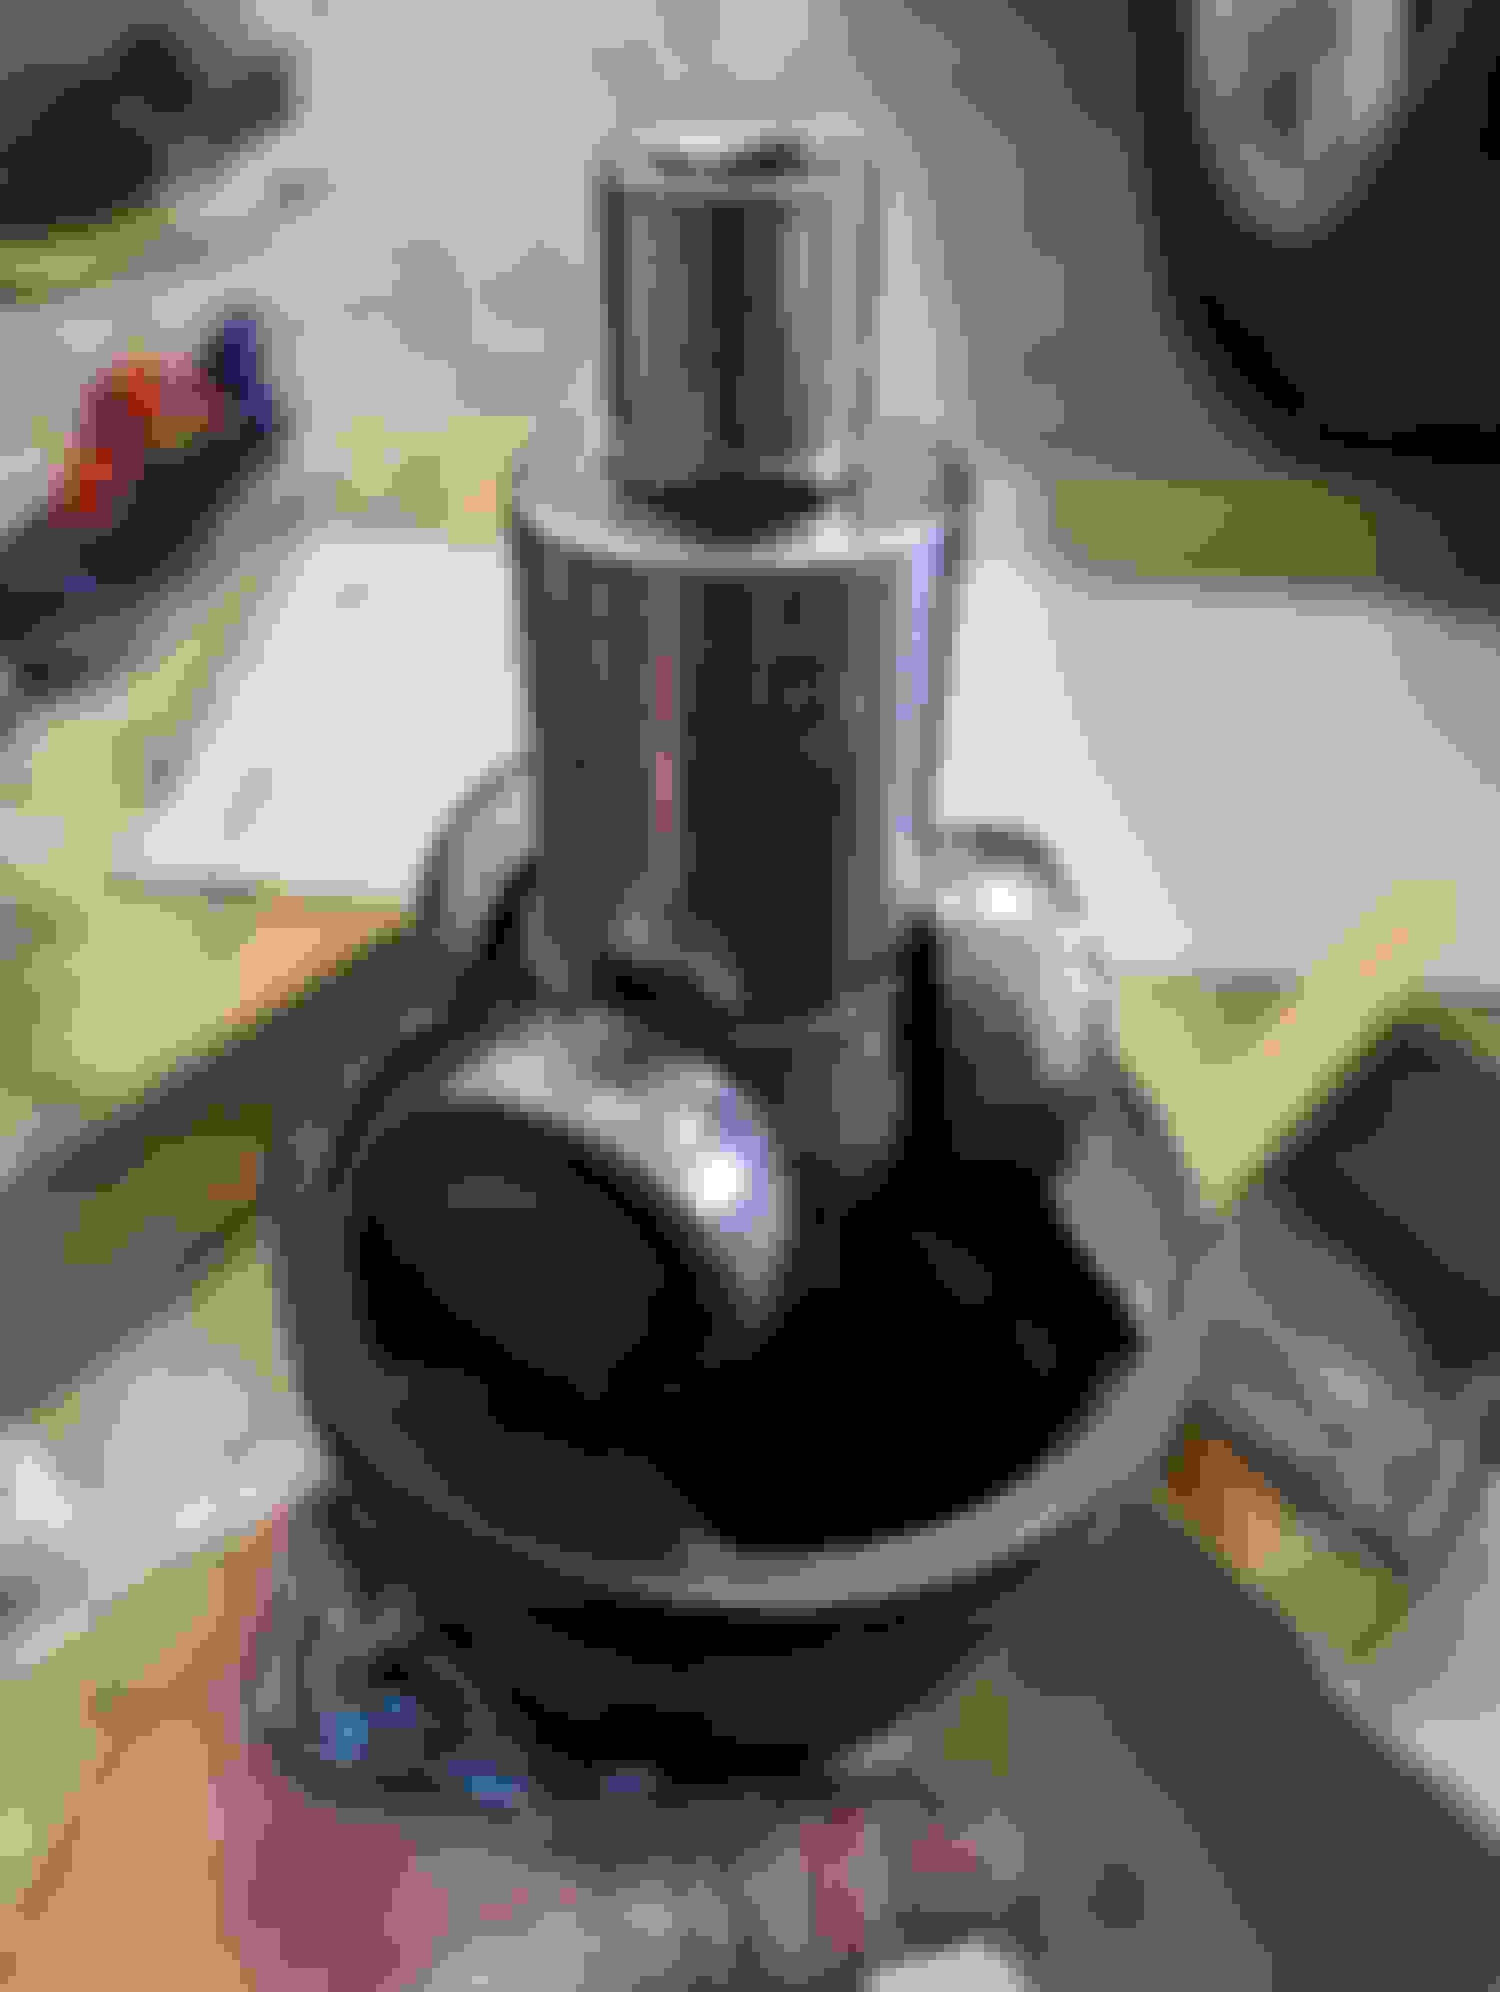
Axle shaft after you knock out the outer CV joint cup.
All cleaned up.
Shaft after scraping all the old paint off with a utility knife and hitting it with the wire wheel and some wd-40. nice and shiny. I'm not painting the center part of the shaft. FTS.
Set it in my 1930s Charles Parker vise and tapped the bearings back in. Popped right out after removing the c-clip. Was much easier than I remember when I rebooted the inner joint on my GP. I used a 22mm deep impact to tap it back in.
Filled with grease and clamped up. Used both packets that came in the GKN boot kit.
ERRRRRR........ Let's look at that diagram more carefully. What are those "dustcover plates" #5 and #7 on the driver side (passenger side has part #5 as well but they label it as #6 on the diagram).
Given that the outer spindle looked completely trashed it would appear that I need to replace these as well. However, I searched here for part # 31607572698 and 31607572701 and got zero posts. What the?
Here is a picture of the part ending in 698.
Last edited by LordOfTheFlies; 02-29-2024 at 01:59 PM.
I just looked at the hub and did not see any evidence of the dustcover plate. Anyone which direction they should go?
You can see the wheel speed sensor was getting chewed into presumably by the rusted lip of either the spindle or said dustcover plate! I don't recall seeing a groove there when I replaced one on my GP but I could be wrong.

 11-14-2023, 01:58 PM


 I can have the motor out in under a hour too