When you click on links to various merchants on this site and make a purchase, this can result in this site earning a commission. Affiliate programs and affiliations include, but are not limited to, the eBay Partner Network.
Lukas, did you use some heat and a bfh on that tie rod?
Yes to heat, not sure what bfh is but I'm guessing a big f... hammer? Then yes, I used a hammer to try to break the rust bond. I'm guessing the 18 years of rust made it like welded together.
The sad part is, the nut and ring came lose, its just the tie rod threaded end into the part that threads into the steering rack. It allows only for a 13mm wrench, while the nut is 22mm and the tie rod itself 19mm. Also soaked it in Liquid Moly Rust Resolver.
I'll give it another try tomorrow!
Ahh, so the joint between the tie rod end and the inner tie rod. More times than not I've had to use vice grips with curved jaws, LOTs of clamping force and heat from a mapp gas torch. They can be really frustrating. The bfh with another bfh on the opposite side of the shaft to shock it a few times. And more heat... I feel your pain.
So I had another go to no avail, the tie rods are seized solid. Therefore I decided to just order new inner and outer tie rods for both ends, with new boots. Together with some other various bits that I needed like hoses and a tensioner pulley.
After the tie rod I changed focus to the lower control arm bushes which were completely shot. I really don't understand how this got past the Dutch version of an MOT (yearly safety check)
I had these bushes laying around from when I did my steering/bushes/joints refresh on my R53 earlier this year. They were in very got shape so I "only needed to transfer them" I remember getting the bushes on the arms was a pain in the butt last time. I used the hilly billy trick where you use the chassis leg as a press and boy that was nearly a big accident as the car moved off its axel stand. Luckily it didn't fell and the other 3 took the weight. So this time around I went for a trick of my own using a ratchet strap, which worked way better.
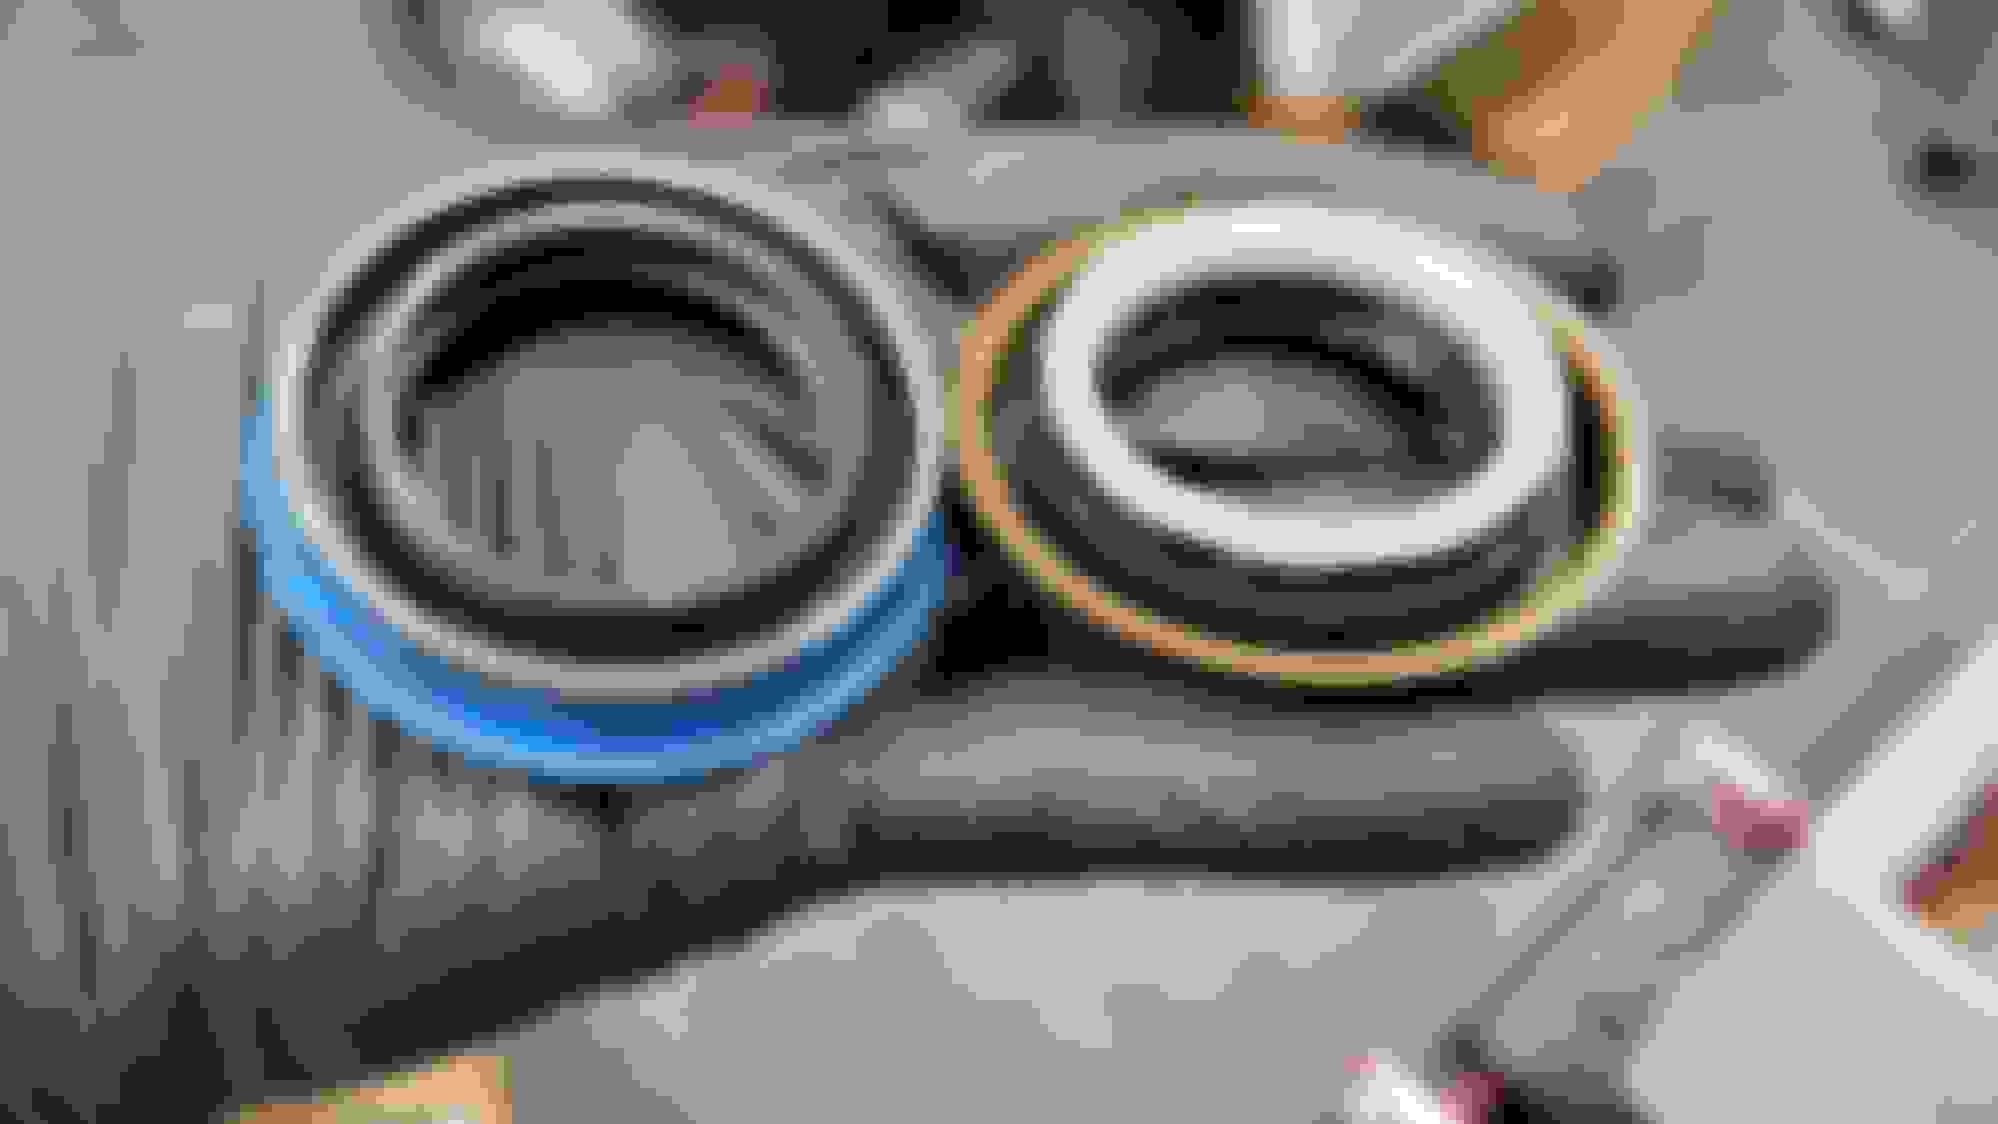
Enough waffling, picture time: Seized solid Before You know a joint is bad when it sits lower in the middle then on the side This one is fine but I don't like replacing just one side when it comes to steering, suspension and joints. Look at the state of that. Both sides were completely torn and knackered. Tools to get the bush off. New one halfway on, just by using my body weight which is only 68kg To "press them on" I used WD40 and a ratchet strap Its all the way on. Yes that gap is as it should be Flush on this side All back on and torqued up. 165nm!! for the control arm bushes onto the subframe Surely I am not the only one who has printed out a list of all the bolt torque values and stick them up in the garage?
I ordered a workshop press which I can pick up this Wednesday. Then I can finally continue on the gearbox. Want to check the shafts out for wear and pitting before I order a new bearing kit.
Surely I am not the only one who has printed out a list of all the bolt torque values and stick them up in the garage?
Ummmm - no?
I do pretty well with “calibrated arm” torque for most things. Except wheel bolts. One of the few things on the car if it is not right, it might kill you.
As I am in a bit of a parts hold I went ahead and thought I could quickly do the break discs and pads. Well I was wrong, only got to doing the front right this evening. Cleaning costs me quite a bit of time, the sliding pins weren't sliding to my liking. Turned out the hole was a bit rusted pushing the rubber boot just a tad inwards making the pin stick.
Pictures will tell the story: Before Quite a bit lip, discs are below spec at 18mm The inside wasn't pretty either The old pads had still some life left in them The rubber boot for the slide pin that was sticking The hole were the boot was, rusty, pushing the boot on the slide pin With a wire brush it cleaned up nicely Booth and pin are back in, greased up naturally New and old. The old were actually worn more than I initially thought! New and old All back together. So satisfying even if I just got to one instead of four brakes.
I also got the message today that my workshop press has arrived. I'm going to pick it up this Wednesday. Than I can finally press the shafts oit of the gearbox to check if they are pitted or not. If not than I will rebuild it with new bearings.
As I got my new workshop press I started to disassemble the gearbox. I found that one shaft has play, probably a bearing as I found some more metal shavings.
Didn't get to pressing both shafts out to assess the damage, will probably do that tomorrow. My garage is tiny, Mini's just fit so I had to be creative with space. This just about fits.
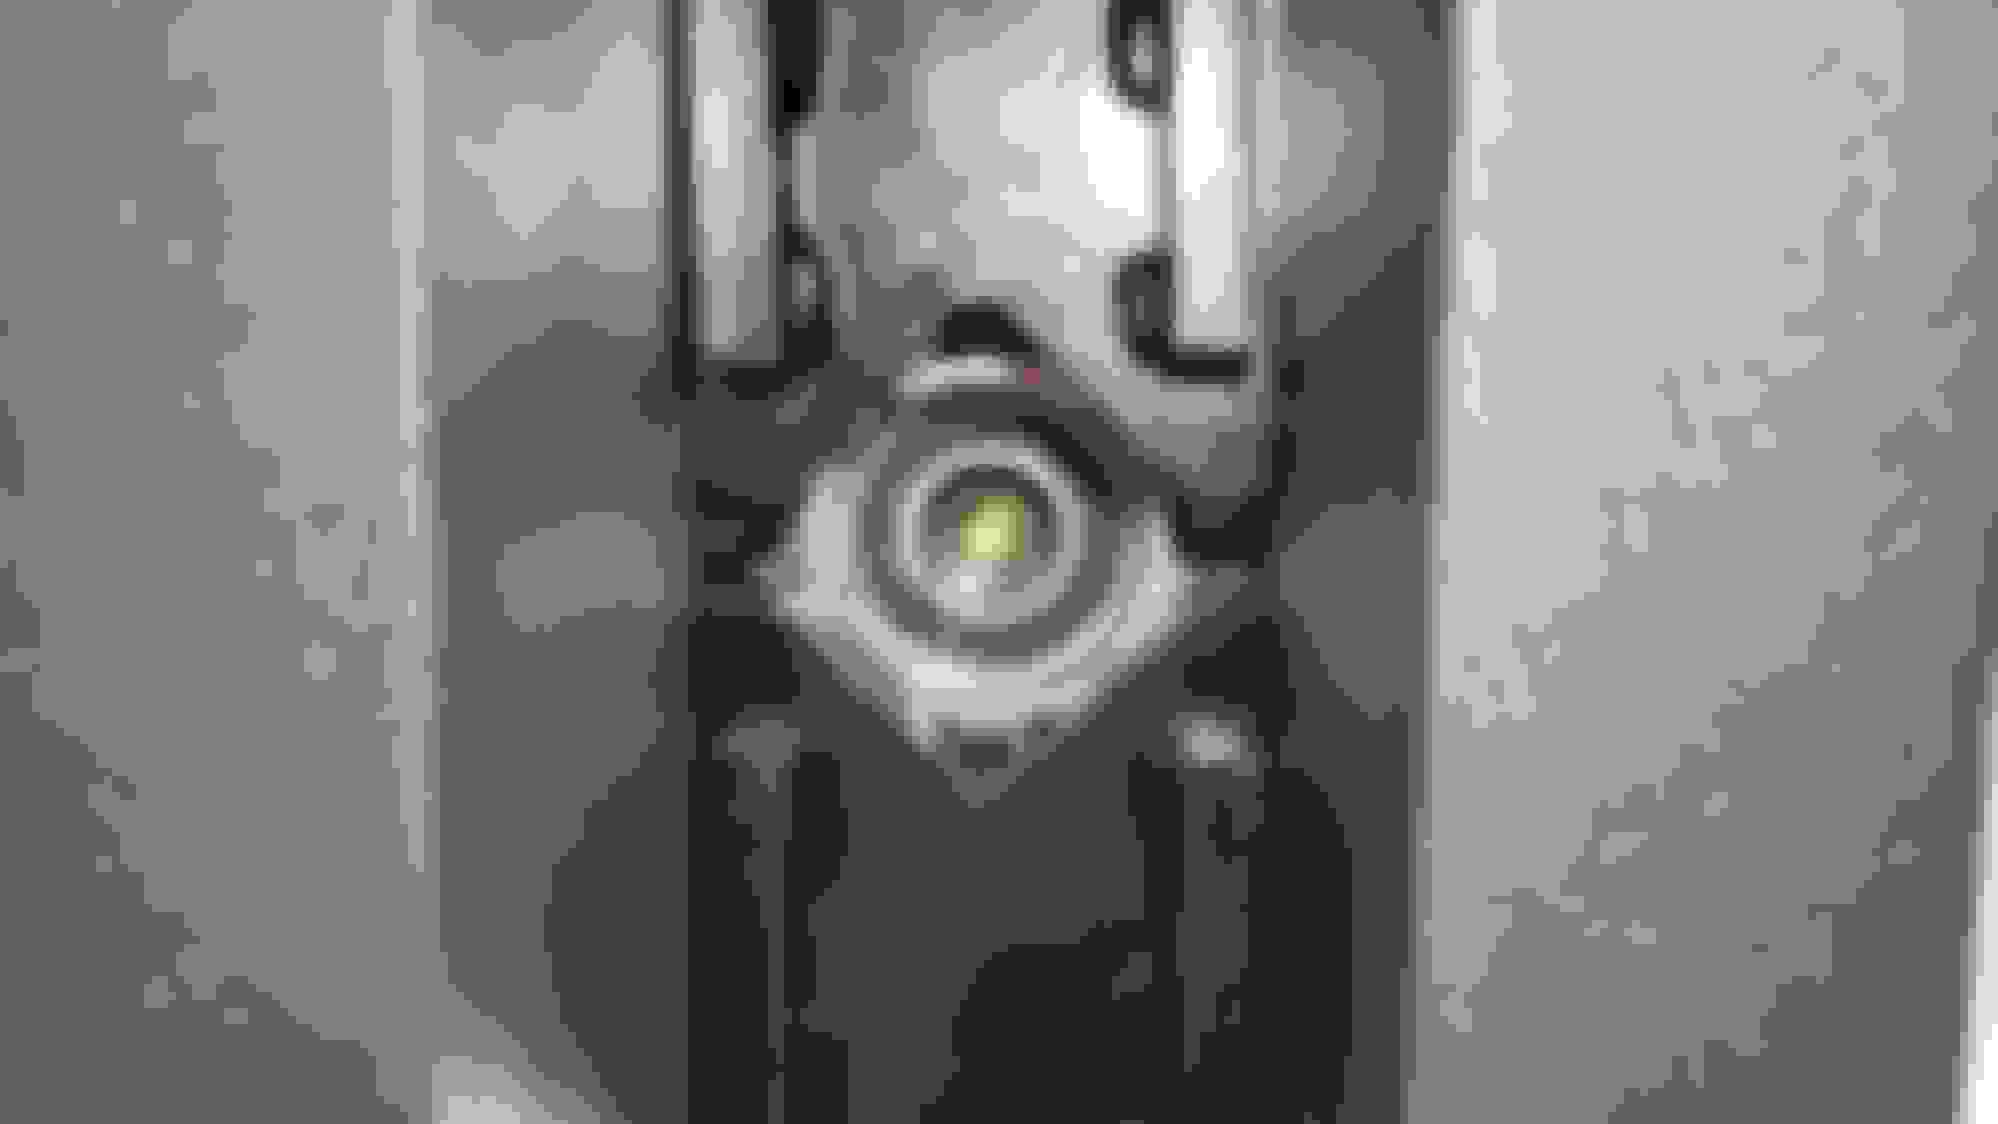
Took the end caps off which was way harder then expected Beneath the cap is an oil distributor thingy Below that is a bearing This one has play and shavings Taking the inner circlip off Taking the outer circlip off
Ball bearings? What keeps the oil inside? Not just that plastic cap I hope? I didn't see an o-ring...
Yes "just" that plastic cap. Its actually a plastic with metal inside cap. Like your rear main seal. Trust me that its more than capable of keeping oil inside as it took me about an hour to get them out.
I wanted to keep them in one piece but that was impossible. I also broke the tip of a flat head screwdriver when prying it out.
In the end I used a seal puller (the tool with two curved hooks on the head) to whip them out using a hole in the center.
There are actually no ball bearings in this gearbox, only bearings with rollers, not actual *****.
(excuse my English, it's not my native language)
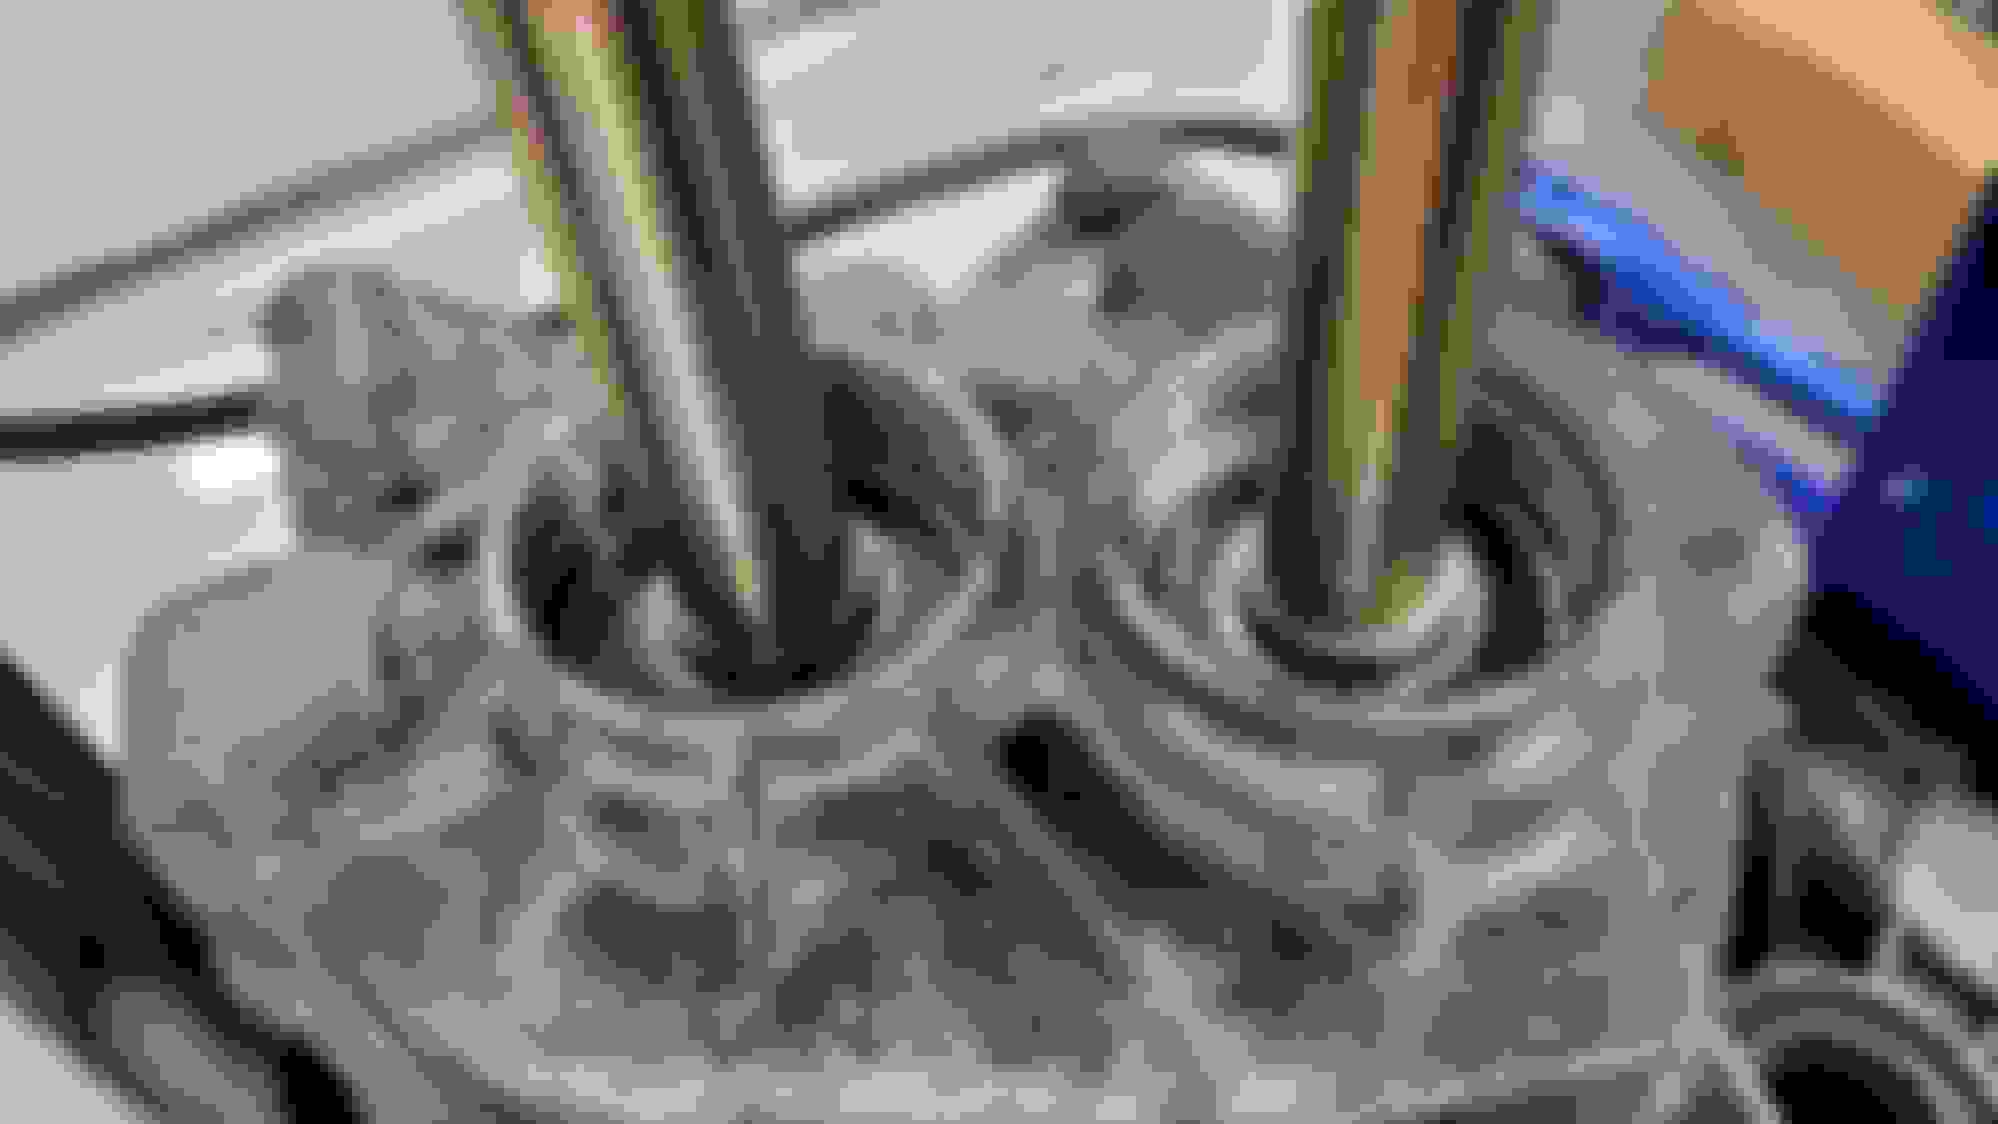
I pressed the shafts out of the gearbox. I was a bit nervous about it as you have to press out both shafts at the same time and then catch them so they don't hit the ground. To be fair it was quite easy, once I had a setup I was happy with. I basically had the gearbox on two hard wood posts, had two press pens with the same height and then layed a 1cm thick plate on top of it. The press could then press against that plate.
At first you hear some nasty pops and bangs and then slowly you press them out of the bearings while holding both shafts with one hand.
I inspected the shafts and luckily couldn't find any damage to them. So I just ordered a bearings kit for the 5 speed getrag. I won't be removing the bearings just yet as I want to press one out and right after press one back in. Otherwise I will never get the same gap/tolerance.
Luckily the (hopefully) final car parts batch arrived so I can fix the tie rods, replace the waterpump and some other stuff while I wait for the gearbox bearings.
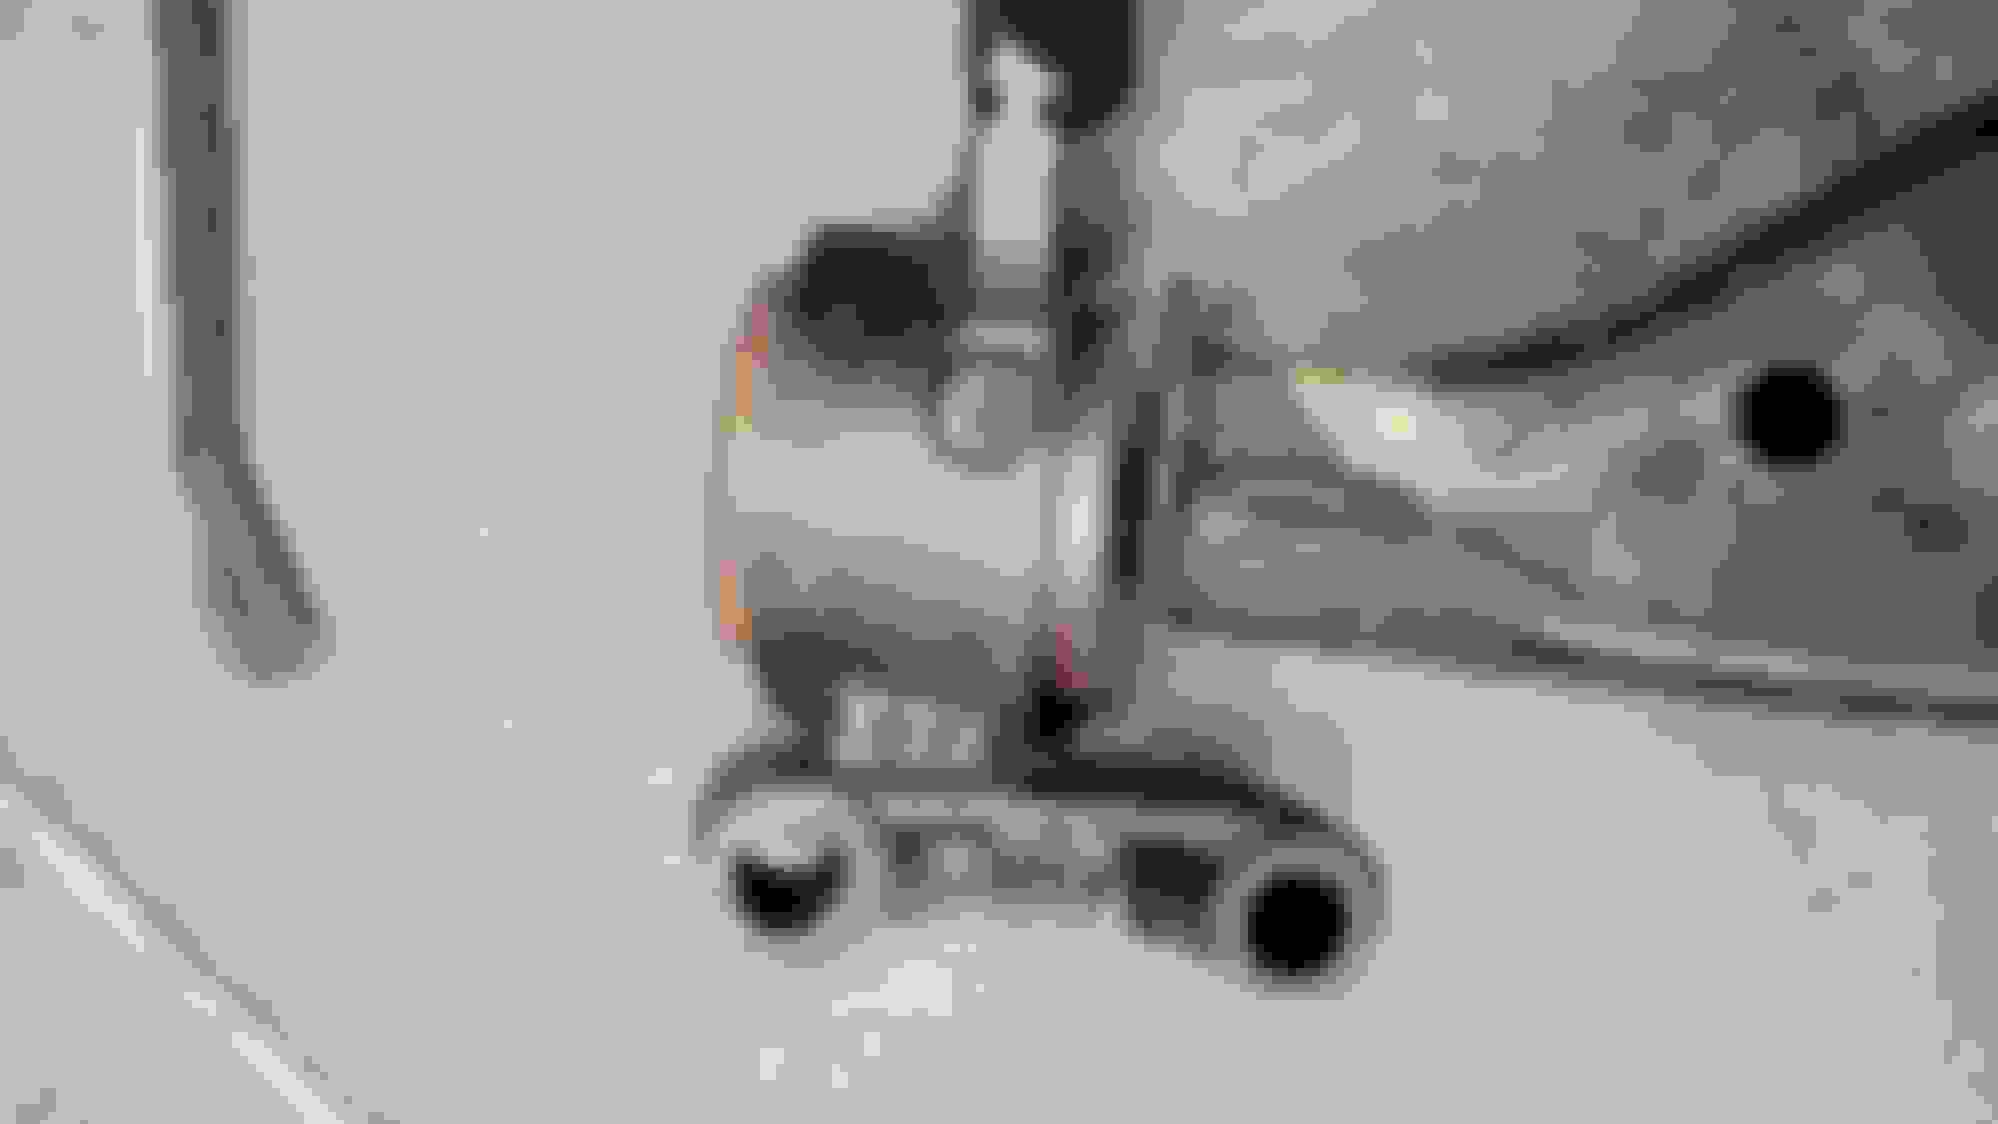
Enough waffling, picture time: Setup from the top Setup from the side Setup from below Press pens right onto the shafts, there wasn't much clearance but just enough And they are out, two shafts with three shifter forks Don't ask me which gears these are Shifter detached The case where the shafts were, these bearings will also need to be pressed out Parts! Two waterhoses, tie rods (inner and outer), boots for tie rods, boots and bumpstops for the shocks and tensioner pulley.
Wow.
Really enjoying following your progress.
Great pics!
Always wanted to see what the inner workings of these gear boxes were like.
I can now see/imagine why and what broke (shift fork(?)) from the "mechanic" not putting in enough (less than 1/2 qt) gear oil after a clutch replacement.
So, now you have to press both shafts back in at the same time?
I’m with H2G - Great pictures and explanation. I am impressed with the design. The shift forks look to be pretty substantial and a lot of mass to push around and yet the shifter in these cars is very light, with no hint of what they are doing.
Wow.
Really enjoying following your progress.
Great pics!
Always wanted to see what the inner workings of these gear boxes were like.
I can now see/imagine why and what broke (shift fork(?)) from the "mechanic" not putting in enough (less than 1/2 qt) gear oil after a clutch replacement.
I'm glad you like the pictures and are following the journey. This car is far from done so there's more to come.
Originally Posted by Eddie07S
So, now you have to press both shafts back in at the same time?
I�m with H2G - Great pictures and explanation. I am impressed with the design. The shift forks look to be pretty substantial and a lot of mass to push around and yet the shifter in these cars is very light, with no hint of what they are doing.
Yes both shafts will need to be pressed back in at the same time. That's going to be a challenge...
Today my mind was blown as I already received the bearing kit. I ordered it yesterday at 20:30 and it arrived today at 19:00. From France to The Netherlands, crossing two borders.
The parts seems right and here's something interesting; some parts seem to be from Mitsubishi.
Although the manufacturer is INA from Germany. Which makes me wonder if there are Mitsubishi's out there with a similar Getrag gearbox.
From left to right at the top: plastic rubber oil caps, engine side shaft bearings #1 and #2, diff bearings, other end shaft bearings. From left to right at the bottom: snap rings, oil spout #1 and #2, output shaft seal, axel seals
Original Mitsubishi, bearing itself states INA which is a German brand which makes some OEM parts for Mini.
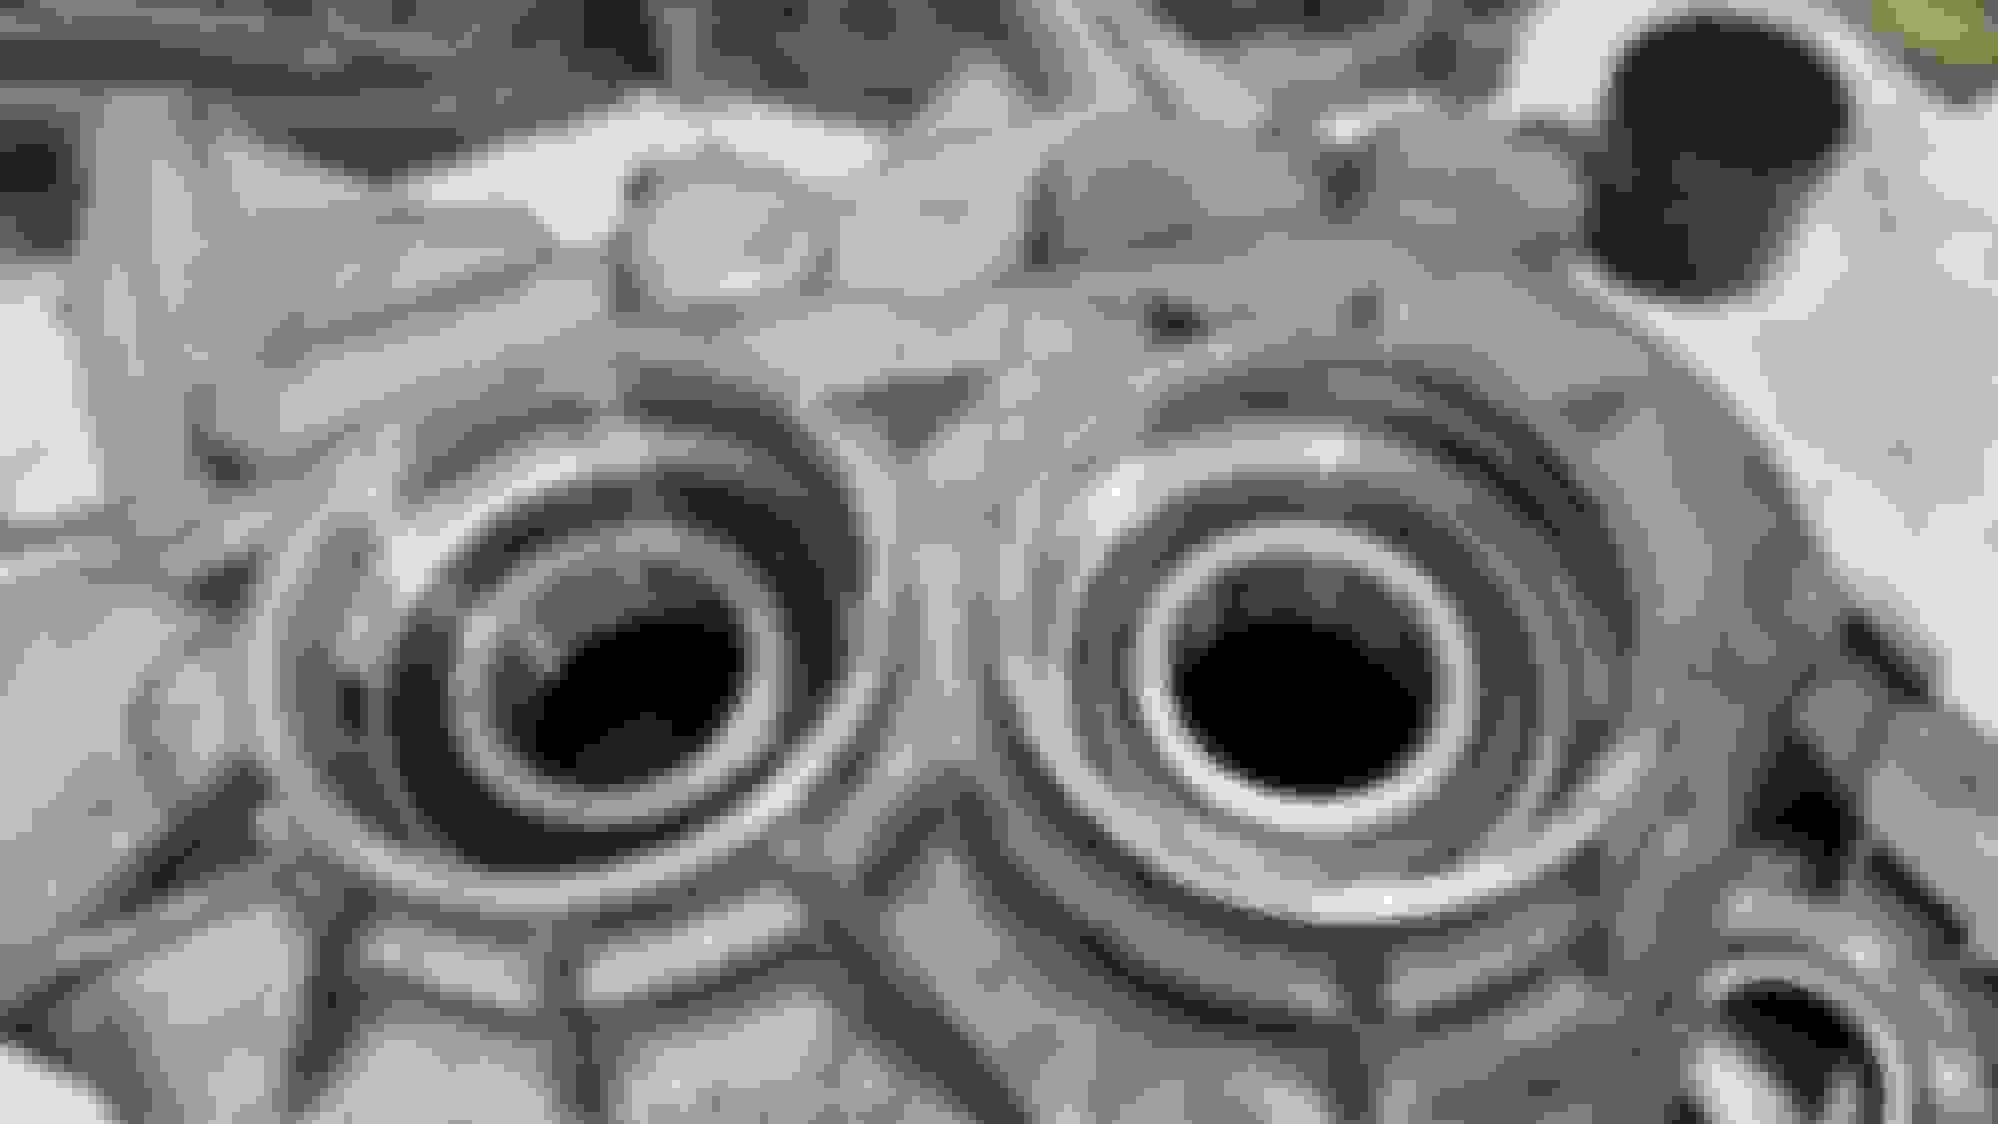
Haven't done too much, cleaned the inside of the gearbox and pulled both differential races. The gearbox looks amazing, like new, almost had to wear sunglasses.
Getting the races out wasn't too bad. There are two oil gulleys where a seal puller hook fits, I used a washer to spread the load as the gearbox is just aluminium. Worked like a charm if you take your time, just a thug left right left right etc and after 10 minutes it plops out.
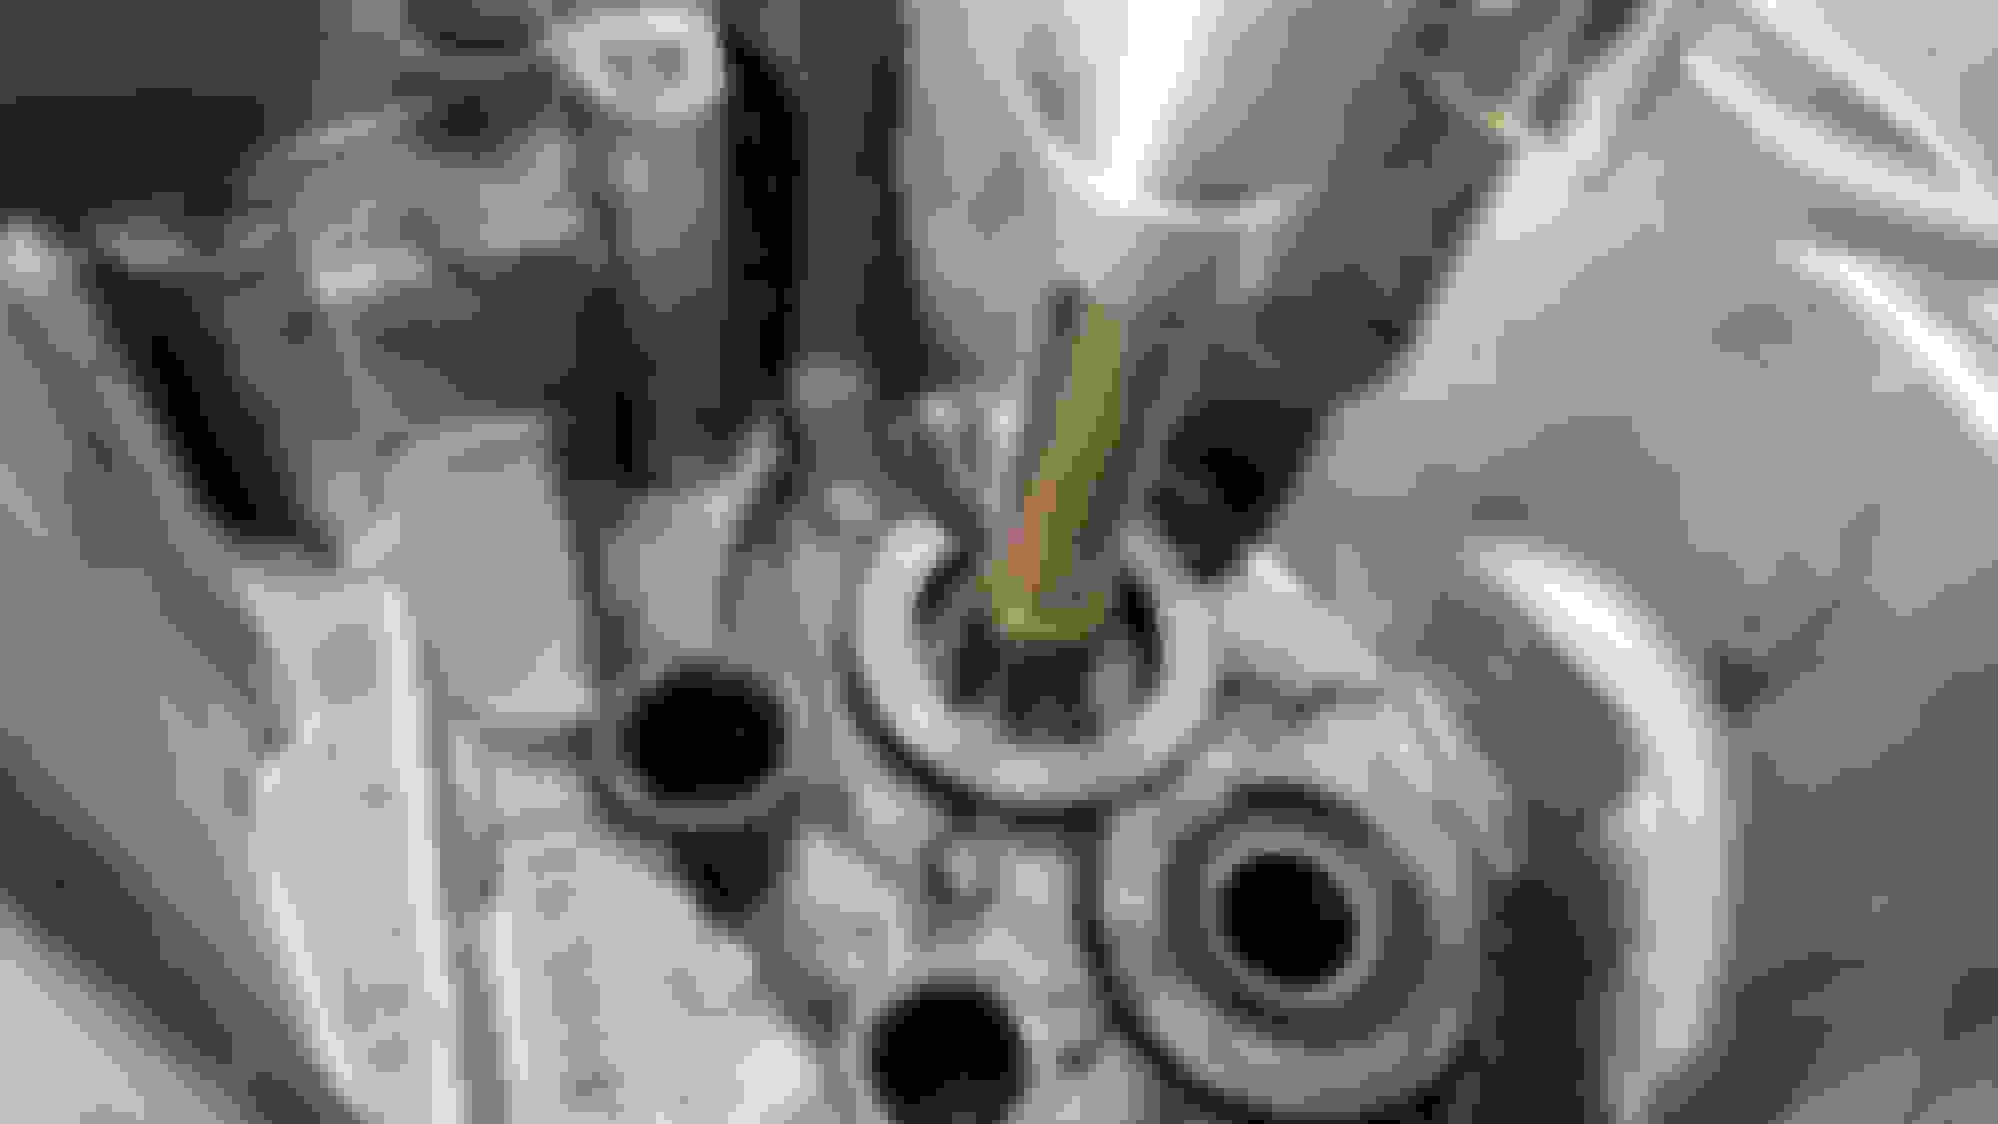
Pictures or it didn't happen. Before completely covered in what almost looks like a black coating Like new. Some day I'm getting a parts washer... The setup A couple of millimetres up Making progress Almost out And it's out
Would a little heat (eg: propane torch) on the shell around the bearing race help to get it out? Or help with re-inserting them?
During my research I never came across heat as an option. Mostly workshop press, bearing puller, bearing splitter, blind hole puller, hammer, chisel punch and a grinder.
I'm afraid I need to use all of them. I'm kinda wary for getting the bearings of the diff as the cage is plastic and it rips to pieces, leaving a inner race pressed onto a diff. A puller won't work because there is nothing to push against to as there is the hole for the axel. Most grind them off but that's my last resort as it's bound to leave collateral damage. It'll interesting for sure.
I have done the puller, hammer, punch, and seen oxy-actelene used to cut a race out. I can feel your pain.
I have followed a guy on YouTube who runs off road vehicles in Utah and when he is rebuilding something like a diff on an axle and needs to press a bearing onto a shaft he will heat the bearing a little bit (eg: sometimes setting it on a hot wood stove ) and usually it will just slide on. This is only a suggestion. Maybe try it with some “scrap” pieces if you have them. I also see some of your applications are to press a bearing into the housing. This is a bit different than putting a bearing on a shaft and the aluminum will suck the heat away from where you want it. So, it is only something to think about.
As for plastic races, that is a surprise. If the bearing and race are going to be destroyed anyway, a little heat on the diff housing around the bearing may make it easier to pull the bearing out or it might just drop out. Don’t know. Again I am just putting the idea out there for you to think about. I have used heat for other press fit applications, but not this. So, I can’t say it will work.
It's been a while as my R53 failed for it's yearly inspection because it had a small exhaust leak. Had to patch it up to get it passed. I ordered a new exhaust from eBay which should sound a lot better then stock.
On Monday me and my dad went to a junkyard which basically don't exists anymore in The Netherlands as it's all about recycling these says. I needed a front right shock and a battery box. Couldn't find one for a facelift Mini One but I found a Mini with Monroe shocks at the fronts so I decided to grab both and swap both shocks instead of just the leaky one.
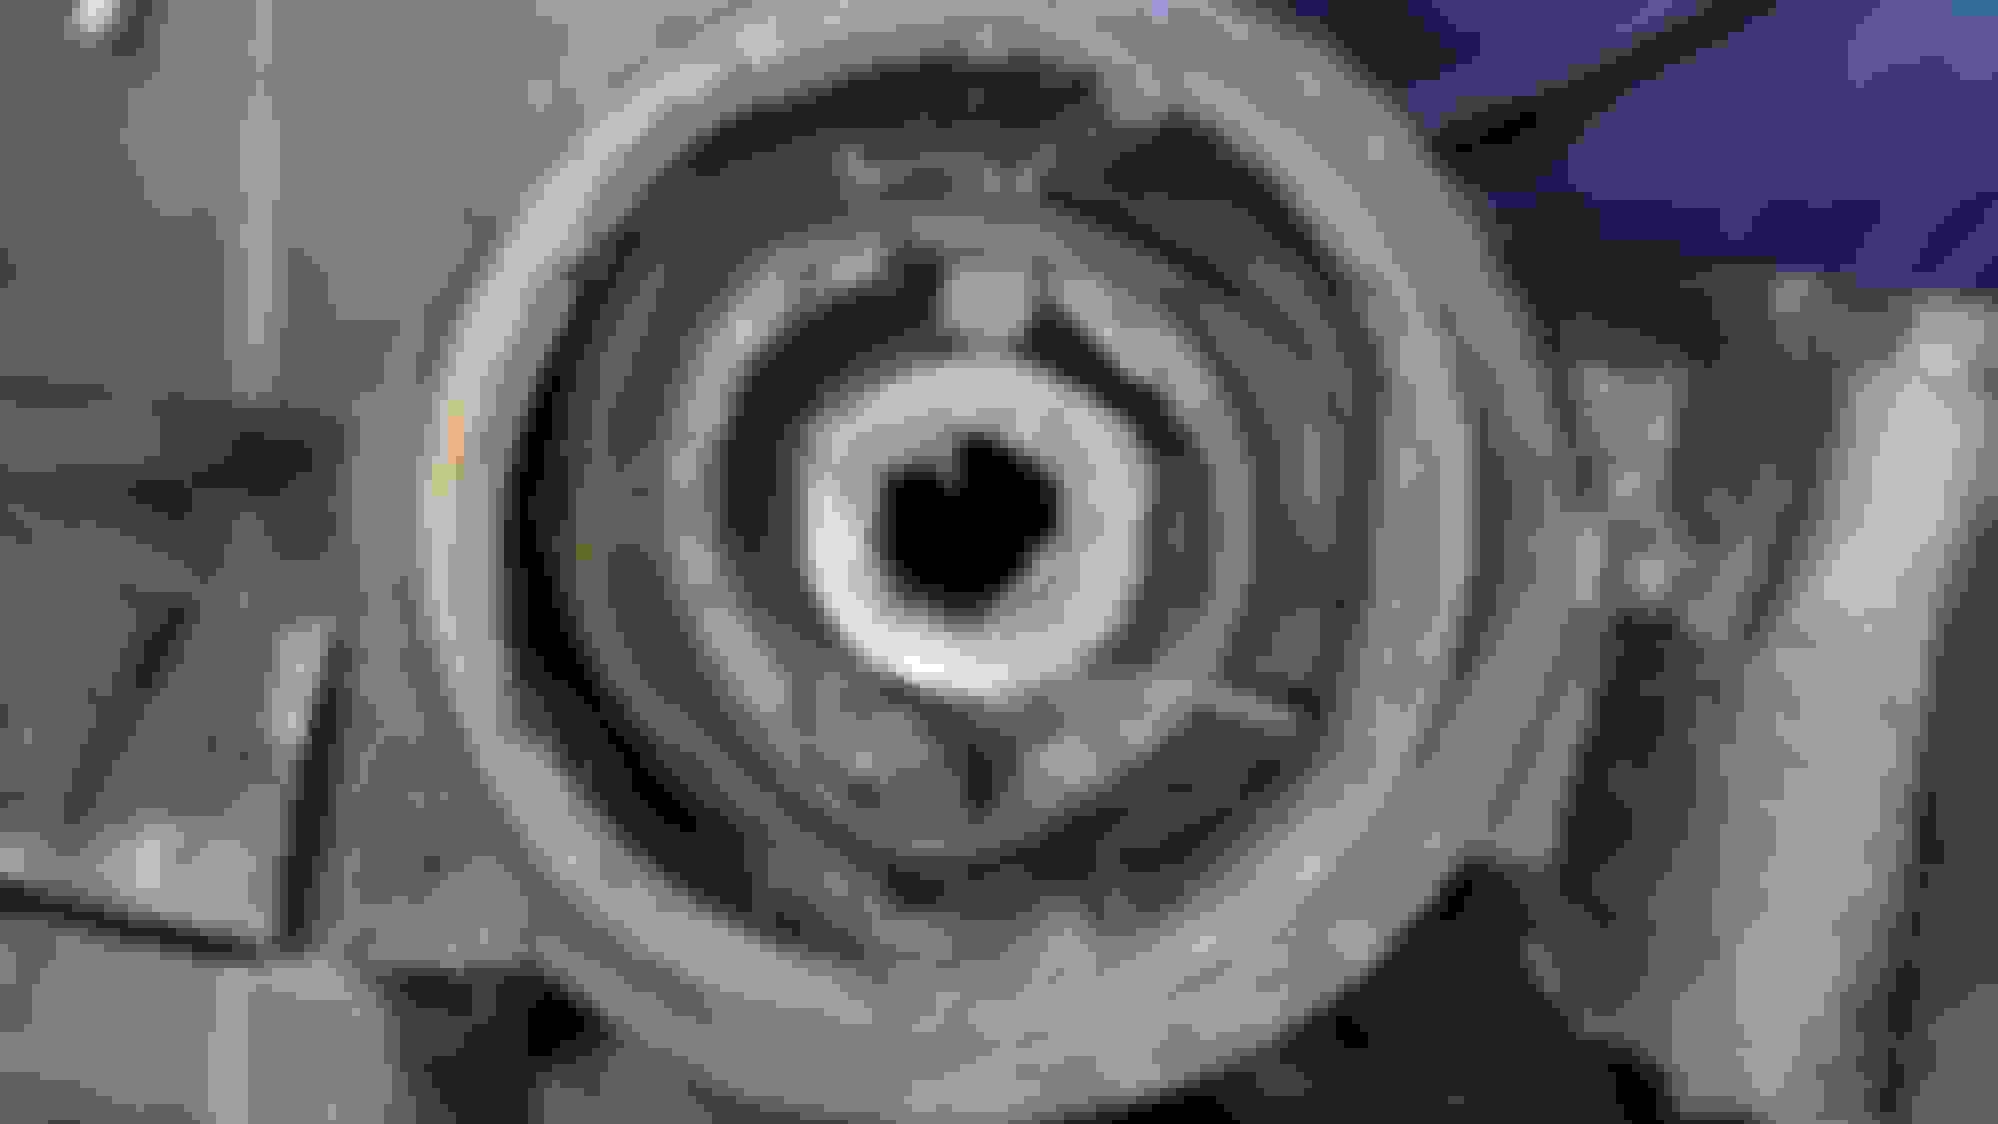
As for this evening, I got the diff bearing races and the driveshaft seals in.
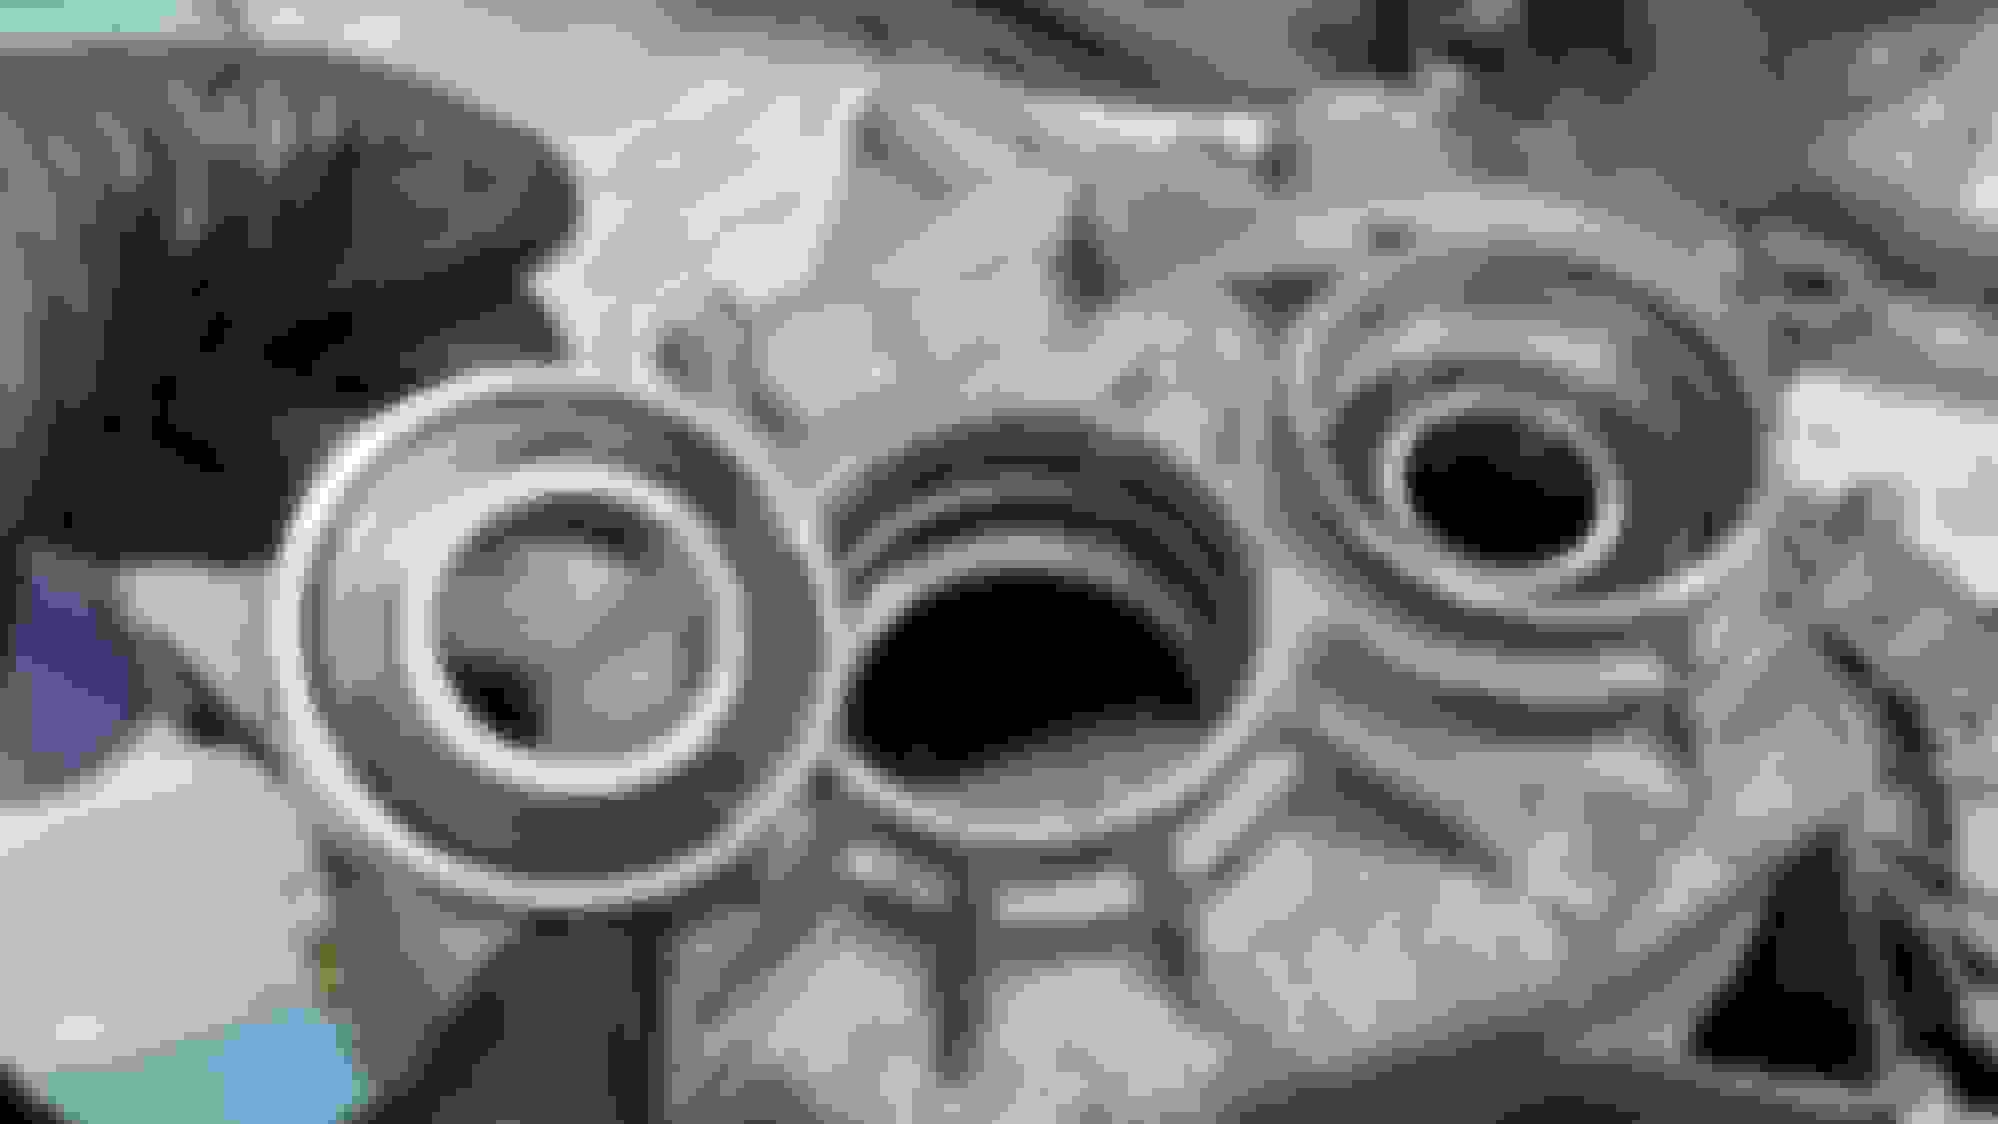
Picture time! I normally don't work on the driveway as it's not level. This was very dodgy but I needed to lower the exhaust. That seem is no longer sealing Yes this is a bodge job an I am not proud of it but I needed it back on the road. The junkyard. Very tidy, well organised and cheap! Battery box was �8 and both frontshocks �34 That's a bearing race and a driveshaft seal Let's get the seal out with a seal driver The seal is mostly metal so it had some sort of sealant on it Old left, new right. The new one, from Corteco, has rubber to seal so no sealant needed Nice and clean New one in Differential bearing and race Quality looks really good Let's drive it in As good as new
No differential bearing shimming and setup to worry about? What a relief, I've had the carrier and pinion in and out of my d44/jaguar diff no less than 11 times the past couple weeks. Shouldn't be too much trouble to put an lsd in the mini when the time comes.
It's been a while as my R53 failed for it's yearly inspection because it had a small exhaust leak. Had to patch it up to get it passed. I ordered a new exhaust from eBay which should sound a lot better then stock.
On Monday me and my dad went to a junkyard which basically don't exists anymore in The Netherlands as it's all about recycling these says. I needed a front right shock and a battery box. Couldn't find one for a facelift Mini One but I found a Mini with Monroe shocks at the fronts so I decided to grab both and swap both shocks instead of just the leaky one.
As for this evening, I got the diff bearing races and the driveshaft seals in.
Picture time! I normally don't work on the driveway as it's not level. This was very dodgy but I needed to lower the exhaust.
Okay - working on that driveway is, like, SUPER sketchy�
But I blame MINI for making the worst muffler design, ever! And putting you in that precarious position. It would have lasted much longer had it not had that lip water trap. I had 2 exhausts on our R50 rot out like that in a very location in only a few years. Granted I live where they salt the roads and things like this tend to rot, but that lip exasperated the situation. I ended all of that rot with a stainless steel Miltek unit. This exhaust for the R50 has the perfect tone for the car. I see you already ordered a new exhaust, but if you don�t like it, I would highly recommend the Miltek unit for your car (I have had experience with that one also).
No differential bearing shimming and setup to worry about? What a relief, I've had the carrier and pinion in and out of my d44/jaguar diff no less than 11 times the past couple weeks. Shouldn't be too much trouble to put an lsd in the mini when the time comes.
Nope, these bearing kits are great. They are 1:1 replacements for the original and come with everything you need except for sealant for the bellhousing and gear selector.
Originally Posted by Eddie07S
Okay - working on that driveway is, like, SUPER sketchy�
But I blame MINI for making the worst muffler design, ever! And putting you in that precarious position. It would have lasted much longer had it not had that lip water trap. I had 2 exhausts on our R50 rot out like that in a very location in only a few years. Granted I live where they salt the roads and things like this tend to rot, but that lip exasperated the situation. I ended all of that rot with a stainless steel Miltek unit. This exhaust for the R50 has the perfect tone for the car. I see you already ordered a new exhaust, but if you don�t like it, I would highly recommend the Miltek unit for your car (I have had experience with that one also).
Now back to the �fun� stuff.
My heart wanted a resonated Miltek but my wallet said no. I can't justify the �850 for a brand new one or even �500 for a second hand. So it was either ~�450 for a Walker replacement or ~�400 for a stainless steel one. I always went for the save options in the past and I let my self go with the chance of sounding like a boyracer. You only live once and I'm like "while I still can" because the amount of electric cars and the added tax for petrol cars is ridiculous.
This is the cheapest Ford Mustang you can get over here which is the 5.0 v8 with 446hp. Yes that's ~$144k
I live in the world's most car unfriendly country unfortunately.
Another small step into getting this gearbox rebuild.
I've pressed out both bearings that will hold the shafts. The shafts will be pressed into these bearings when the gearbox components will be reassembled.
Also pressed the new bearings back in. These two bearings cost me about 1.5h todo. Most of time is spend on setting up the "contraptions" with the press. One side of the gearbox is always flat, the other side not so much.
Picture time: A bearing seal driver op 47mm fits perfectly. There is only a tiny 1mm lip from the out part of the bearing you can push on The setup, I am so glad I bought a press pen set with the press as these are perfect for getting some depth. This is the bottom of the setup. Notice how it needs to be sitting on the very edge Making progress At the other end as well (duh) The first one is out. Here you can see the edge where the press plates need to be sitting on. These are not big. Both are out. New on the left, old on the right. One bearing had some play as I could move the inner part about 1mm from left to right Pressing the first one in. This was easy as the housing can now sit flat I used a mirror to check the consistency of the gap. The bearings are tapered so you cannot press them flush. Very important because if you do try you will break the case as its only aluminium. Both are in And the snap rings are back into position. These snap rings will prevent the bearings from being pushed out when you shafts are being pressed in. I will have to fabricate something to keep the inner part of the bearing in place.
Could you cut the inner race out of the old bearings and use those to push against? Maybe grind out the IDs a little to kept the shafts from getting hung up on them… Just a thought…

 07-25-2024, 10:06 AM


 ) and usually it will just slide on. This is only a suggestion. Maybe try it with some “scrap” pieces if you have them. I also see some of your applications are to press a bearing into the housing. This is a bit different than putting a bearing on a shaft and the aluminum will suck the heat away from where you want it. So, it is only something to think about.