When you click on links to various merchants on this site and make a purchase, this can result in this site earning a commission. Affiliate programs and affiliations include, but are not limited to, the eBay Partner Network.
Could you cut the inner race out of the old bearings and use those to push against? Maybe grind out the IDs a little to kept the shafts from getting hung up on them� Just a thought�
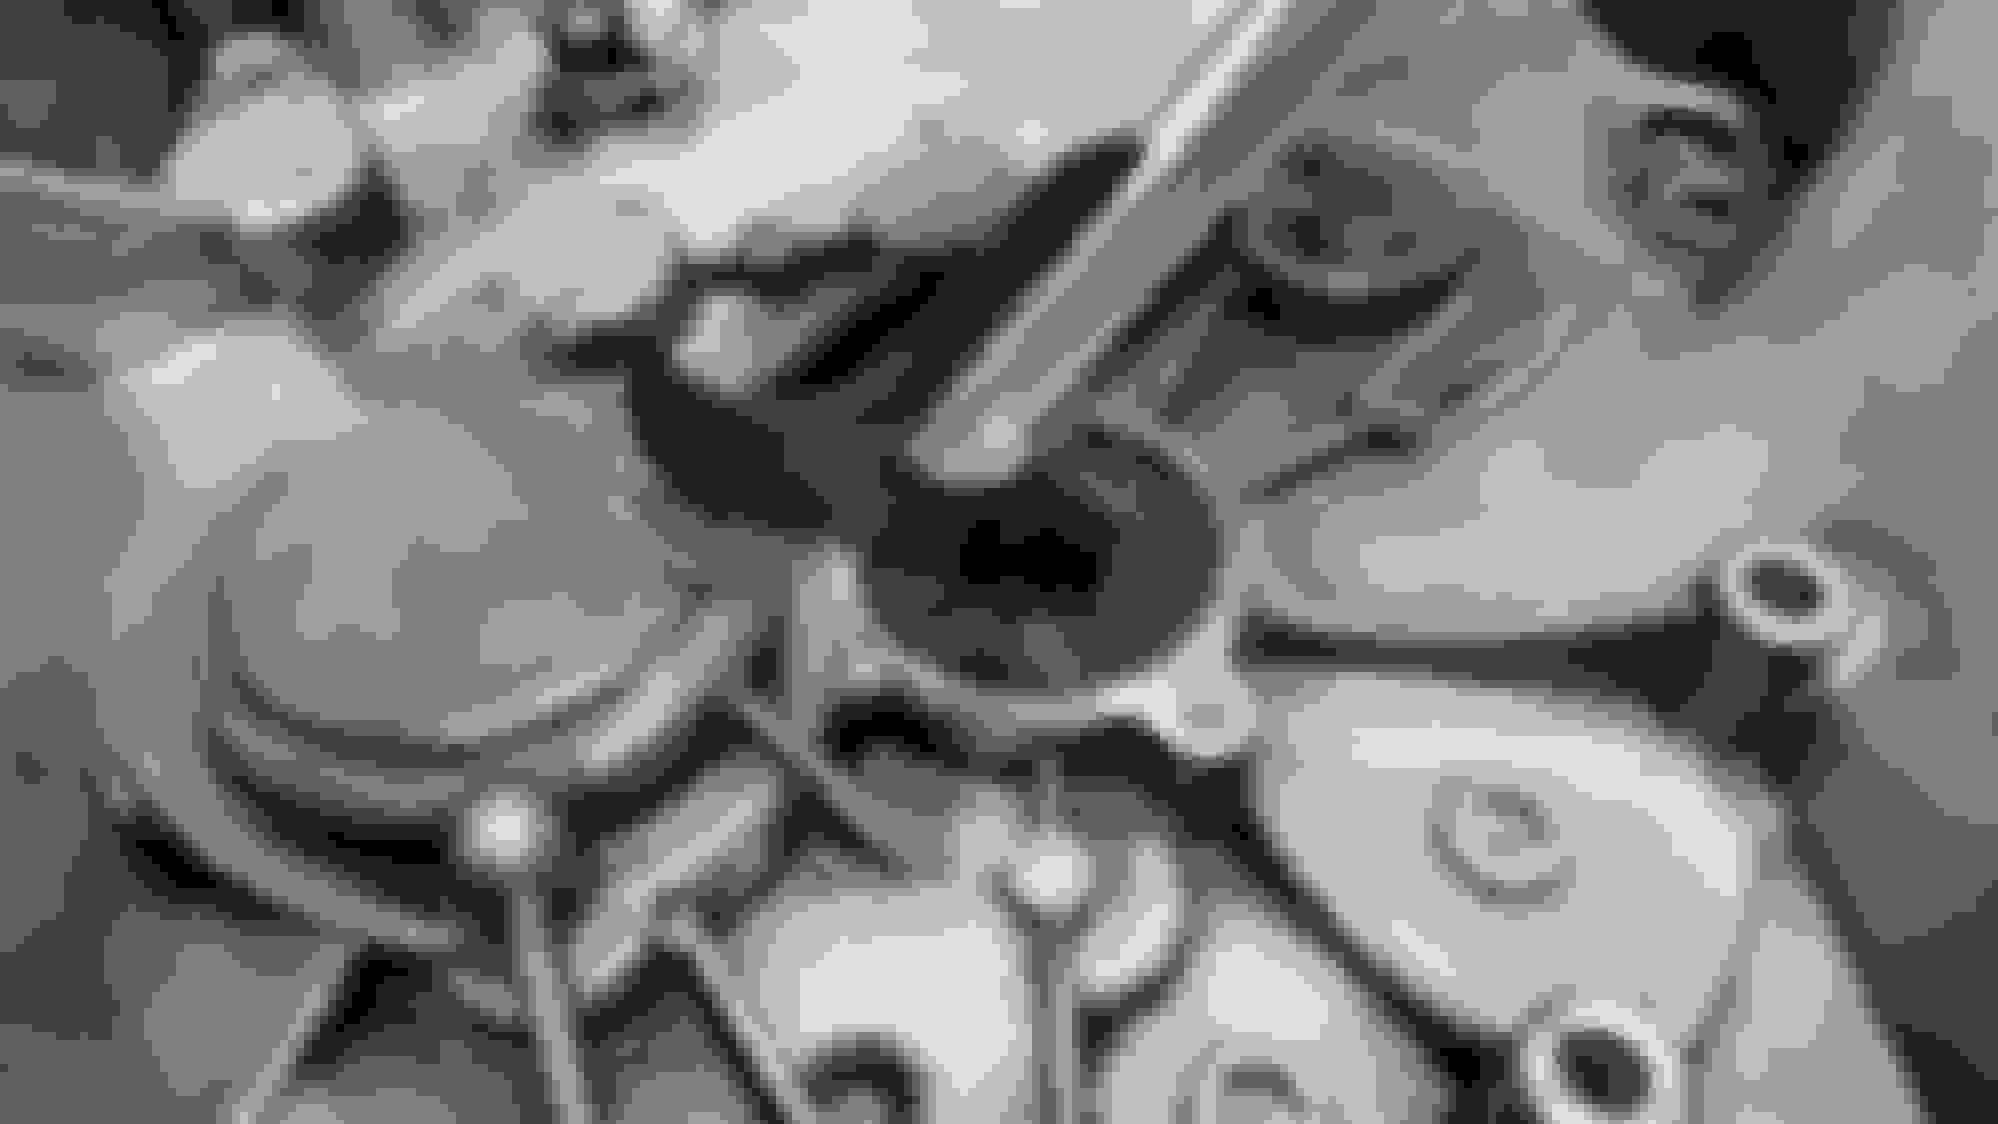
And two more bearings are swapped; both top shaft bearings. One was the input shaft which has a seal, the other is a blind hole bearing which made it harder to get out. Luckily I have a blind hole puller kit to over come the problem.
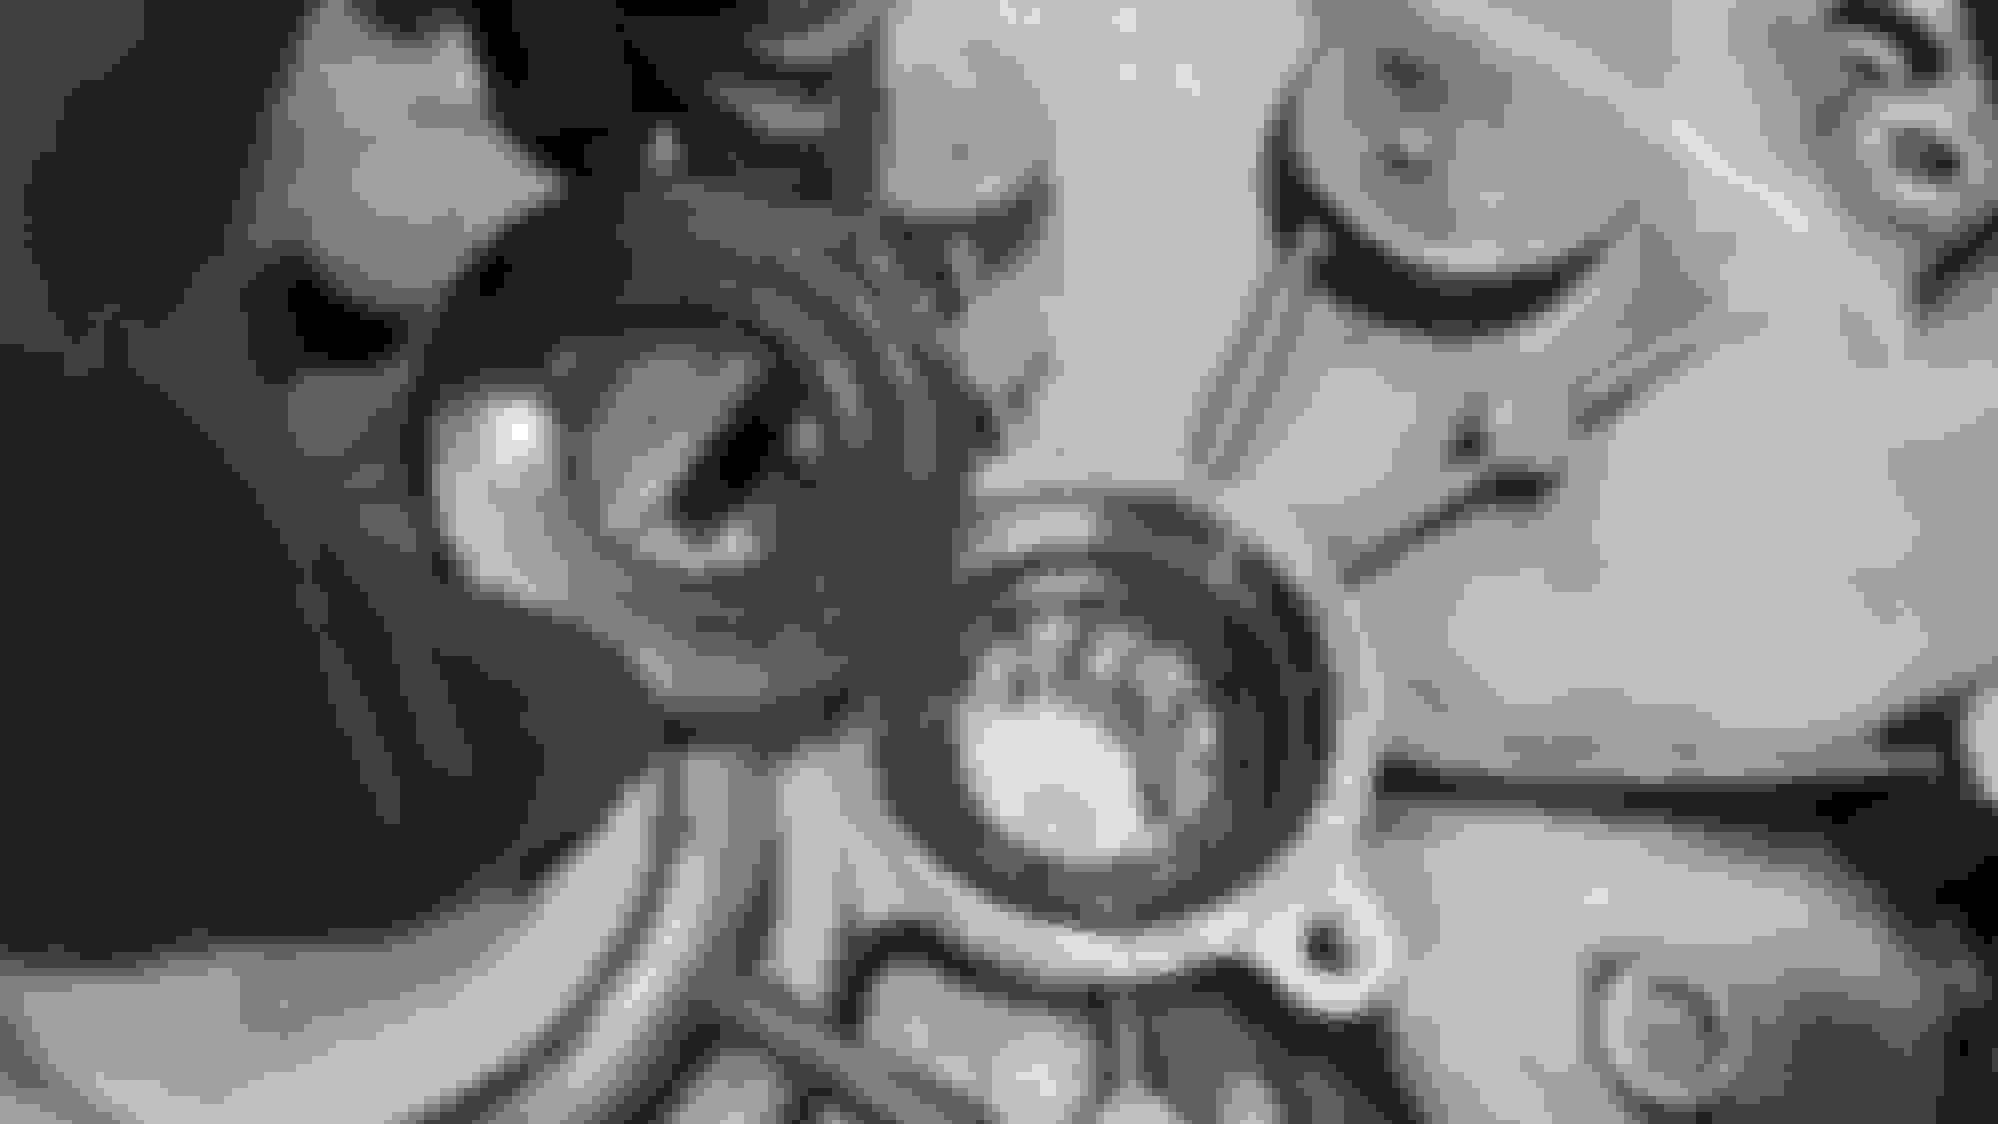
Picture time: Getting the seal out was easy Its out Now you can press the bearing out from the other side It's out Rollers were perfectly fine Pressing the new one. I really enjoy working with the press Looking good Left is the new seal (Corteco) right is the old You can press it in with your fingers to begin with, then just hammer it in with a seal driver Sitting evenly all around Next target, the other top shaft bearing. The shaft is actually hollow allowing oil to pass thru it right into the plastic thingy You have to break the old one out to get your blind hole puller in Plastic thingy out but dirty Cleaned up nicely I tried the slide hammer first but the bearing was not impressed by me at all So I put the puller on and let the legs rest on very thick washers Thick washers Making progress, the first break is always the hardest and scariest as it makes a loud bang. Its out To get the new one pressed back in you need to be careful not to break the new plastic thingy that goes underneath the bearing. I used to old bearing as a spacer so the bearing driver could never hit the end of the plastic thingy Pressing it in Looks good (the bolts had some red tread locker on them) All back together. Very rewarding I must say
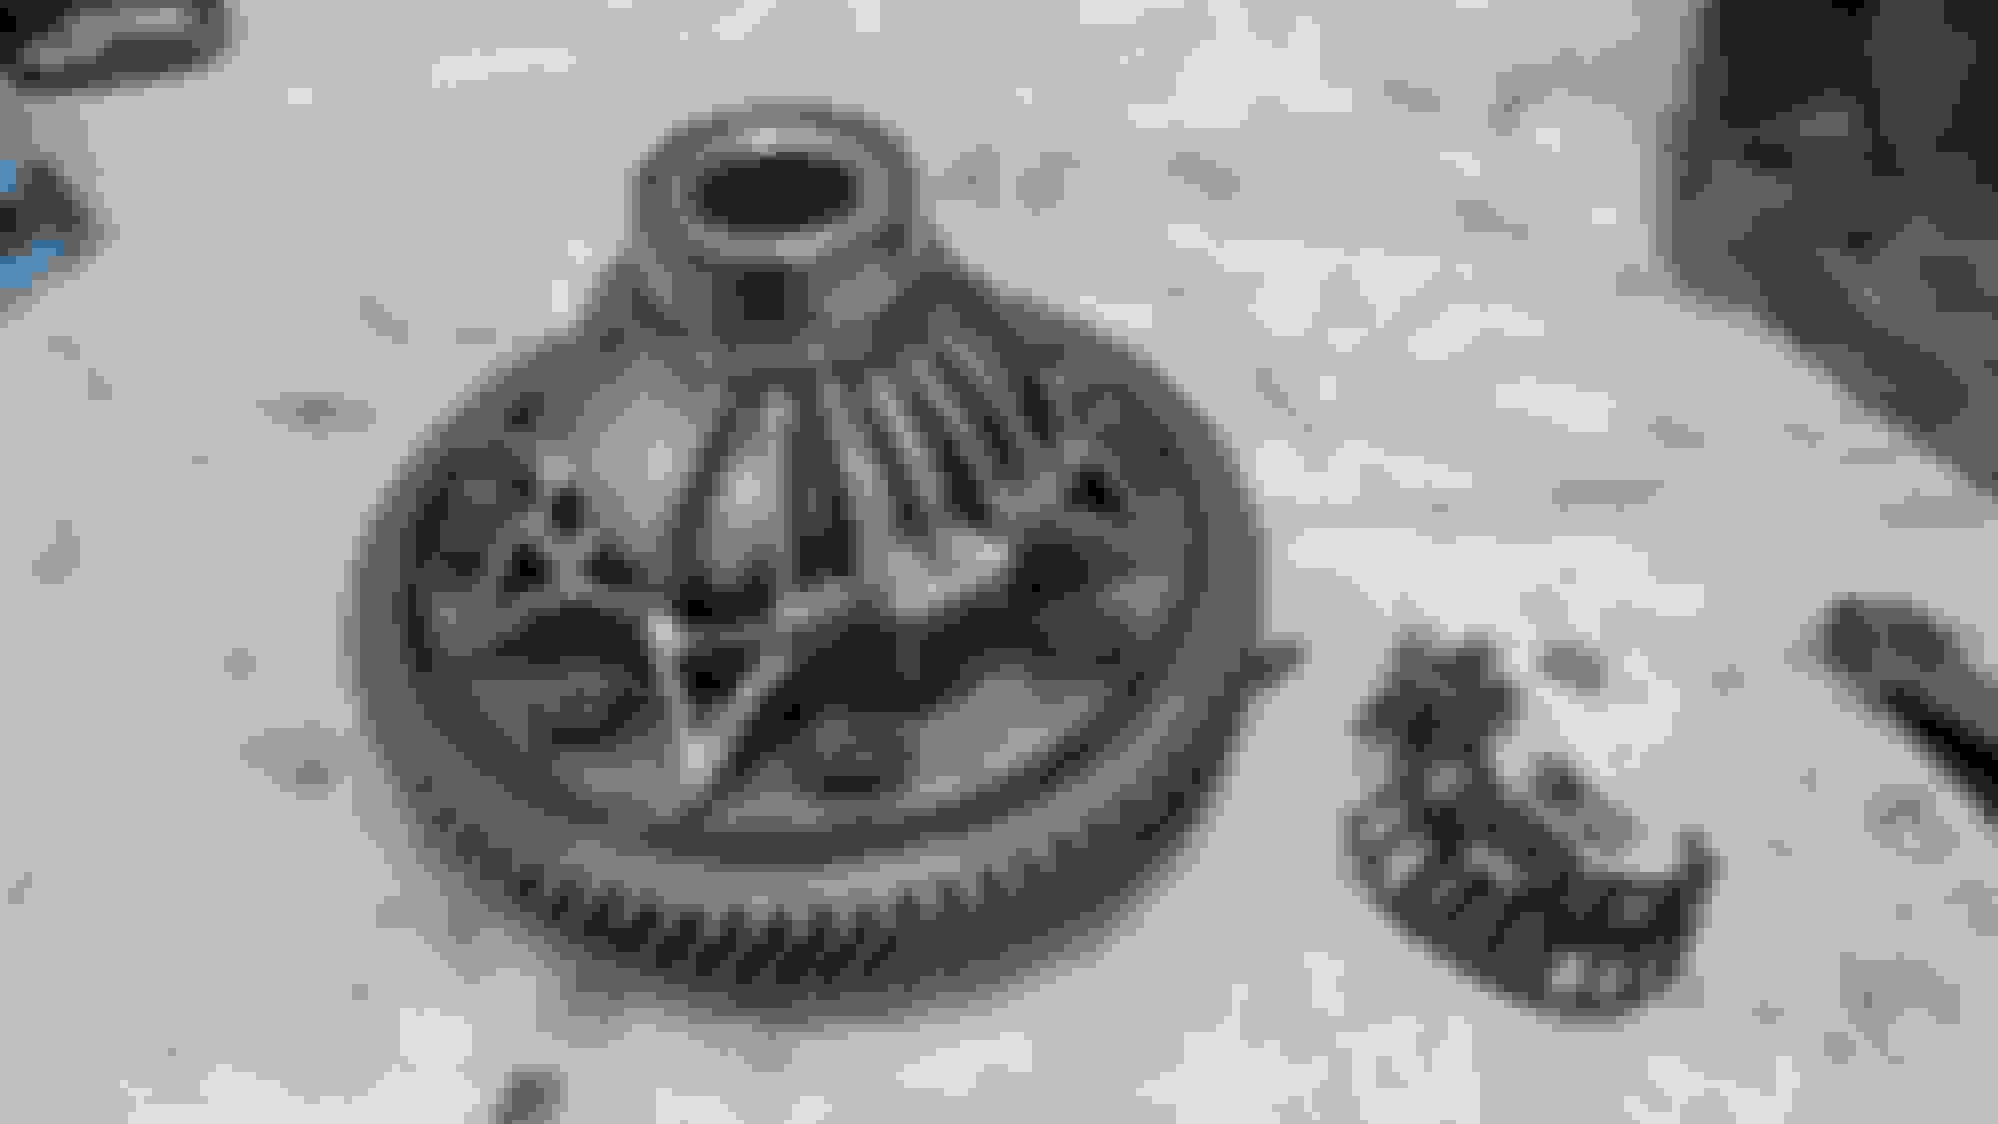
And I got the diff bearings off. As expected one was completely shot while the other was fine. I tried to pull them off with a bearing splitter but it was junk. I didn't want to wedge it between the bearing bottom and diff housing as the gap tiny and the splitter not sharp enough. So I tried to pull on the top of the bearing edge but the jaw tips just curled and broke.
Plan b was to grind them off but instead of an actual grinder I opted for the old dremel and a whack with a chisel. Worked like a charm and I can highly recommend it. Pictures: The diff Cut the cage off, notice how it is made from plastic Cut it with a dremel Whacked it with a chisel, look closely and you can see the crack Nice and shiny after some cleaning The other one, very very bad. The rollers and race are completely toast Both off Notice on the inside how I did not went all the way through as I didn't want to damage the diff housing Pressing on one bearing And the other Looks like new
That's a much better quality press than the HF ones. The press plates are very well made too.
Yea I was really doubting whether to go for a cheap one, which usually is just a bottle jack, or for a proper one like this at twice the expense. Glad I choose this one. It is quite heavy at 75kg but the cylinder is adjustable and can be moved horizontally making it more versatile. I'm also very happy with the feedback you get through the handle.
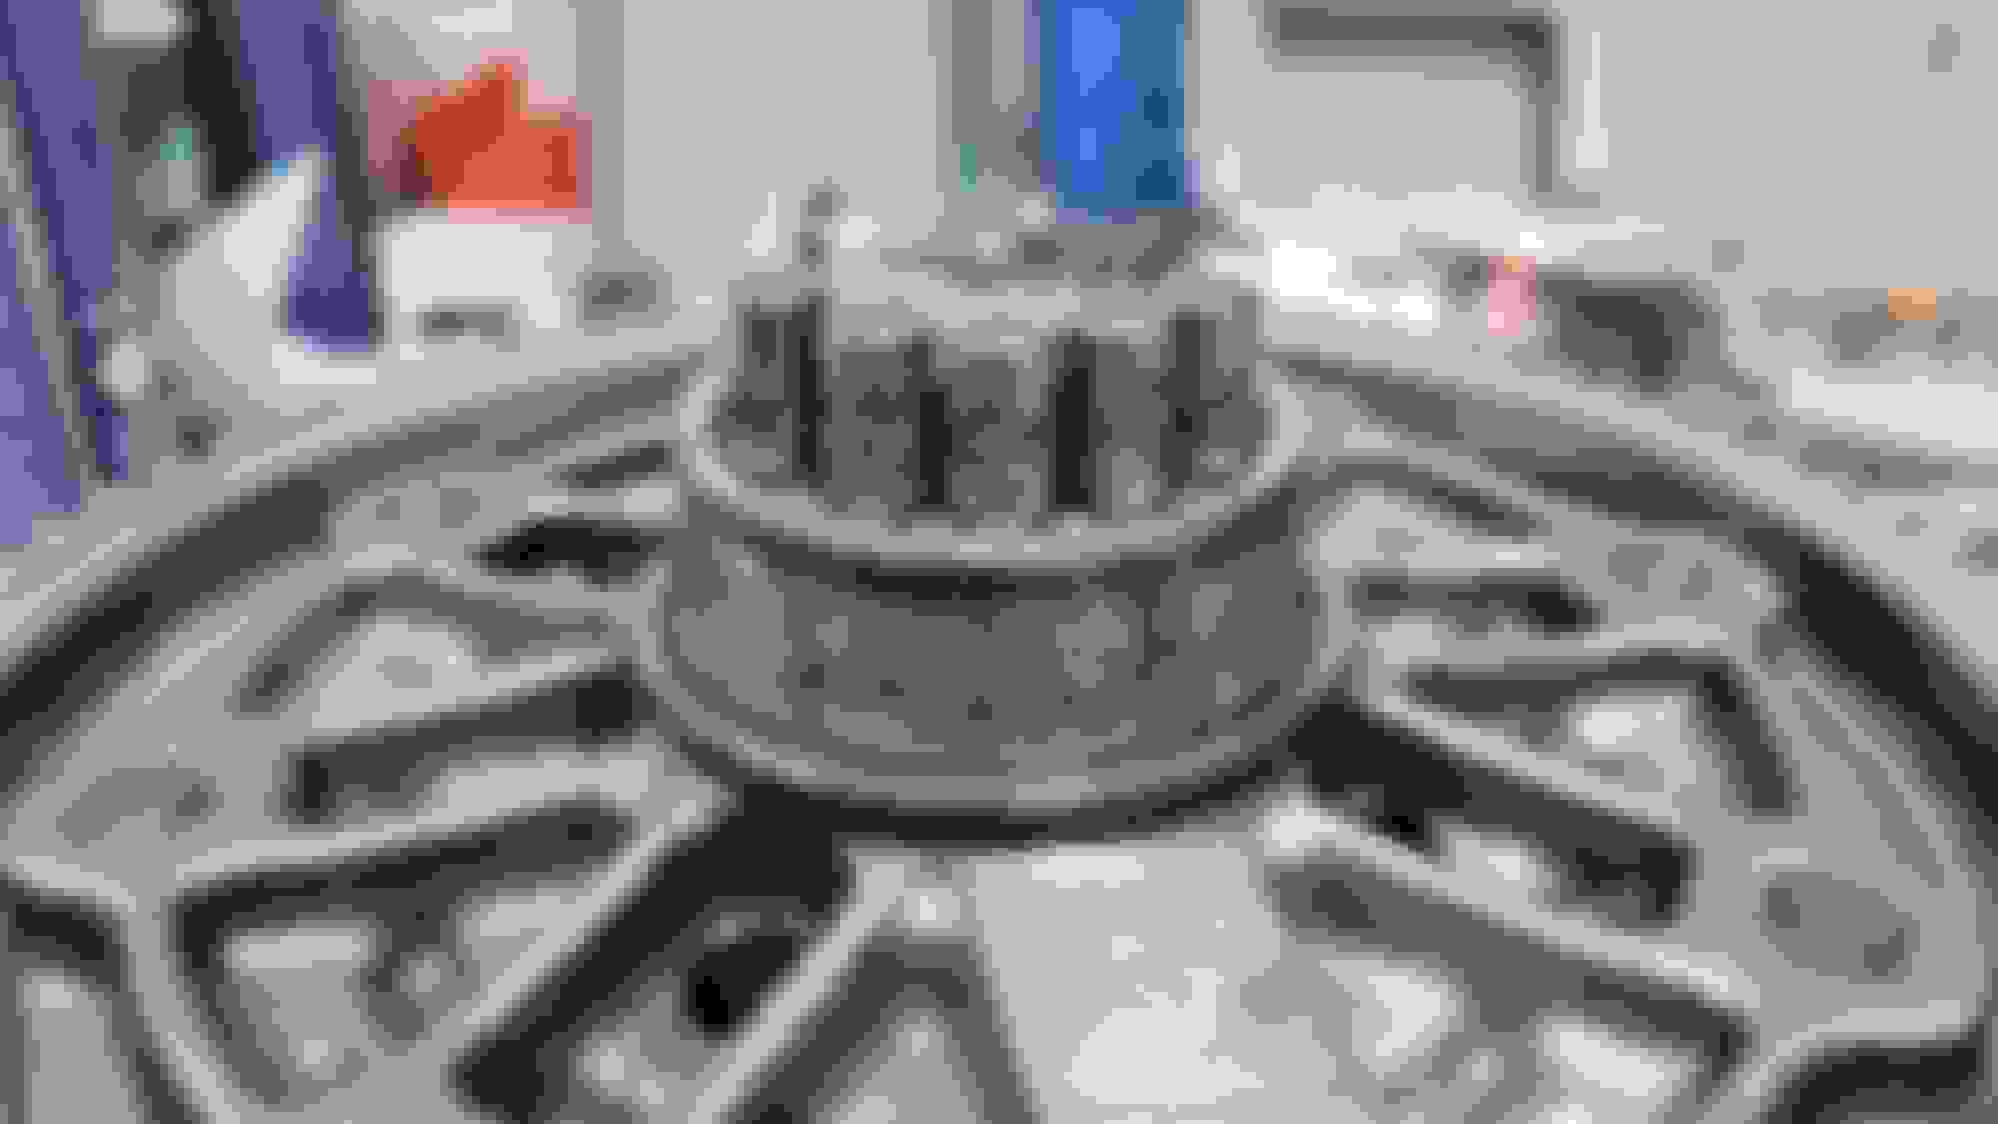
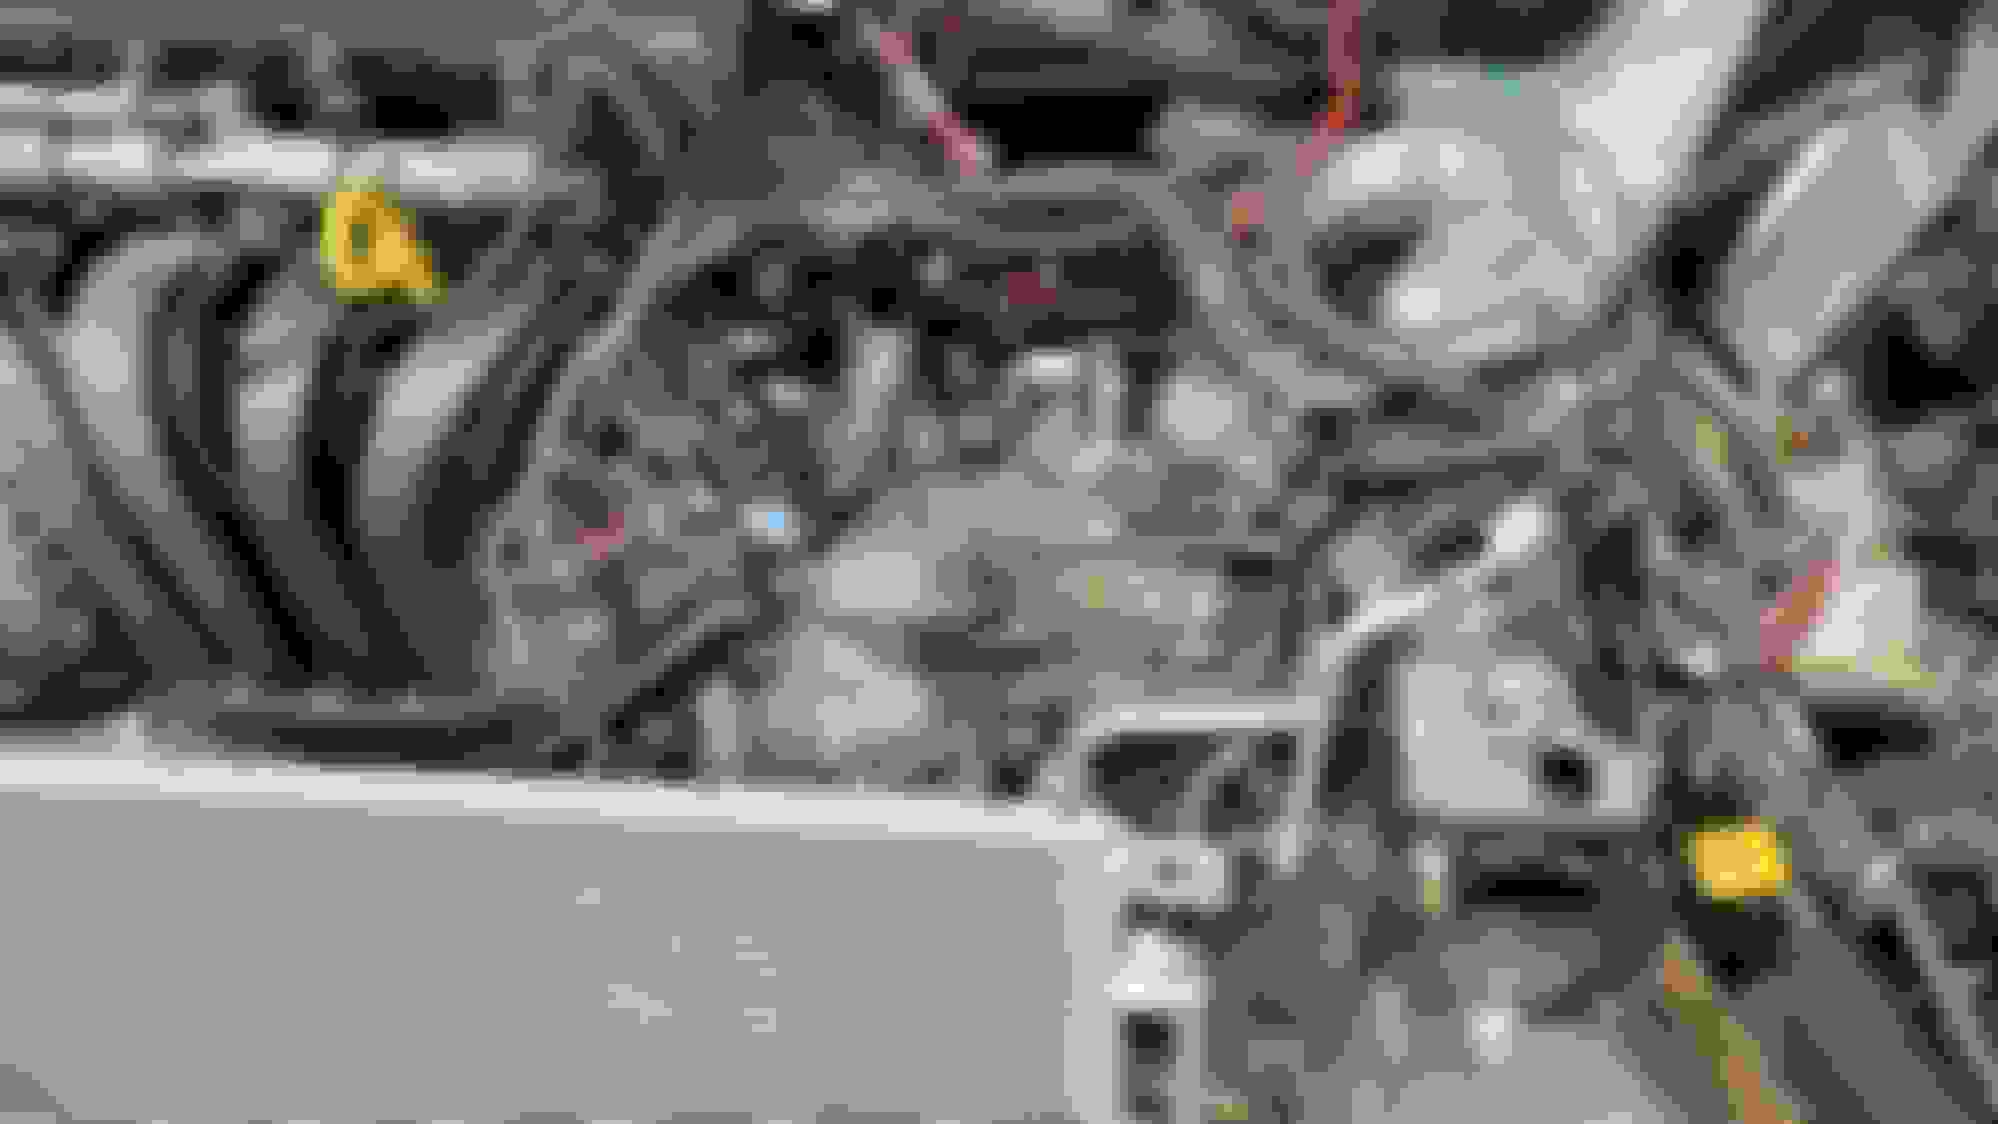
Progress is slow as I was away for a bit. Gearbox is coming back together. Both shafts, gear selector and reverse idler gear are back in. Also modified the gear selector as the gear stick had the issue it didn't popped back to neutral. This is because a pin was a bit seized, just like a sliding pin on your brake caliper only it doesn't slide but roll. I bought a modified pin and needed to grind and tap the old one out.
Pictures will tell the story. Pressing the shafts back in And retain them with circlips and snap rings The hollow pin needs to come out but to do so you need to grind the edge off And tap the pin out Old pin and hole New pin all greased up This is now a serviceable part which you can grease without too much trouble. BMW should have done this.
Holy Crap, Batman - This is a master class in rebuilding a MINI transmission*. My hat is off to you, sir.
Question - Could you add a little more explanation as to how you managed the operation of pressing in the 2 shafts together? I can seen the setup, but how did you find the “pressing center”? And how hard was it to keep the shafts from wanting to tilt?
* For your next project, I vote you take on and document the rebuild of the notorious MINI CVT…
Holy Crap, Batman - This is a master class in rebuilding a MINI transmission*. My hat is off to you, sir.
Question - Could you add a little more explanation as to how you managed the operation of pressing in the 2 shafts together? I can seen the setup, but how did you find the �pressing center�? And how hard was it to keep the shafts from wanting to tilt?
* For your next project, I vote you take on and document the rebuild of the notorious MINI CVT�
Thank you. My goal is to sort of demistify the rebuild of a 1st gen Getrag 5sp gearbox. There are just two sources of information, both on YouTube. A
I actually asked David whether you need to hold the end bearings of both shafts when pressing them back in:
Good question! But yes, at first I used to put a spacer against the inner race so as not to damage the bearing. Over time (I've now built 51 of them) I found this was unnecessary as the force to push the shaft through is quite low compared to the bearing size and the forces it experiences in use. The large circlip is more than adequate to hold the bearing in place.
Very valuable information.
Coming back to your question; the shafts are a bit tapered so they sit in their bearing a bit. Next to that you need to press both shafts together while the three gear selectors are holding these shafts. The gear selectors themself also sit in a "hole" though losely as they need to twist and turn when selecting a gear. This combined keeps the shafts well enough in place. You do have to press a bit and wiggle the gear selectors to make sure they don't get caught up somewhere.
Hope this explains it well enough.
As for the CVT, not sure, as I haven't seen rebuild kits for them. Also automatic gearboxes weren't a common option here in Europe, back in those days.
Now a day's almost all cars have them, either because they are hybrid or to save fuel. The latter ones mostly are of the dual clutch type, not the torque converter ones. But I am rambling.
Hopefully tomorrow I can close the gearbox up and if all goes well I can even fit it back.
I was a little bit kidding about the CVT. A while back we were having issues with the CVT in our 2004 R50. Knowing that these have disintegrating drive belts, I looked up as much as I could about the warning signs. I found one or two really good rebuild posts here on NAM and found that there is a supplier of parts for them, including the belt. My issue turned out to be some mouse chewed wires So, if you ever (hopefully not), it can be done without a kit. It just needs to be caught before the pieces of the belt do any real damage.
It's done! The gearbox is all back together and I'm very happy with the result. Also happy I can now get back to regular wrenching. My google sheet shows I put sixteen and a half hours into rebuilding the gearbox.
Pictures: New oil sprout, this one supplies oil to the fifth gear, I learned recently. New sealing caps, I put some rtv on them because the walls aren't spotless smooth Both housings mated up, with some rtv Clutch fork with new release bearing The end result
Originally Posted by Eddie07S
I was a little bit kidding about the CVT. A while back we were having issues with the CVT in our 2004 R50. Knowing that these have disintegrating drive belts, I looked up as much as I could about the warning signs. I found one or two really good rebuild posts here on NAM and found that there is a supplier of parts for them, including the belt. My issue turned out to be some mouse chewed wires So, if you ever (hopefully not), it can be done without a kit. It just needs to be caught before the pieces of the belt do any real damage.
Now back to our regularly scheduled program�
Well this gearbox rebuild was very intriguing so if I ever come across a nice broken Mini I will definitely consider it! I also want to rebuild a Midlands, one day. (even though I know they are junk)
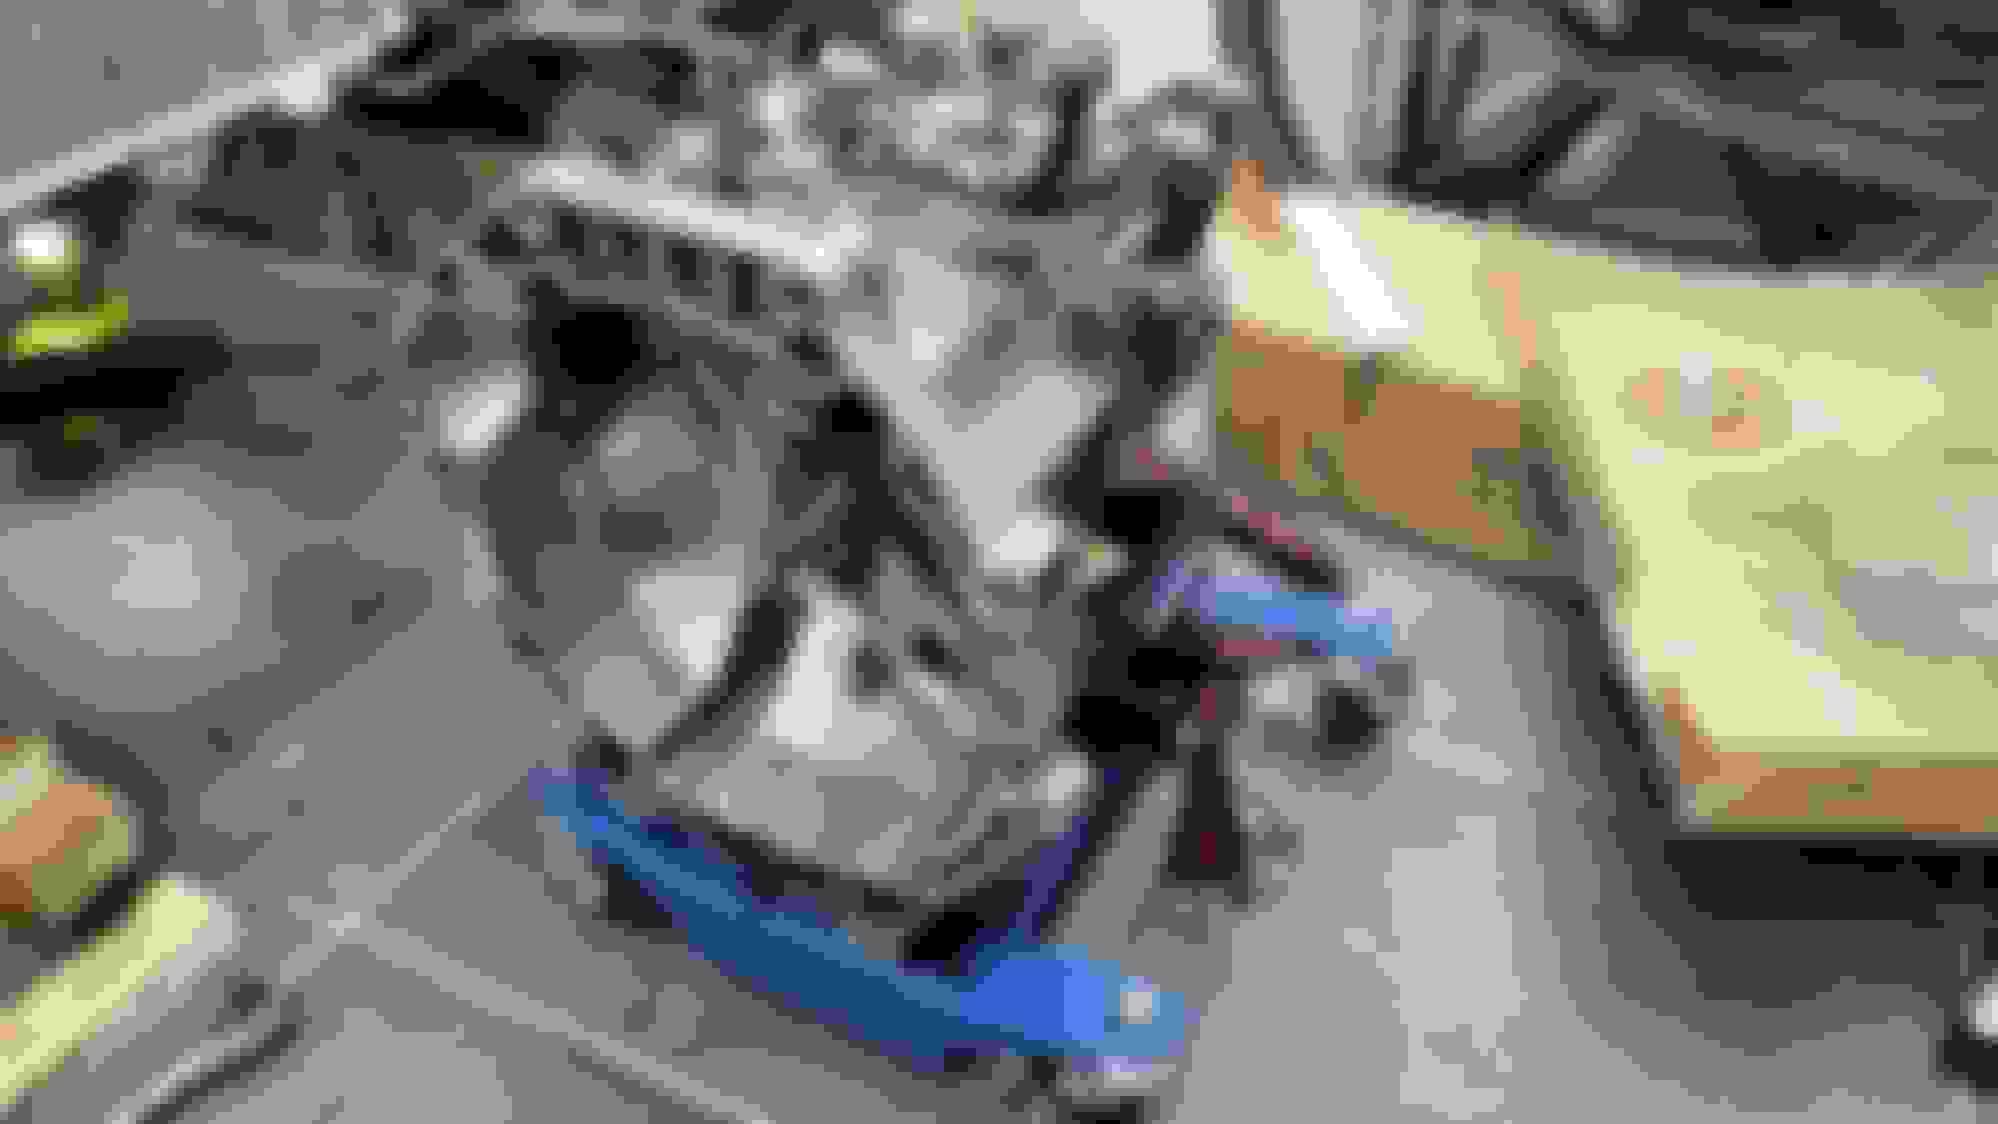
Its back in but I am exhausted. What a fight it was and it took me a little over an hour. I used my trusty transmission jack but boy the gearbox does not have a nice center of gravity. In my first attempt it rolled of the jack while I was lying on my back at the back of the engine. It slowly rolled towards me so I was able the guide and catch it onto my upper body. The second attempt I was smart enough to use the strap.
This was not fun and way more difficult than my R53. This gearbox is actually a much tighter fit as the space between it and the chassis leg is around 1.5cm.
Anyway, I got there in the end so happy days!
Pictures.
Gearbox Box on the transmission jack, use that strap, it could save you one day And it's in This steel coolant pipe was giving a lot of trouble as it wants to hang between the engine and gearbox and it's not flexible enough to just shuff it elsewhere.
Fantastic read from start to install.
Really appreciate the images along with the narrative
Your welcome and thank you for the kind words.
There is loads more to come though; front shocks, brakes all around, waterpump, exhaust, tie rods and other bits and pieces. Also the exterior needs some attention, fixing some scuffs and some rust spots.
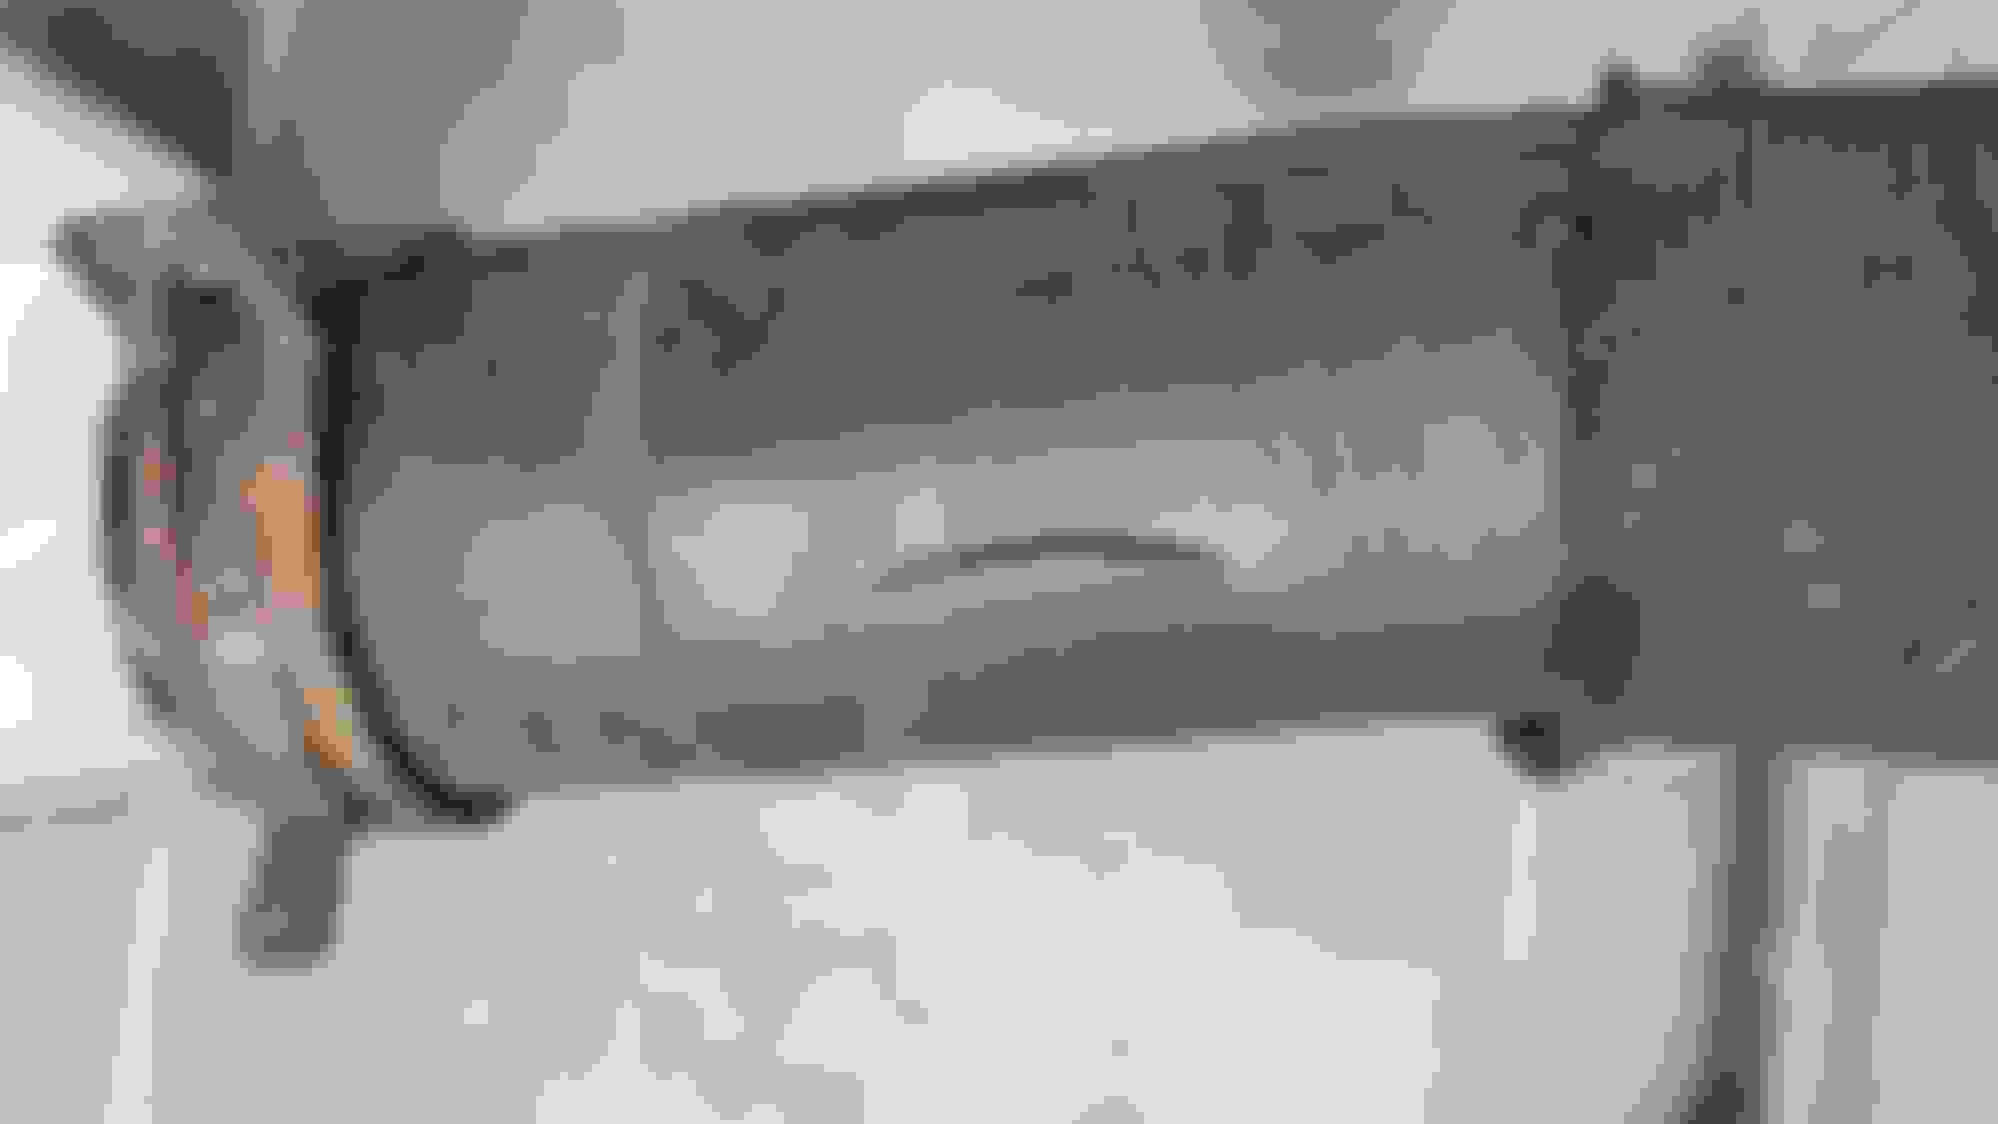
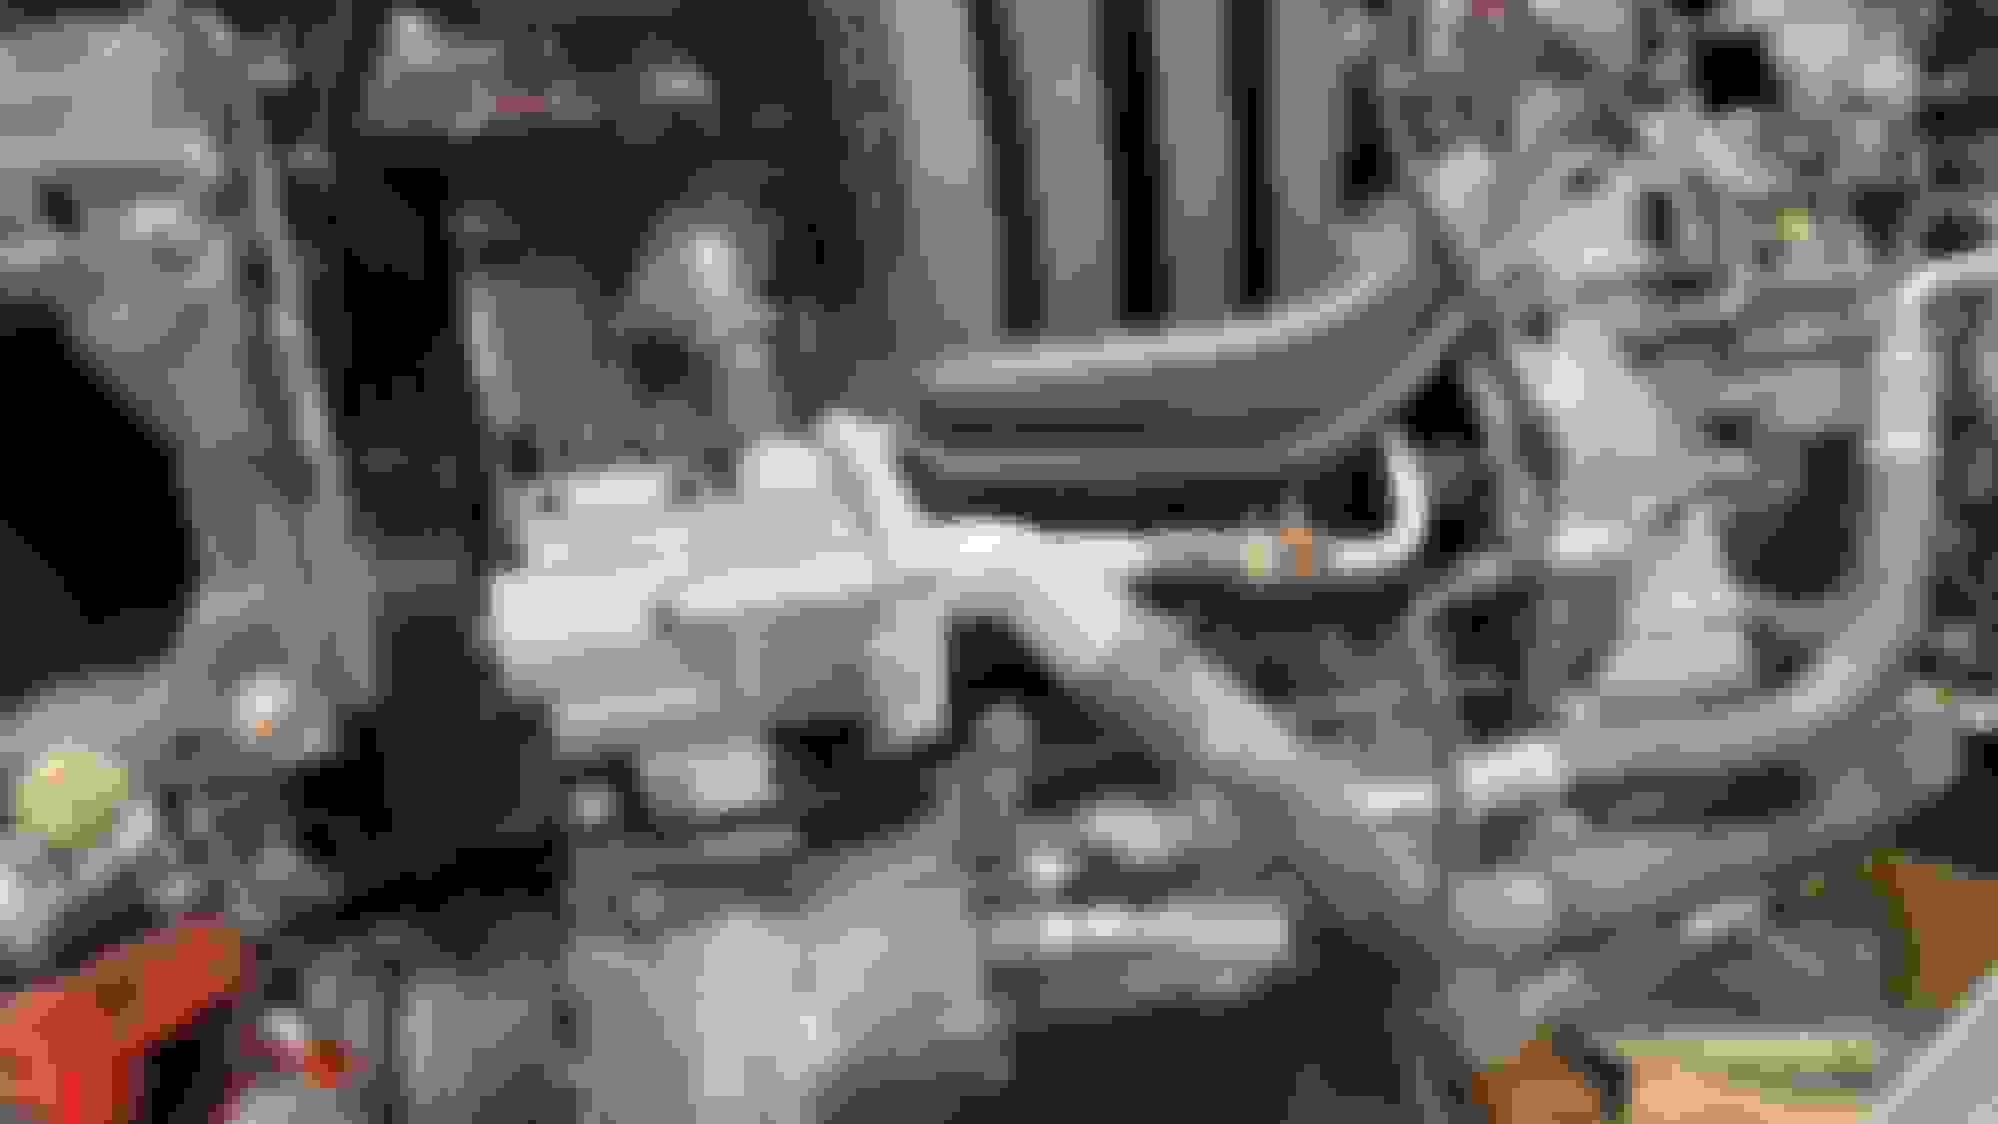
Replaced the waterpump with some hoses today.
I wanted to open up the old pump to show you how the weepholes looked like but I couldn't get it to separate unfortunately. I spend 45min on it and came to the conclusion you need a 4 legged puller for it. Three or even two just won't work.
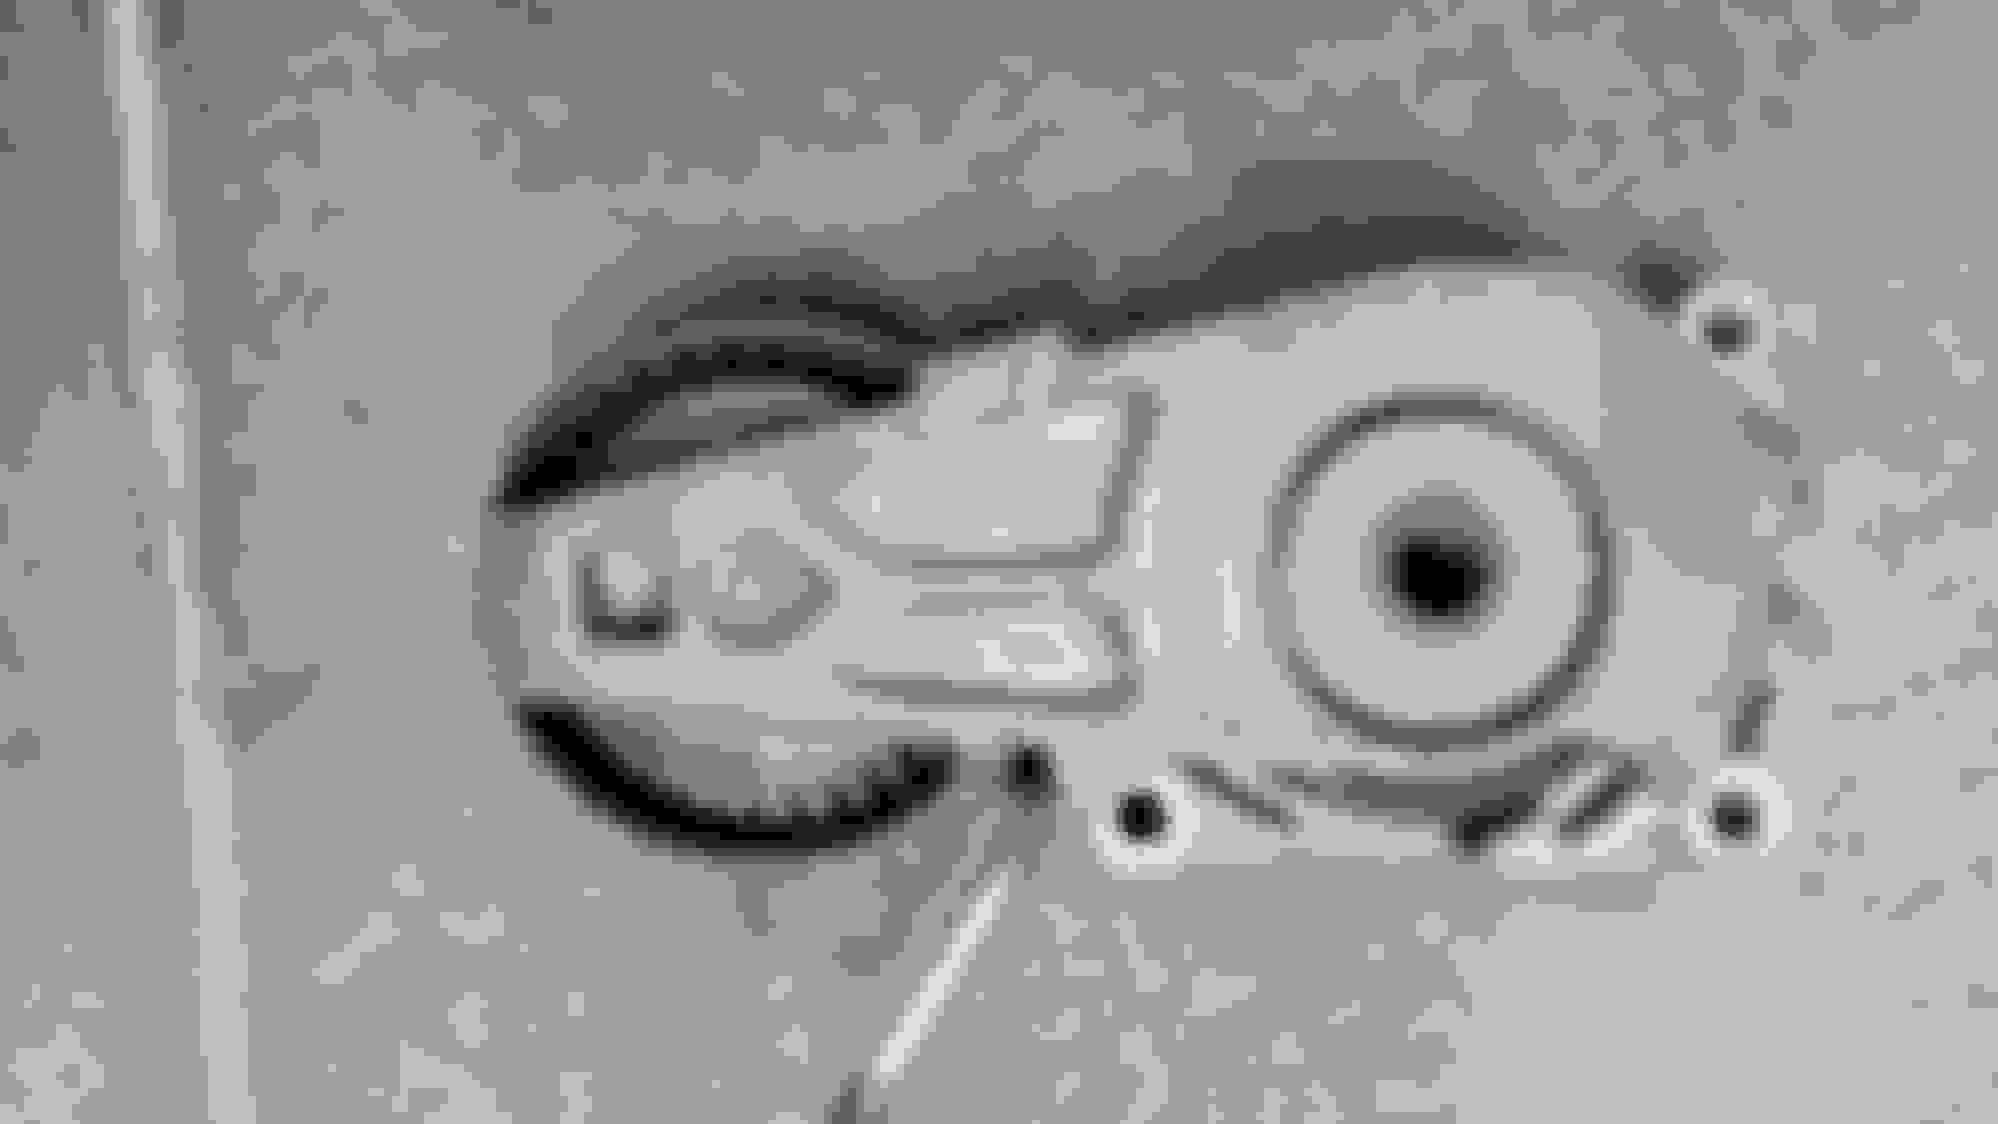
Notice the various places of coolant. The weep holes are on the back of the pump so this must be spillage from bleeding it in the past. Look at how swollen this hose is Pump off, the weep holes are the two in the tiny holes in the middle. This hose got sliced, it's still holding coolant but better change it instead of saving $10 New vs old The flange on the block, cleaned up a bit. Didn't want to take it off because it's not leaking. New pump in place All buttoned up
MINIs here in the states use a blue (MINI/BMW specific) coolant. My understanding is that issues can occur if a different coolant is used. The seepage from the hoses on your MINI appears to be orange. Maybe a different coolant was used in it?
MINIs here in the states use a blue (MINI/BMW specific) coolant. My understanding is that issues can occur if a different coolant is used. The seepage from the hoses on your MINI appears to be orange. Maybe a different coolant was used in it?
The coolant was pink and was indeed not the right stuff. Most of it is out except for the radiator which I am planning to flush using water. I've got new blue stuff ready to go in.
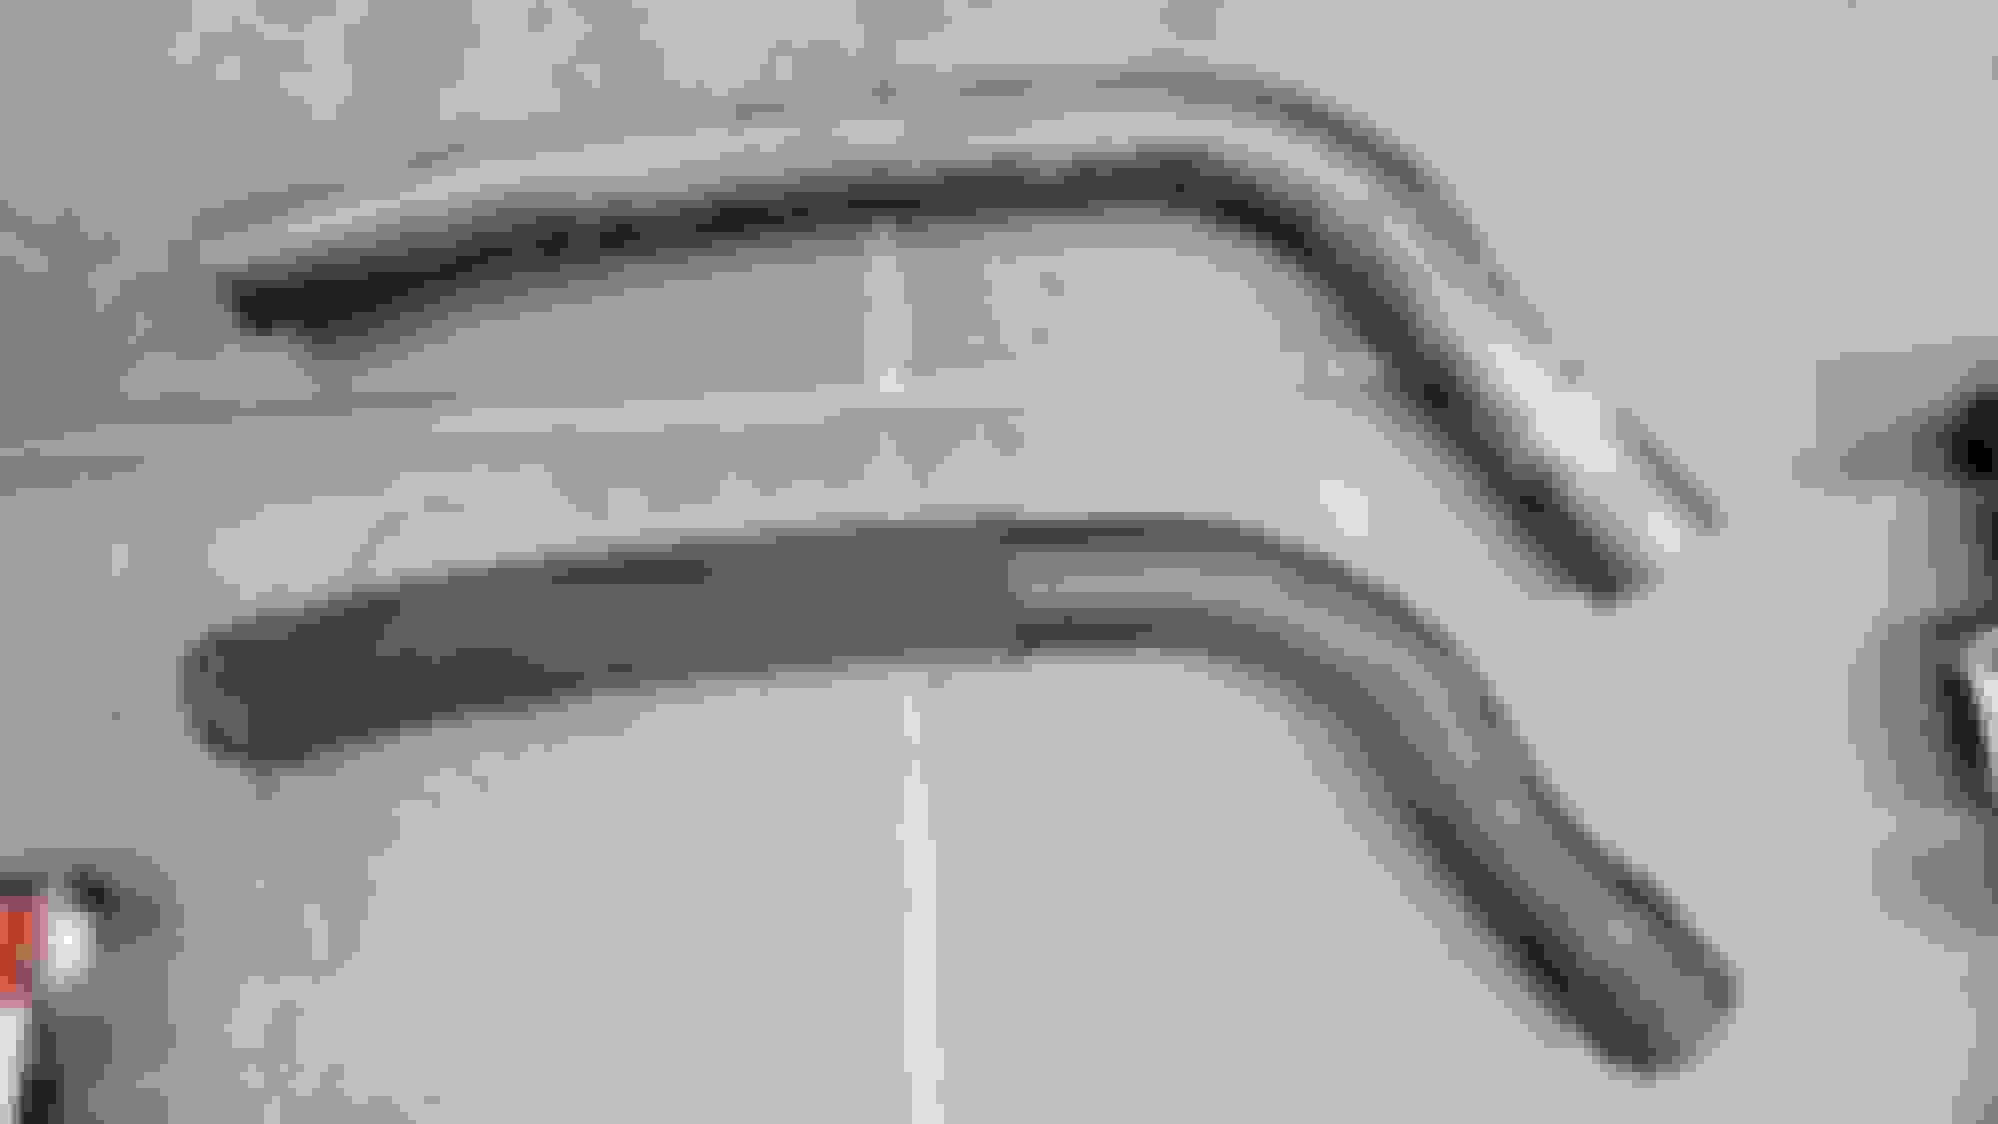
Yesterday I replaced the idler pulley on the belt tensioner and replaced both inner and outer tie rods. An easy job for a change! This design is so much simpler than the one from a R53. The tension tool is also way easier to use Before Old va new After The subframe with steering rack Just a reminder, this is why I changed the inner and outer tie rods. This joint is no good and I couldn't separate the inner from the outer. And because I like my steering components to be equal I changed the other one as well.
Just curious -
How much of a floppiness did you feel with the inner tie rods (old vs new).
I've had my outer's replaced not long ago by an indie shop.
Having recently (last year) replaced my inner and outer ball joints; I thought/noticed my inner tie rods felt a bit floppy.
The car is aligned and drives wonderfully tight with only 3/32" play at the wheel but I often wonder how tight/stiff the inner tie rods should actually feel.
Thanks!
The inner tie rod balljoints had no play or wear in them. The outer tie rod in the second to last photo also did not have play in it but it had no resistance at all and felt crunchy. Probably because it had lost all of it's grease.
Having said that, driving this car home for 2.5h was an experience I've never had in any 1st gen Mini; it felt like a boat going with the waves. If you came across a bump (not speed bump but just the road not being flat) the car would spring down and up and the steering wheel wanted to go to the right. I account most of this because of the FR shock having been leaking out.
Not a straight answer but looking at the construction I would say it does not matter if the tie rod joints are lose or stiff. To get play in your steering wheel the joints will need to have play in them as well.
I do think the out balljoints (not tie rod related) will have a big impact on the handling on the car as these will effectively change the geometry of the wheel while your driving.
Thanks for that. It does help. I have no other comparison to judge by since all my previous builds/experience were pre- 80s' (non rack and pinion or power steering).
Although I failed to ask at the time; I often wondered why the indie shop only replaced the outer tie rods and not the inner's. I would venture a guess that it was merely a matter of shop time or they felt that the inner's were in fine condition.
I have to admit - I spend way too much time looking for issues on this car when there are none .
It's been a while because I was out with the flue but I finally put the subframe back under the car and I fitted the new to me Monroe shocks.
Not a lot of pictures but the struts look nice again.
Old shock, notice how it leaked. I also learnt I need to properly wash a car before I start wrenching. Old shock New shock and dustcover with bumpstops and a droplink, not visible in this picture It starting to look like a proper car again Shocks should not stay in this position. This one is completely empty.
Also I found what looks to be a gem of a new project, which I'm going to look at tomorrow. It's a one owner 2005 R50 Cooper with just 105k km (not miles!) I only have a few pictures from the outside but from what I saw it has atleast a chrono pack and a multifuntion three spoke steering wheel. The catch is it's at a garage because it overheated as it ran out of coolant.


 08-17-2024, 01:03 PM


 So, if you ever (hopefully not), it can be done without a kit. It just needs to be caught before the pieces of the belt do any real damage.


 .
.