When you click on links to various merchants on this site and make a purchase, this can result in this site earning a commission. Affiliate programs and affiliations include, but are not limited to, the eBay Partner Network.
Stock Problems/IssuesDiscussions related to warranty related issues and repairs, or other problems with the OEM parts and software for MINI Clubman (R55), Cooper and Cooper S(R56), and Cabrio (R57).
There is something about spending a good chunk of money on replacing parts that you know are going to fail in the same way again; just doesn't sit well with me.
My 08 had a bad hatch switch when I picked it up earlier this year -- it bugged me, but wasn't worth the funds to replace and I kept using the fob.
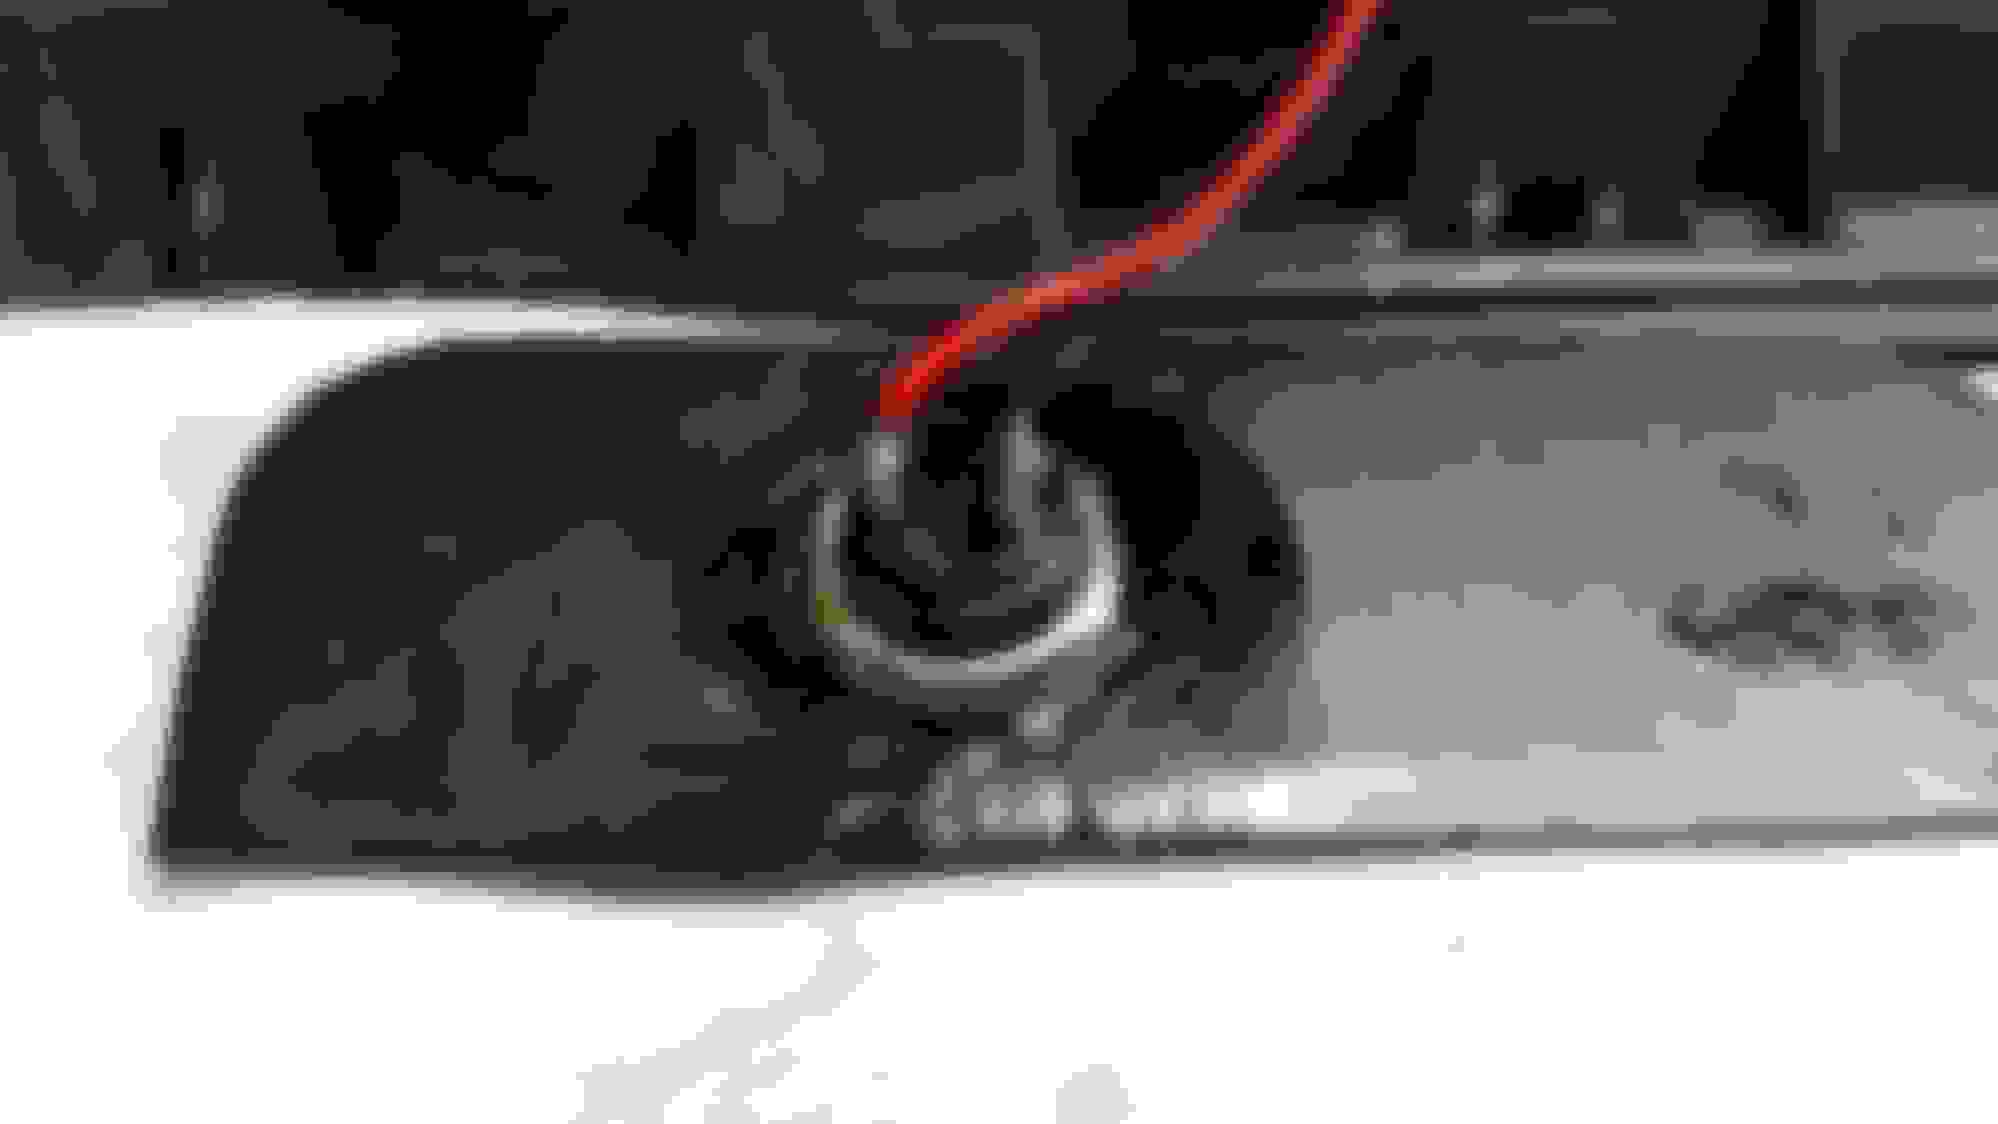
I pulled the hatch switch/light assembly off the Mini and finished cutting out the failed rubber switch cover area. This reveals the pressure microswitch underneath. Nothing fancy, just a momentary contact switch.
First thing was to create a paper template for a new cover to replace the now-missing rubber cover. From that, a piece of scrap sheet metal was trimmed out to fit that same space -- you could use some plastic if so desired, but I figured that the original rubber switch cover doubled as the lifting area (hence the failure over time as the rubber is stressed). Quick shot of black paint to blend. Buzzed out a 3/8" hole and installed a waterproof momentary switch, using a little RTV on the back side for an extra seal on the threaded area.
Using a pair of lightweight gauge wire (figure 21 gauge is fine), I soldered a wire on the poles of the original switch, as pictured, and then to the momentary switch.
Finally, the plate with switch was installed by some industrial goop glue and allowed to dry before reinstalling.
In the end, a $6 waterproof switch from eBay (actually, I got a 6-pack of switches), some scrap wire, scrap piece of sheet metal, and a few bucks in glue that I happened to be out of, and I didn't end up spending >$100 on replacing the old problem with a soon-to-be new problem.
Before pic = the whole rubber piece was cracked and I had no functioning button. The 3rd pic down (showing wires soldered to the OEM switch) is just after taking a razor knife to the remaining rubber and removing it.
Essentially, yes, I just wired up a waterproof momentary switch and made a glue-in plate to cover the hole.
http://www.ebay.com/itm/322273989269?_trksid=p2060353.m2749.l2649&ssPageName=STRK%3AMEBIDX%3AIT
Use a short switch -- the first one I ordered was too long and hit the board. The link above is the one I used.
I'm lazy.... my micro switch still functions AOK without the rubber and plastic contact strip... just need to touch switch with finger through gaping rubber hole....
I may make a new rubber cover with contact strip similar in function to original and glue on with RTV....
So basically behind this wide strip is simply a tiny round momentary switch?
Just saw this thats a Gen 1 trunk lid grip for the R50, R52, R53 ( 51137167530 ). Just wanted to make sure someone does not buy that for there gen 2 MINI R56-R59.
The R56-R59 is this part and pretty much the same set up, little different shape and design. 51132754240 gasket which is not available on its own set out more and has a little bump ridge. Not flush like the Gen 1 MINIs grip handle.

 10-29-2016, 08:51 AM