When you click on links to various merchants on this site and make a purchase, this can result in this site earning a commission. Affiliate programs and affiliations include, but are not limited to, the eBay Partner Network.
I have two questions -
First If you were replacing the adjustment gizmo on the intake cam and you went for another brand besides Mini which one do you recommend?
Second, I had to reset my cam timing and when I get everything torqued down my intake cam is slightly retarded. What could I be doing wrong?
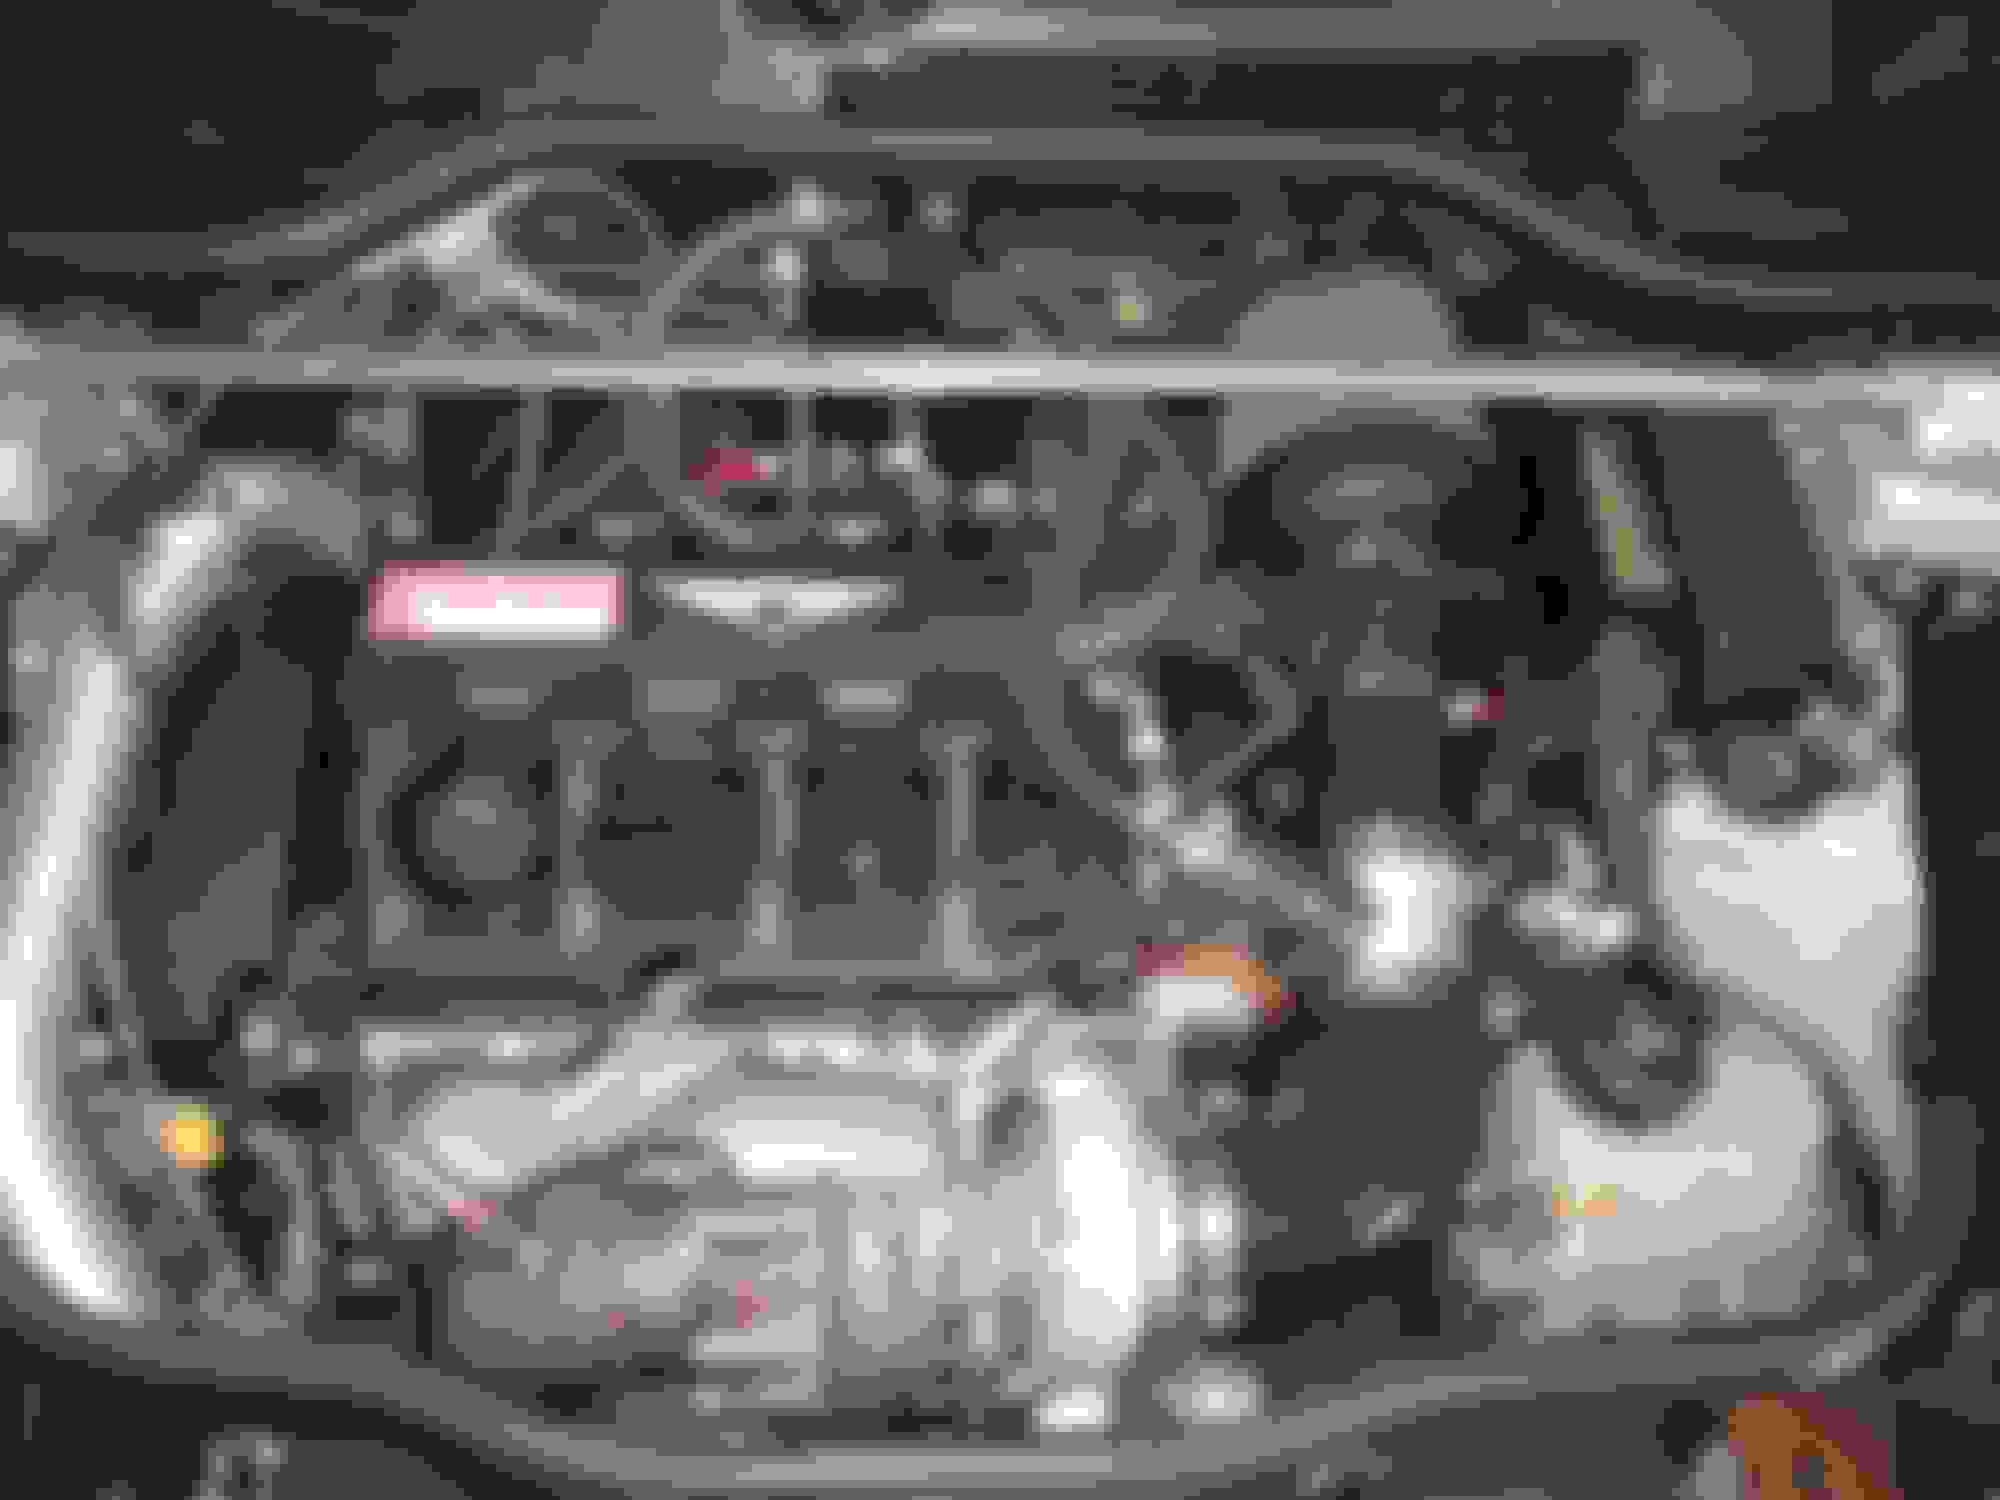
Timing tool fits
Locating tool is in
rotated the engine by hand after setting up the cams and sprockets
I have two questions -
First If you were replacing the adjustment gizmo on the intake cam and you went for another brand besides Mini which one do you recommend?
Second, I had to reset my cam timing and when I get everything torqued down my intake cam is slightly retarded. What could I be doing wrong?
Timing tool fits
Locating tool is in
rotated the engine by hand after setting up the cams and sprockets
Last time this happened to me --- excessive feeler gauge measurements, I finally quit using the pre-tensioner tool, just set it up with the actual tensioner installed. Been working fine ever since. Probably a lot of good reasons why this is a bad idea, but I got tired of replacing the cam TTY bolts every time it was off.
Wone more question. ON YOUr stats it says ici pipe. How did you get it to fit between the engine mount and the hood bracket? ICI pipe. DOesnt quite fit.
Lotsa dremel work! Notice the hose clamp, protecting the pipe from the VC bolt.
I've seen a couple pics where this pipe is installed just above the engine mount and hood bracket, but this might require longer elbow fittings at the throttle body and FMIC. Don't know if this will clear the hood either.
Do you have more pix? Did you have to trim any metal from the ends. I took a little off both ends.It's not a perfect fit by any means. What I don't have now is a flare on either end. That may not be a good thing. I may have to invest in one of those tools that puts the flare on the end.
Sure, here's a couple more. Don't have any showing work in progress, only finished product.
Here's one from earlier efforts --- trying to skimp on dremel work
Looking down towards the FMIC ---
The big picture, before the latest turbo ---
The latest turbo, with relocated DV. The added nipple didn't change any of the lengths. Turbo heat shield shown above isn't installed for this pic, but is in place now. Sorry for the blurred pic.
I didn't trim either of the ends. During my last assembly process, I tried installing it above the bracket and mount, but found the silicon elbows weren't long enough to accept either end of the pipe. Since the dremel work was already done, I bit the bullet and mounted it low, again. You might make a trial fit to see if longer elbows would work. Or weld a flared extension on each end. Pretty sure an installation above the tight spot can be done. Without a flare, you'll need some really good hose clamps, 'specially with 20+PSI boost.
CAn I ask you a question about something I just found out today? Apparently the vanos unit can be locked by locking the crank and the exhaust cam with the tool and taking a wrench that fits the intake camshaft and rotating the cam (maybe CCW) until it locks the vanos unit. Then proceed to set the cams. I understand this to mean that by locking the vanos there is no movement in the cam when torqued and it should be in place after rotating the engine with the tensioner in place. What is your experience? It says nothing about this in the repair manual unless I missed something.
I can't imagine the vanos unit locking up with the cam. If it did lock, that would defeat its purpose. And if it ever became unlocked, what would that do to timing? Probably destroy valves. I gotta admit, I know little or nothing about how a vanos unit functions, other than allowing cam timing to vary. Locking it just doesn't seem practical. If timing refuses to be set according to procedures, possibly the vanos unit isn't returning to its "neutral" position after being rotated manually, and needs to be cleaned? No experience messing with it, other than as described above.
I found this online and after contemplating what the hell it's supposed to tell me I gave up.
Can anyone decode this instruction at the beginning? About the camshaft. https://www.newtis.info/tisv2/a/en/r...mshaft/4PAbHZs
Thank you so much, DR
Then consider the wording in newtis --- "lock". My guess is "lock", "locking" and "locked" is a bad translation from German, and it should be referring to a "spring-loaded null position", which should be in the middle of the vanos adjustment range. This is verified with the "open-end spanner" as shown in their pic, and done when the chain is pre-tensioned, not loose. Failure of the vanos to return to its "null" position, when releasing the spanner, indicates a faulty vanos --- (weak internal springs?). Rotating the cam a few degrees CCW is NOT a violation of their engine rotation rule, as long as the crank is locked.
Following the newtis chain and / or cam replacement instructions should automatically set the vanos correctly.
I believe the problem I had with failing the feeler gauge test, was caused by the after market cam --- longer duration and higher lift. This affects the pre-tension setting of 0.6Nm, which is supposed to "offset" the effect of valve spring pressure on the cam. More duration and lift means more pre-tension is needed to override the valve springs. There's also the possibility that the vanos unit is wearing out --- internal springs are weak, keeping it from returning to its "null" position. However, in my case, based on my dyno pulls and street performance, I don't believe the vanos is faulty, and my use of the actual tensioner in place of the pre-tension tool was justified --- overkill, but useful until a better number is found.
As I mentioned earlier, I know little to nothing about vanos and its operation, all the above is guesswork. Hopefully, someone with more experience can offer a better explanation on your new thread.
Ok. I understand. I ordered new bolts and a new vanos. I will check the current vanos with the crank locked just to try to understand what the score is.
I have cat cams installed and they are the second choice wilth slightly more lift and duration than stock, but not the "race" grind.
Just curious, what did you do to increase torque and Hp in your engine? I had something like 200hp and 210 torque before doing any of this expensive crap I've just done. But I got JM Turbocoopers to tune the engine, bigger turbine, 1mm over valves, ported head, 9.5:1 pistons, plus some other crap. I am wavering on whether or not to add a kit for an oil cooler and moving the oil filter away from the current position and a thermostat in the system. I'm a little weary of spending money and whether or not the investment is worth it. Anything I have to fabricate, while, fun, takes forever.
I started mods early 2011 with Thumper's head (OEM valves), GT28RS, FMIC, 3" catless exhaust, K&N air inlet, AP custom tune, and produced 280 WHP and torque. So I started out with big numbers, and they've been growing proportionately ever since. Switching from AP custom tune to Manic stage 4 bought a 15% increase. Last jump was from 380WHP and 402ft-lbs to 520WHP and 424ft-lbs, just from switching to a tubular ex manifold and G25-660 turbo. Biggest factor is engine breathing --- big turbo (not a K03 / K04 hybrid) to create air movement and large, smooth exhaust air flow. 80 - 20 WMI mix prevents fuel starving, colder plugs help with heat distribution (currently using HR10), and a good tune (datalogging and dyno) puts it all together. During all this, there were breakdowns and rebuilds, as described in my build threads. Still using OEM gas, oil and coolant systems.
Is it worth it? Depends on why you started in the first place. I originally wanted to build a beast during my retirement, starting with a VW bug and custom built VW engine, but the engine builder (forgot his name, but he's very popular in the VW world) wouldn't sell me his engine --- I had no air-cooled engine experience. Mini was my 2nd choice, so instead of learning air-cooled engines, I had to learn about DI, turbos, FWD, etc. Economically, it's disaster! The '07MCS book value is about what my last mod cost. Not counting my original used purchase price in 2010, I could have bought a new fully loaded JCW with the money spent on mods / repairs. I'll never be able to re-coup my investment, and my heirs aren't too happy with me either. However, I get all kinds of enjoyment just cruising town in my "sleeper". Then there's bragging rights --- not a lot of 500+WHP Mini Cooper's on the streets out there --- world-wide! I also enjoy documenting my build and mistakes --- there's satisfaction in knowing I can help someone else learn from my experiences. So for me, yes it's worth it!
If you don't have the resources for mods, or you need to sacrifice your family budget, I'd advise you to back off. If you want THE baddest Mini on the streets, I'd also advise against it --- there's always someone out there with a bigger, badder machine.
True. My goal wasn't the hottest mini. I just want a fun car. I entertained the thought of buying a 2013 but when I looked all I found were trashed multiple owner cars, plastic seats and dents all around. So I just kept mine as i ordered it new and it's comfy w/leather inside and it's laser blue which is rare. I really didn't want car payments and when I took the manifold off a while back and fixed the water pump I simply got motivated to fix the whole thing. It's been 3 years sitting on stands but I have a real problem working in a moderately cold garage. My arthritis is killing me which pisses me off because I'm a coach and I love to move.
So I've made only minor upgrades in the cabin, and spent my money on suspension,j brakes, transmission and of course the engine. I didn't want to mess with the turbo much so Arric at JMturbocoopers upgraded my KO4. The only thing i would love to do is add an oil cooler and move the filter body arrangement because it's a pain in the *** to deal with. But I think the cost will be upwards of $1500 and I'm not sure it's worth it. I found a great set-up and it's more than possible especially since the front of the car is off. I might. Not sure. I don't track the car and I don't have a cat so the temps are rather normal. Thanks for the share. I just got a new vanos and bolts this afternoon. And a new front seal. I'm not sure why the new one the machinist put in is leaking, but if it's leaking cold, hot will be a mess. Again the front of the car being off makes the repair much easier.


 08-23-2020, 09:06 AM