When you click on links to various merchants on this site and make a purchase, this can result in this site earning a commission. Affiliate programs and affiliations include, but are not limited to, the eBay Partner Network.
Did you spray painted those rings on your front and taillights? I am thinking of painting them either with plastidip or real paint.
Hey MINICOUNTRY,
No. Those are an OEM Option. When I bought the car, you have the option to change from chrome to piano black exterior package for $250. The option includes the headlights, taillights, and side scuttles.
However, many forum members have plasti-dipped them. I am sure there is a write up on the process somewhere around here.
I would send them to a paint shop and have them professionally sprayed. I think they would do a better job and I think the high-gloss finish looks better than matte. This option is obviously more expensive than a single can of Plasti-dip, but you get what you pay for. Regardless, I cant see them charging you more than $100-200....
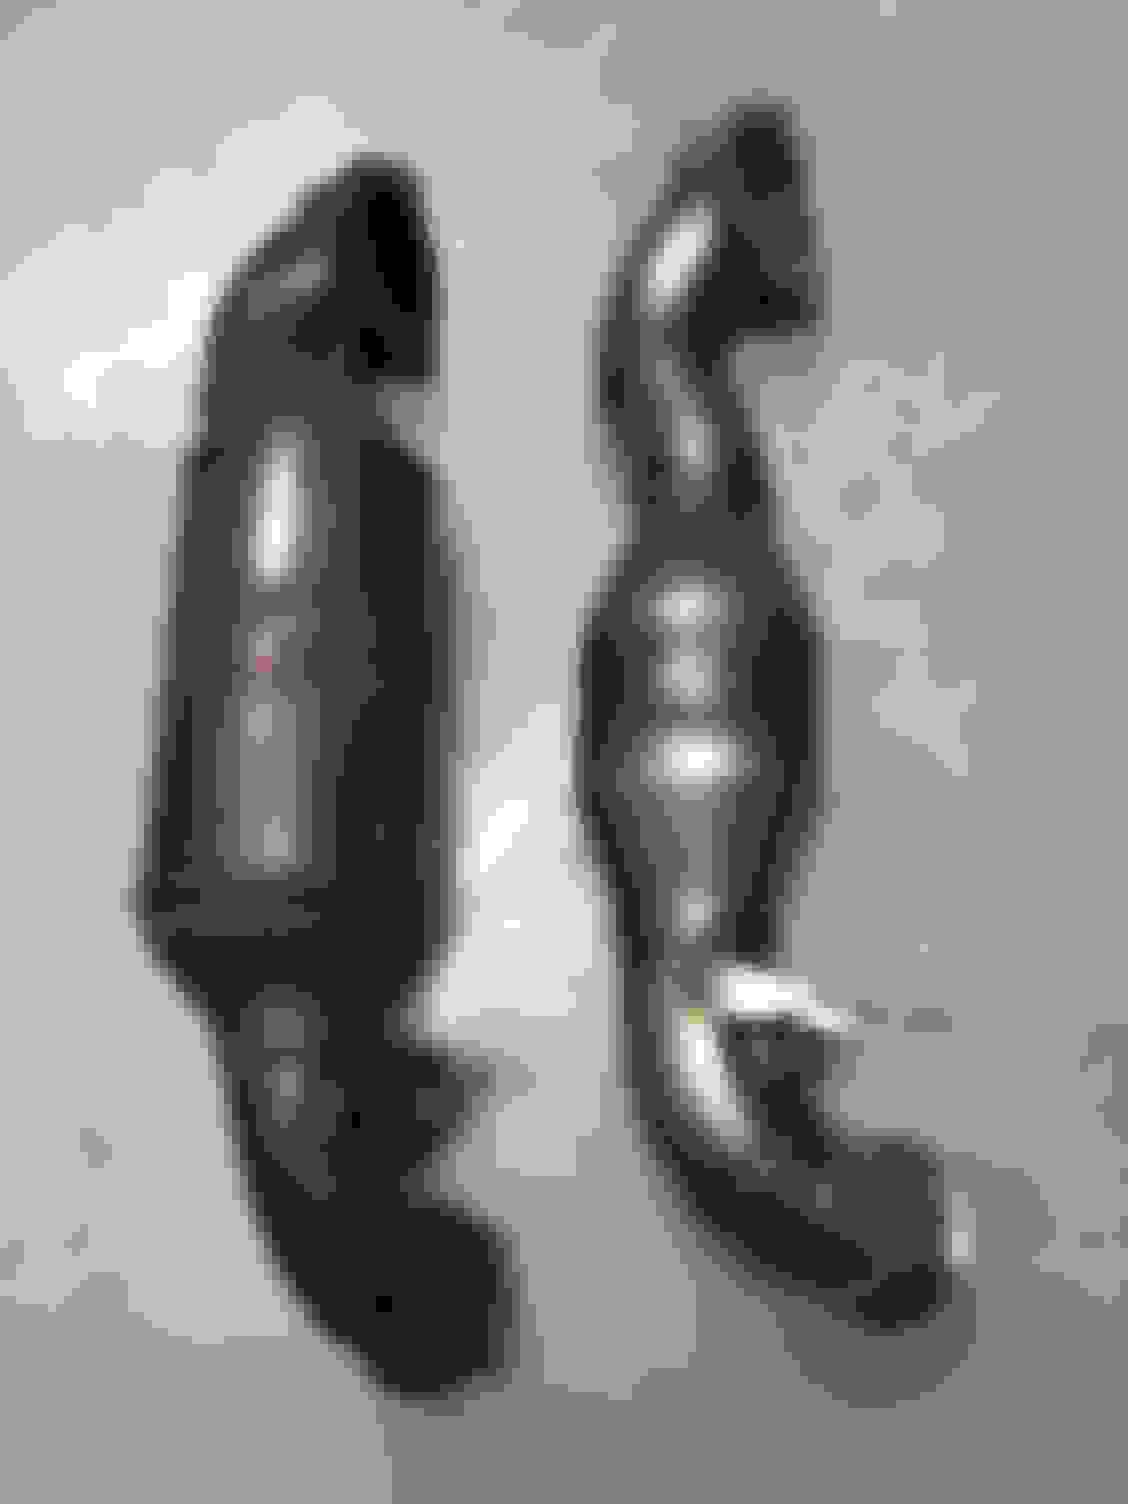
So i finished installing the P3CARS V.I.D.I Gauge last night. I'm just gonna say that working in the driver's footwell sucks B@!!$.... I'm 6'1'' and 235 lbs, and would not wish the contorting into that space on my worst enemy! I only took one picture of the gauge because I was tired, but I will add some more of the gauge lit up. Eventually, I will also add YT videos of the car.
So in terms of installation procedure....
-Remove "Mickey Trim Piece".
-Fashion 4 Rectangular Wedges out of a paint can cap in order to remove the circular vent cap that holds in the directional vent.
-Remove Directional Vent from Vent Hole.
-Remove the 2 U-Shaped Shims that held the Directional Vent.
-Before you start drilling! Close all AC Ducts except for the Gauge Duct and turn AC on full blast. This will prevent plastic shavings from going down plastic duct and becoming forever relegated to a life of noise in your AC System! Plus, its a nice breeze while you work!
-Use an Right Angle Drill Adapter(like the one in the picture below) to reach as far back and down into the plastic AC Duct and start with a 1/4'' hole and move up to 3/8''. The "Ethernet" Modular Plug is slightly larger than 3/8", so you must use the 3/8" bit to slightly enlarge the hole for the plug to pass through.
-Use a metal file to clean up the edges of the hole.
-Use a Sharpie to "paint" up the edges of the hole in order to make it as inconspicuous as possible. However, the hole was far back and angled enough that I could not see it anyways.
-Run Gauge Cable through the hole and pull the slack out gently from the driver's footwell.
-Install Gauge by lining up the L&R Horizontal Spikes on either side of the gauge with the tiny holes in the face of the AC Duct Hole.
-Perform Sexy Cable Management of excess cable and module underneath driver's footwell, and ziptie out of the way.
-Plug in to OBII Port.
-Drive it like you stole it.....
Drive Safe and Drive Often. Rubber Side Down. Over and Out.
On to the next project. I will soon be finishing up the front end of the exhaust system, as I currently only have the NM Catback System. I ordered the "Front Section" from the VIP System. Van from VIP is extremely helpful and worked with me on this custom project. The "Front Section" consists of the downpipe-back "S-Shaped" tubing that eliminates the 2nd Cat and Rez and replaces them with a single straight-through resonator. Below is a few snaps of the "Front Section" from VIP's Website.
Since its the wifey's car, I am trying to keep Db levels as low as possible. Thus, I will be adding a Vibrant 1141 Ultra-Quiet Resonator in conjunction with VIP's resonator. I will then mate it to the NM Catback Exhaust. NOTE: NM Exhaust is 60 mm, which is 2.36''. Thus, I will have to slightly flare out the NM Side in order for it to mate nicely with the Custom/VIP side, which is 2.5". Below is a snap of the Vibrant 1141. I need to measure the depth and width of the exhaust cavity/shaft first, to make sure the Vibrant will fit. I will document the process and describe the procedure once I complete it.
Drive Safe & Drive Often. Rubber Side Down. Over & Out.
Hey Juan, how do you like the p3 gauge so far? Any pictures of it on?
Hey DEVIL,
I friggin' love the new gauge! It seems to extremely accurate since it runs directly off the OBII, and fits seamlessly into the vent. The color matches flawlessly with the OEM orange, making it look like it came from the factory. I have been playing around with the different modes, but have not modified any settings yet. The 0-60 mode is so much fun!
I will take a few night photos so you guys can see the gauge lit up. I will also try to make a short video. Ill add it to this thread, hopefully in the next few days.
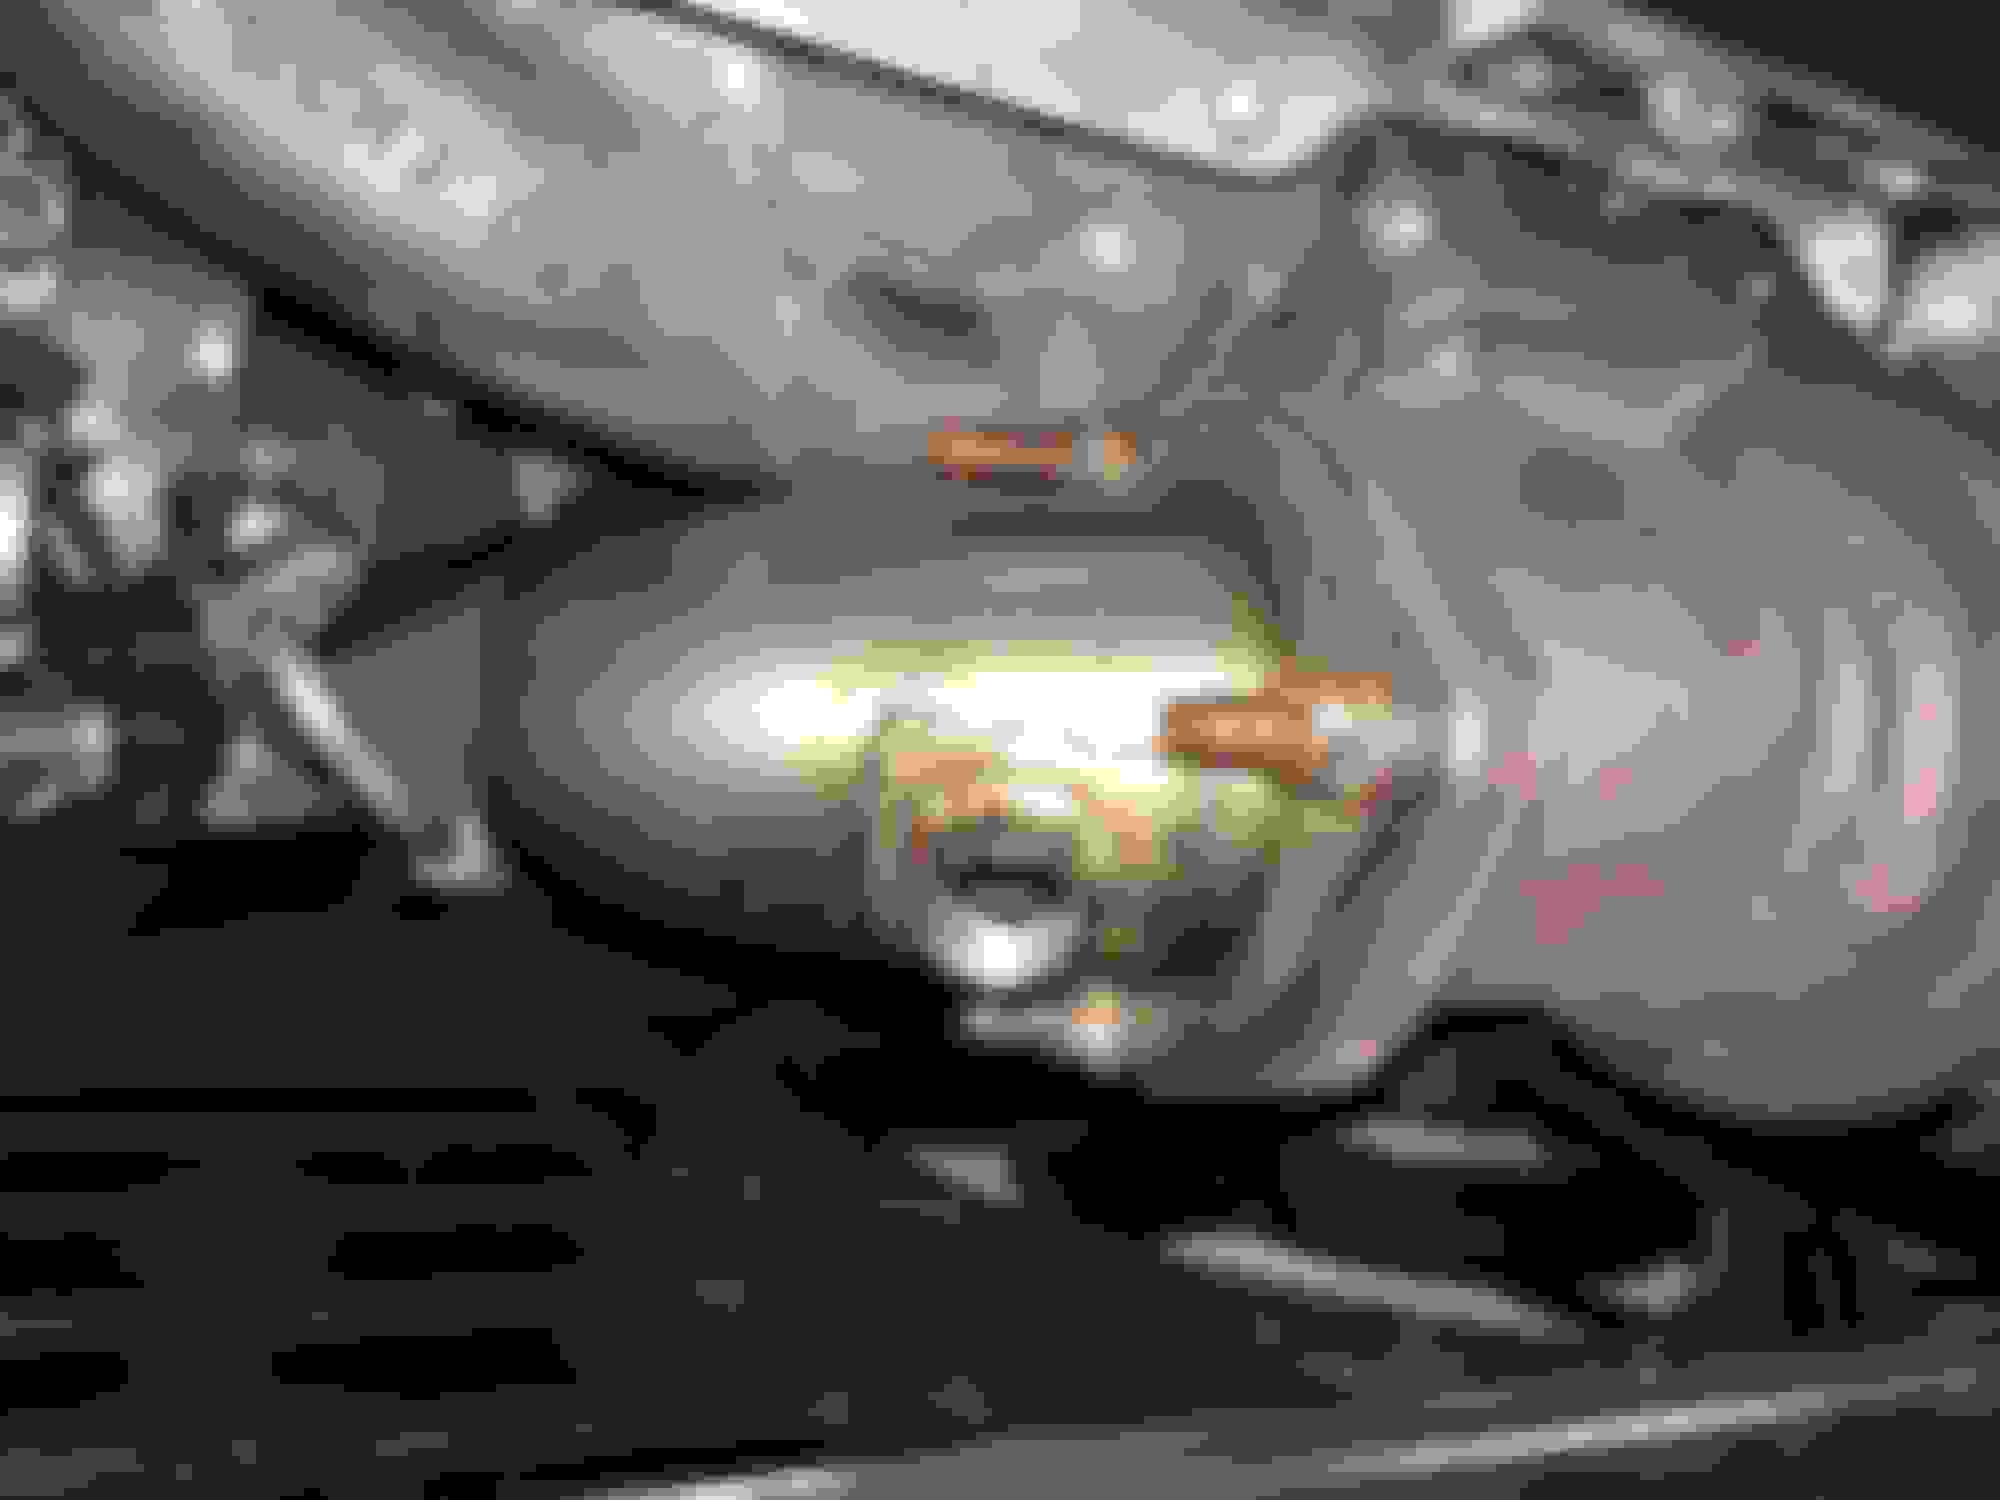
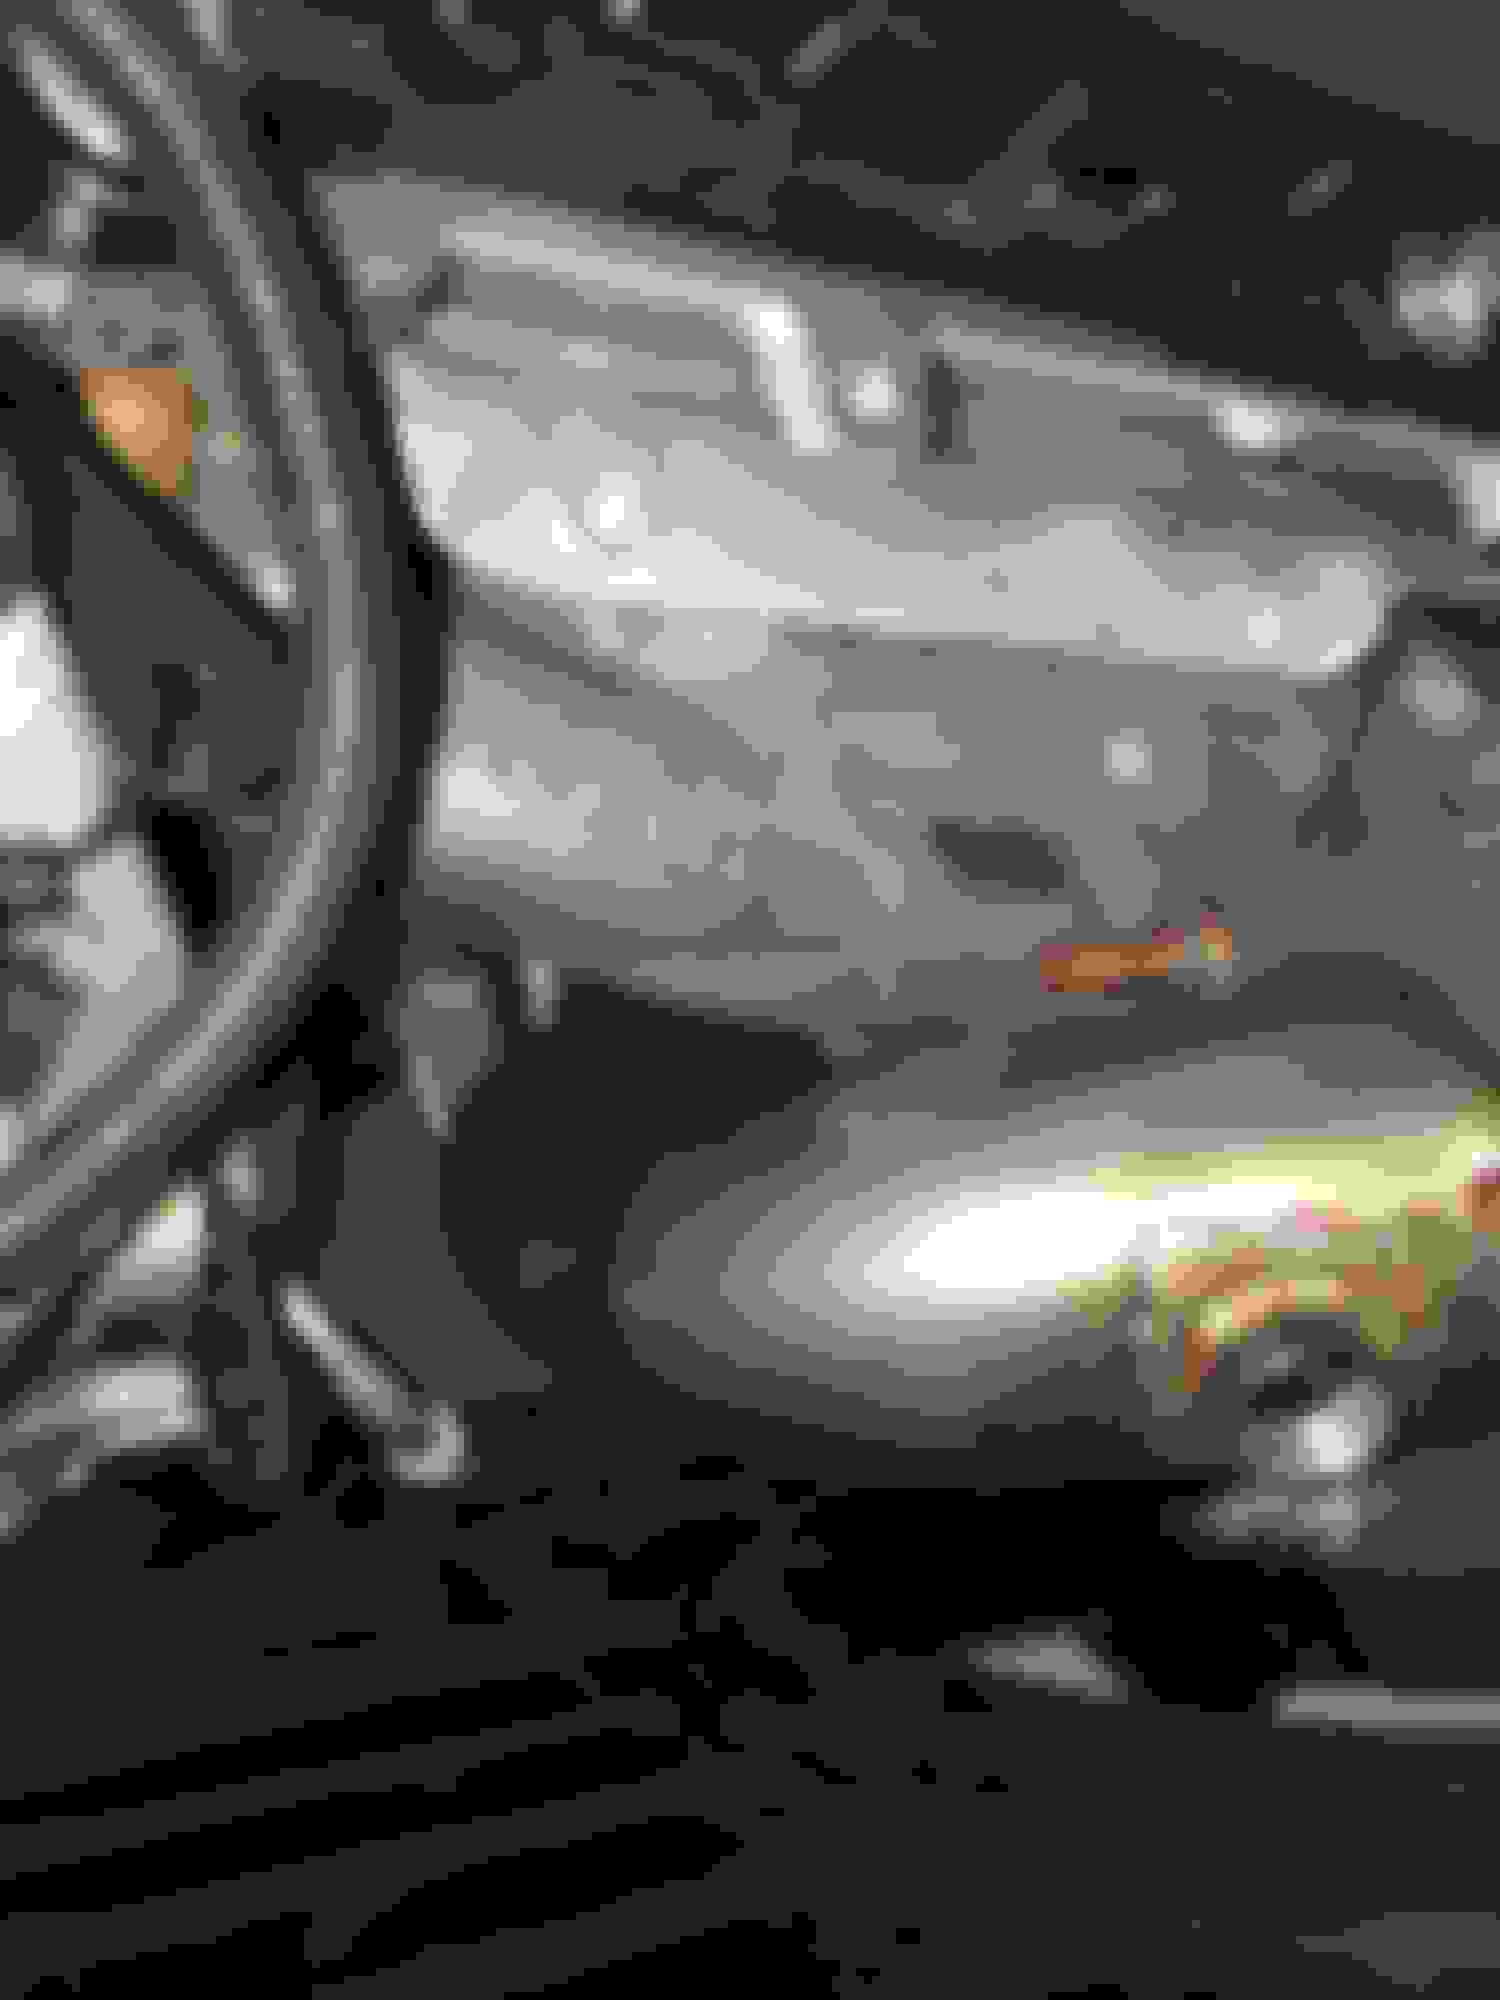
Here are the pictures of the P3Cars V.I.D.I OBDII Gauge! They are kind of crappy as they are just night pic from my iPhone, but I hope it gets the idea across. I also added a few of the Courtesy Logo LED Puddle Lights.
One of these days I will take some nice photos with the Sony A5100: Day and Night ones....
But for now...
I also just noticed that the Logo in the puddle lights are not aligned perfectly to each other. You can actually spin it around, so I will have to adjust that to get them right on.
Thank you! I am very happy with my progress so far, and the wifey is super psyched with her new toy! Yes, those are the factory-style puddle lights. Not only are they very cool-lookin' but they are very bright and light up the ground very well!
I receive the VIP Front Section in 2 days, so I will update as soon as I get under the car. Take care!
SIDE NOTE: I noticed that in the iPhone photo, the Mini Logo is undefined and blurry....This is not the case, as it is actually very sharp and defined. However, the night photo with the iPhone made it super blurry and over saturated.
I performed my first oil change on the CMS last night. She was around 3000 Miles, and I wanted to get out that initial oil. Didnt look too bad, but too good either!
I installed the Dimple SuperMagnetic Oil Drain Plug to replace the OEM Hex Head.
Let me just tell you....that thing is super strong! I got startled as I was going to put it in, and it slammed itself up against the oil pan, due to how strong the internal magnet is! This aint your Ebay Special.....
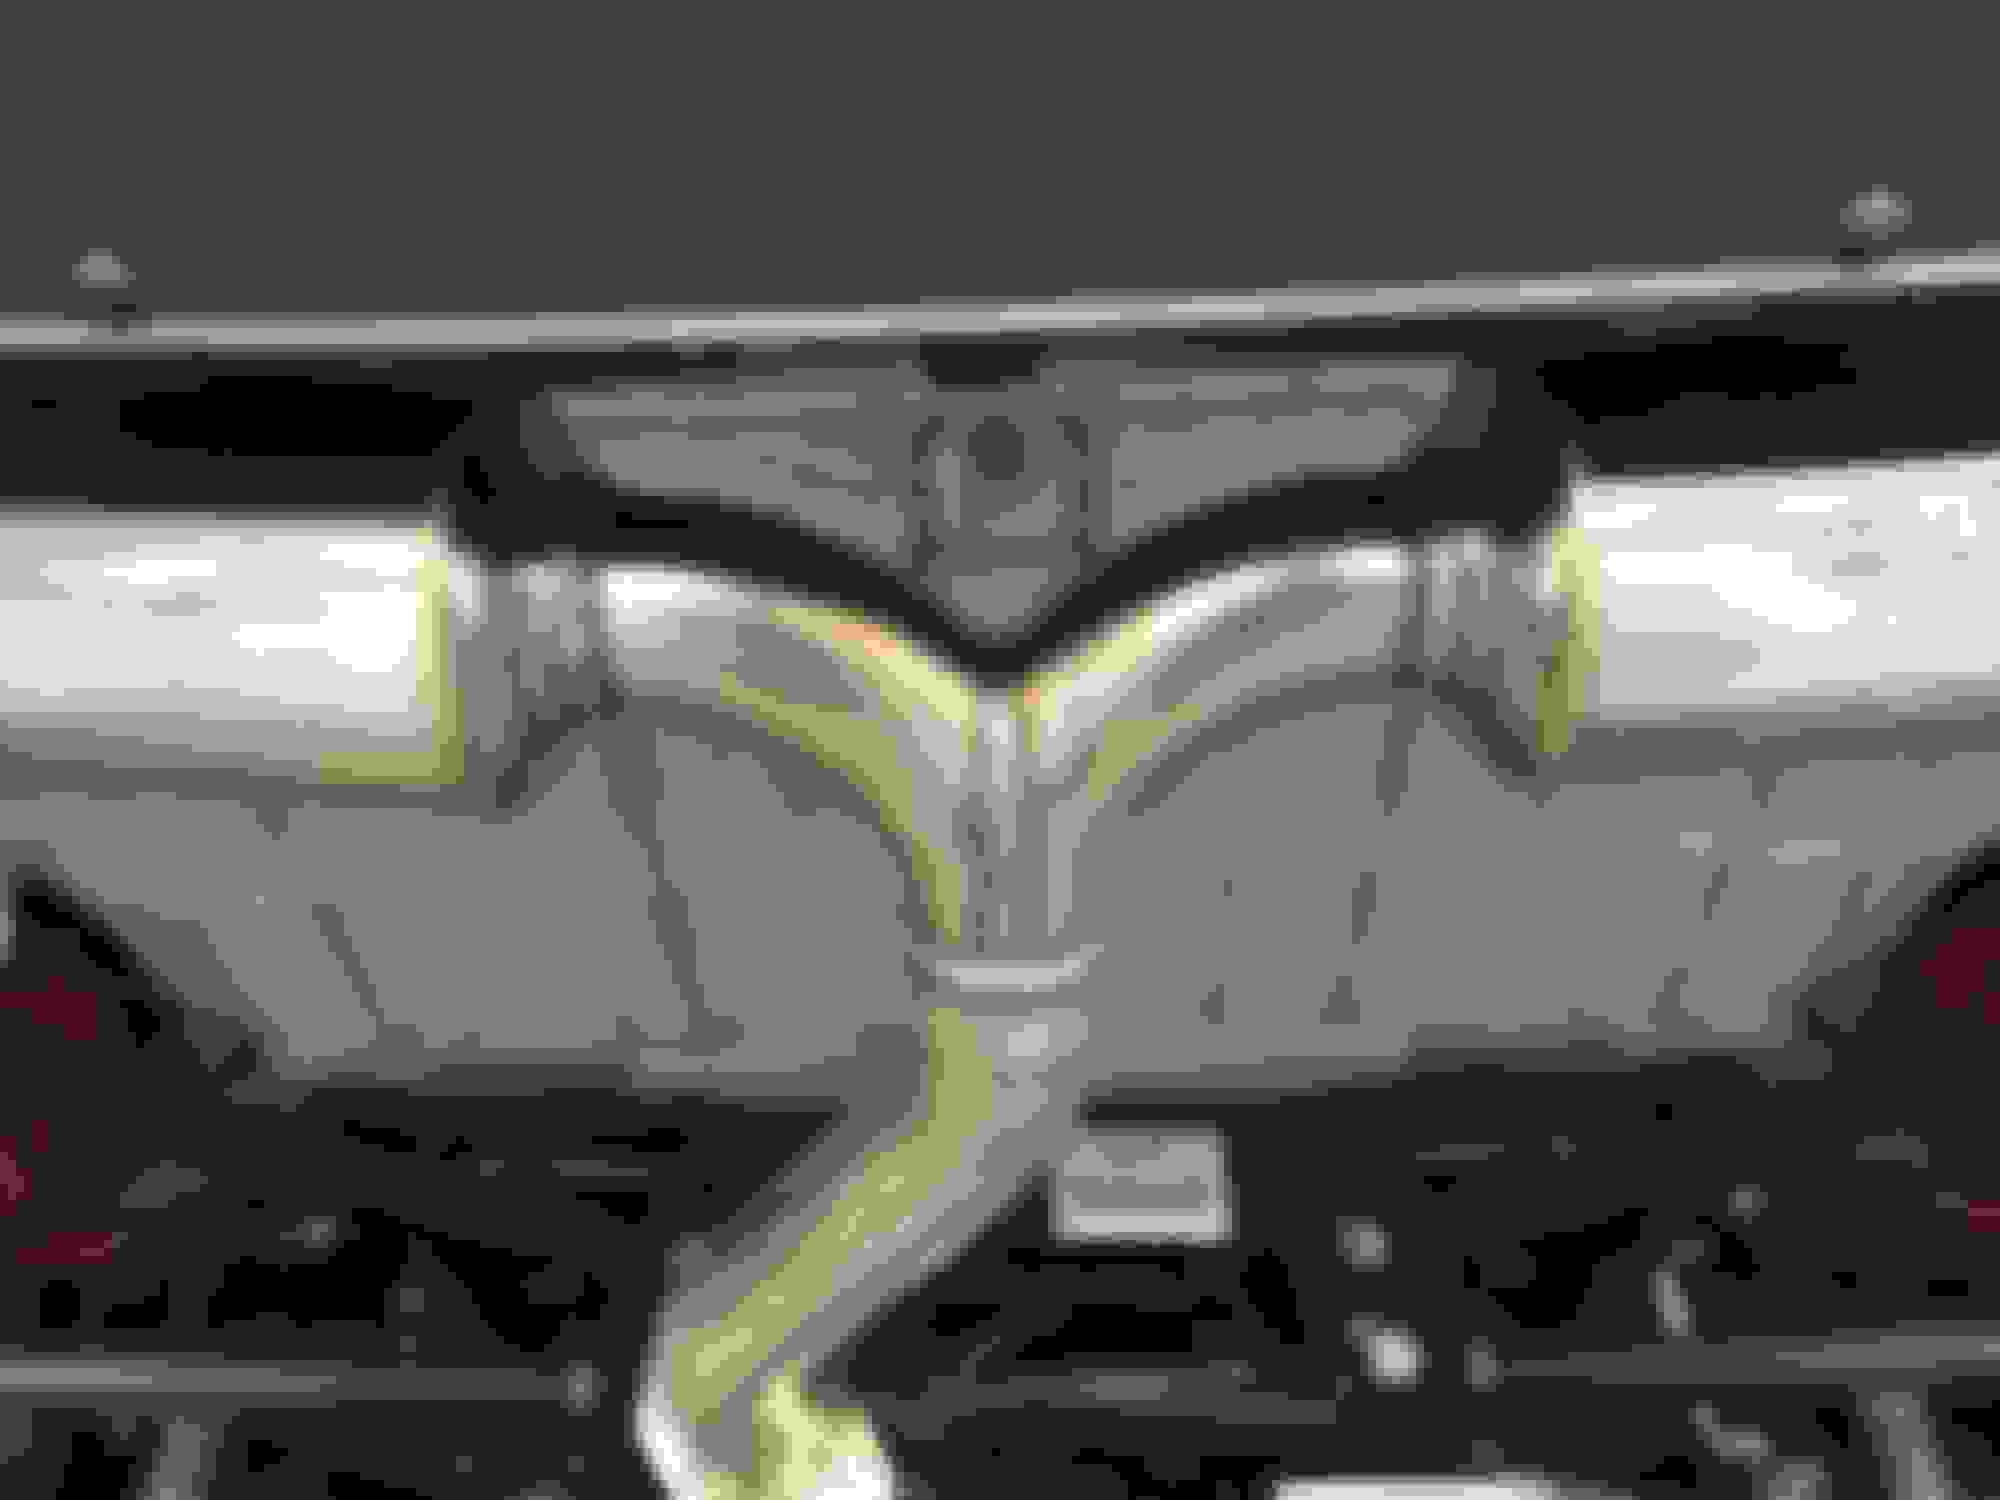
I installed the VIP DP-back front section yesterday. The fit & finish is perfect, and it bolted up perfectly to the existing NM Engineering Catback System. The only thing I had to do was reduce the VIP tip from 2.5" to 2.36" to fir into the NM Sleeve.
In the picture you can see a bit of carbon on the sleeve. That was because it just was not tight enough when I first installed the NM System. However, the VIP section is now nice and tight, and I cleaned up the collar, etc.
I also added a snap of the NM Rear Section. The VIP and NM together produce a great sound! It is very understated, which is what I was looking for (Wife's Car). It is not overwhelming at all, but nice and sporty. The pop & burble is REAL now when I'm in sport mode.
I also just ordered the Akro DP, which should do nicely in conjunction with my current setup. As soon as I install the Akro I can get Manic Stage 2, which I'm so excited about.
Drive Safe & Drive Often. Rubber Side Down. Over & Out.
Im bored at work and I am still waiting for my Akro DP, so I cant really add anything from my CMS. Thus, I added a few photos of 2009 Toyota X-Runner Custom Audio Build. Tell me what you think!
-Pioneer AVIC-X930BT DVD Navigation
-Alpine 6.5" Speakers SPR-17s Component Speakers (Front & Rear)
-Alpine MRF-300 4-Channel Amplifier (Components)
-Alpine MRX-500 Mono Amplifier (Subwoofer)
-Custom Subwoofer Enclosure
-JL Audio 10W3 Subwoofer
-4 Ga Wiring throughout
-Leather Interior to match enclosure
-Custom Speaker Mounts made out of Marine Starboard
-Monster Cable Speaker Wire and Gold Plated Terminals & Connections
-Protective Foam Door Speaker Baffles
-60 LBS of Sound Insulation in 2 Layers: Dynamat for Sound Deadening and Ensolite for Vibration Control and Extra Deadening. In floors, doors, roof, firewall, and rear of cab.
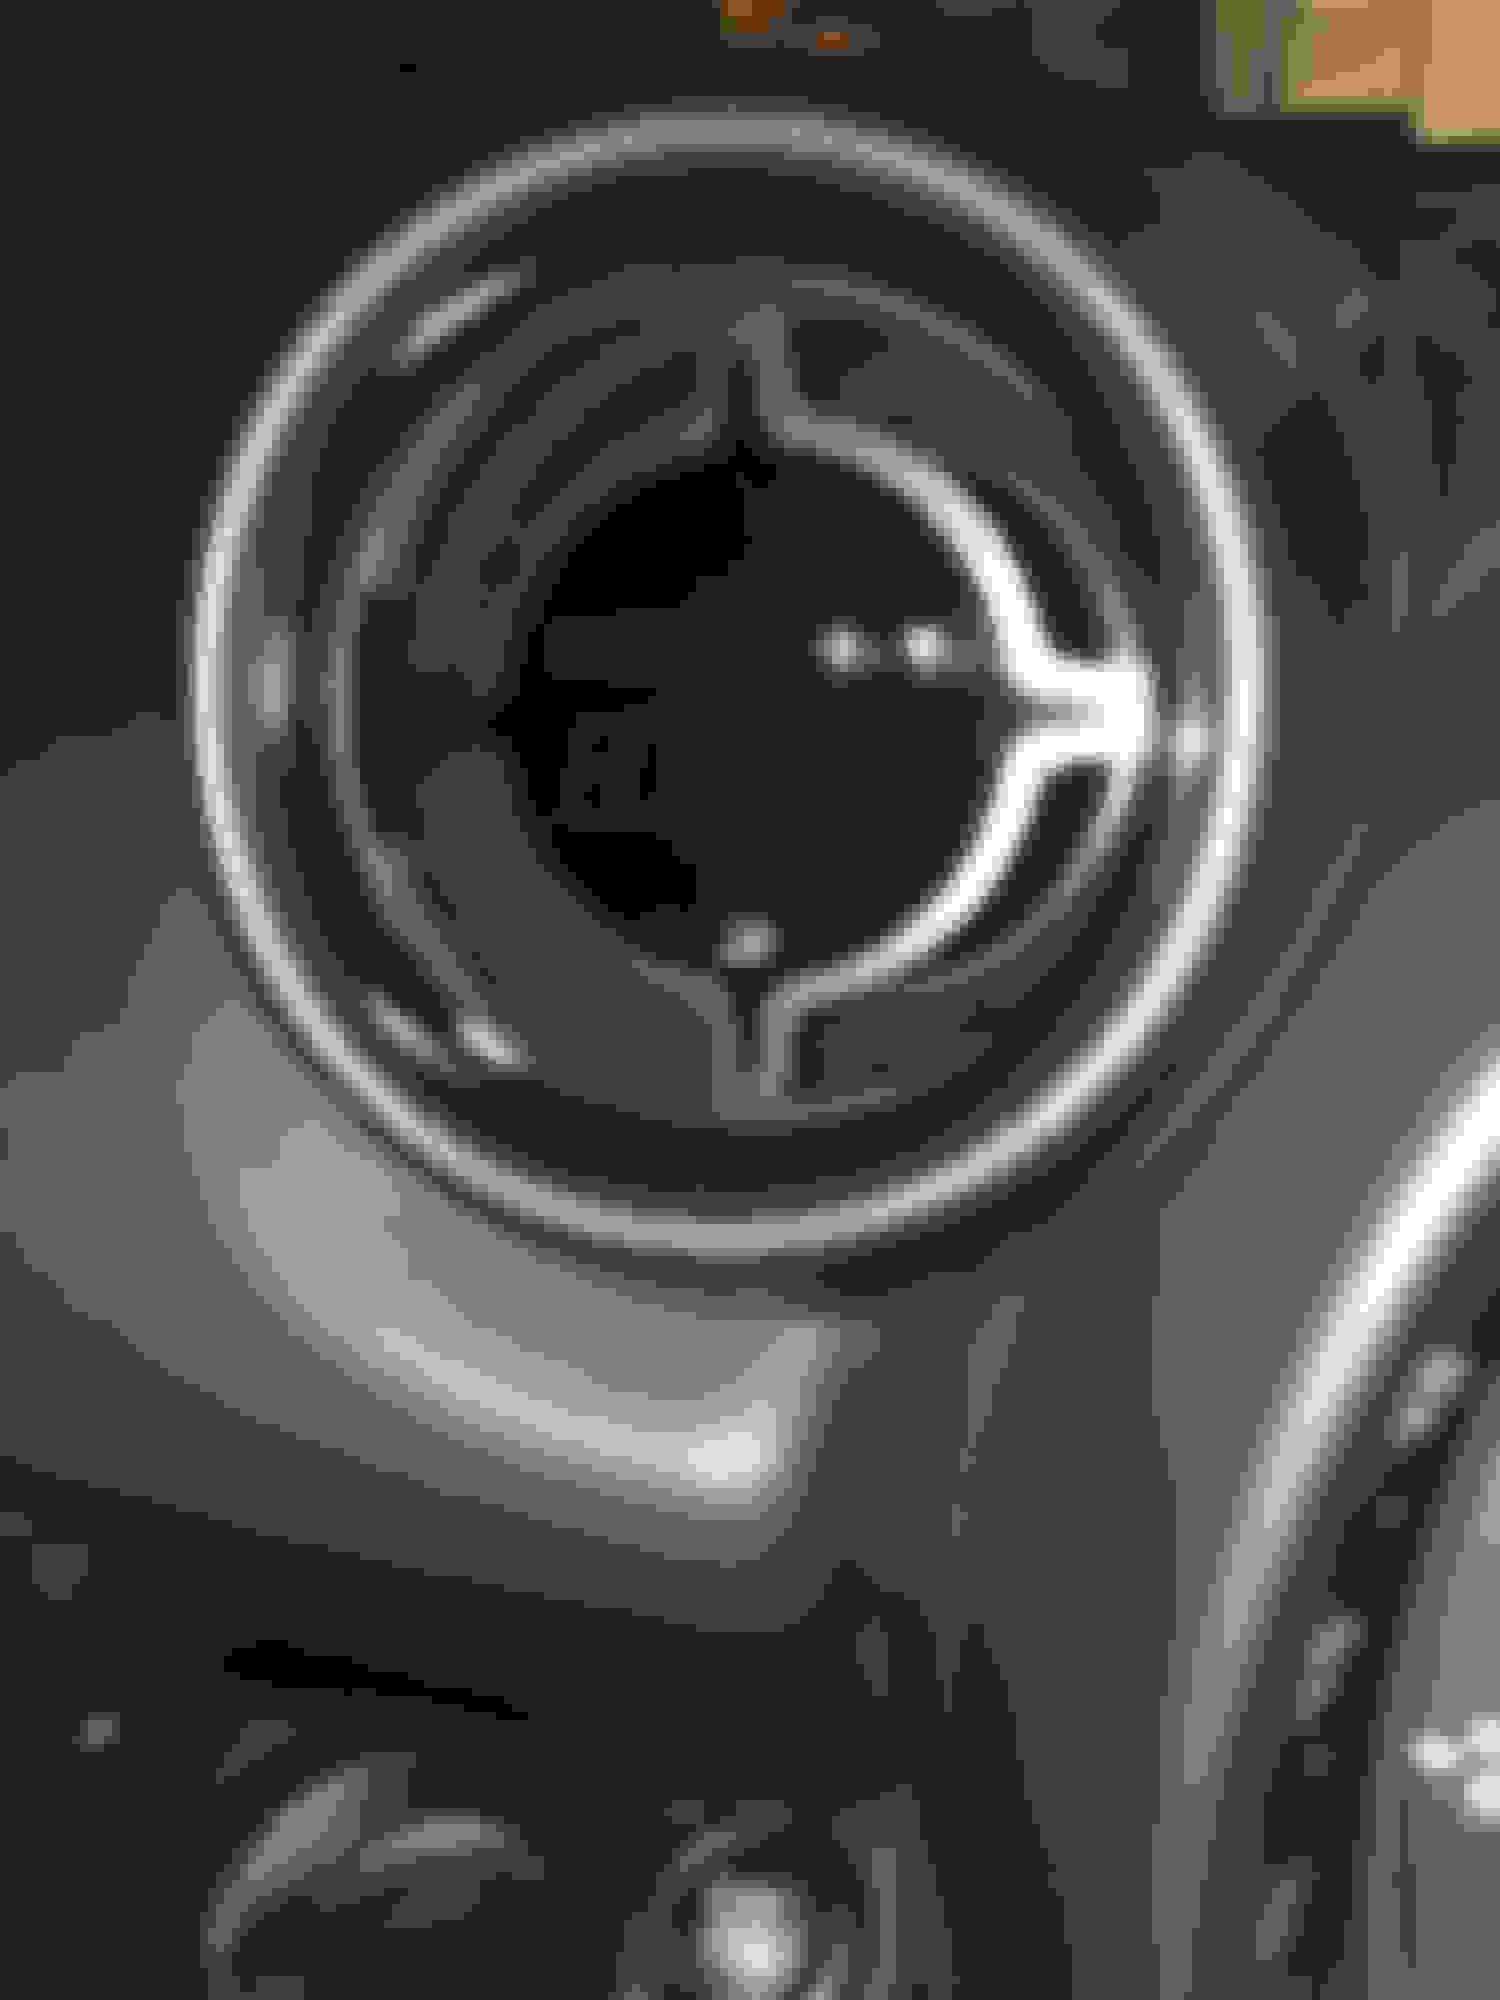
I got around to installing the Akro DP over the weekend! One thing you should know....the heatshield(s) removal process was an absolute PITA!!!
The heat shield are comprised of 2 pieces: the top clamshell and the bottom tunnel. The top clamshell has the 3 bolts up top, 1 by the HVAC Service line on the left, and 2 facing the front of the vehicle, right behind the radiator fan shroud. Those 2 are a nightmare...Once it is loose, you have to slightly bend the top-left portion to pull it out of the top.
The tunnel portion has 4 bolts, 2 on each side of the tunnel, which I accessed from the bottom of the vehicle. Once it was loose, I pulled it out from under the vehicle.
The sound is awesome! Like others have noted, it does not really make it louder, but rather, much throatier. You can hear the turbo "bbrraapp" note in the exhaust a lot more.
I know have a complete system: Akro DP, VIP Front Section, and NM Rear Section!!
I will post some videos in YT as soon as I can.
Drive Safe & Drive Often. Rubber Side Down. Over & Out.
I think you know what this means!! MANIC STAGE II!!!
We had to do a bench because my 2016 had new coding that was not in Manic's database, but their turnaround time was only 1 day! Loading new maps tomorrow afternoon!

 01-28-2016, 07:47 AM