When you click on links to various merchants on this site and make a purchase, this can result in this site earning a commission. Affiliate programs and affiliations include, but are not limited to, the eBay Partner Network.
Not yet. I looked at it but am not completely sure where to drill the holes. The smart thing to do would have been to look while they were off but of course I completely forgot to..
I've gotta look closer to see where it needs to be drilled. It probably won't happen until this weekend so hopefully someone can chime in by then who has done it.
Finally got around to doing an oil change and replacing the CPS o-ring and oil pan gasket. By the time that was done I didn't feel like doing the oil filter housing gasket so that will be saved for next time. Hopefully this takes care of most of the small oil leaks going on.
Out with the old, in with the new.
Clean oil pan and fresh gasket.
Not sure what to look for since I know very little about the bottom end but I don't see anything that looks bad. Looking for any input from some of the more experienced mechanics if there are any obvious issues you see.
Alternate view.
Thanks man and yea having been stuck outside in the nasty weather all week it was definitely a nice change to have it so nice outside, and that's what I wanted to hear. Only 86k on it right now so I didn't expect to see anything bad, just wanted to get a 2nd opinion on it from some more trained eyes.
Not to much serious work done here lately on the MINI since I've been catching up some needed maintenance on our other car but a little bit of an update.
Gutted out my old panel filter to use the rubber gasket to seal the air box better for my "custom" intake. Credit to Applesauce for that one. Also replaced the power steering hoses since it's not covered in the recall and I'll be taking my car in for that next week.
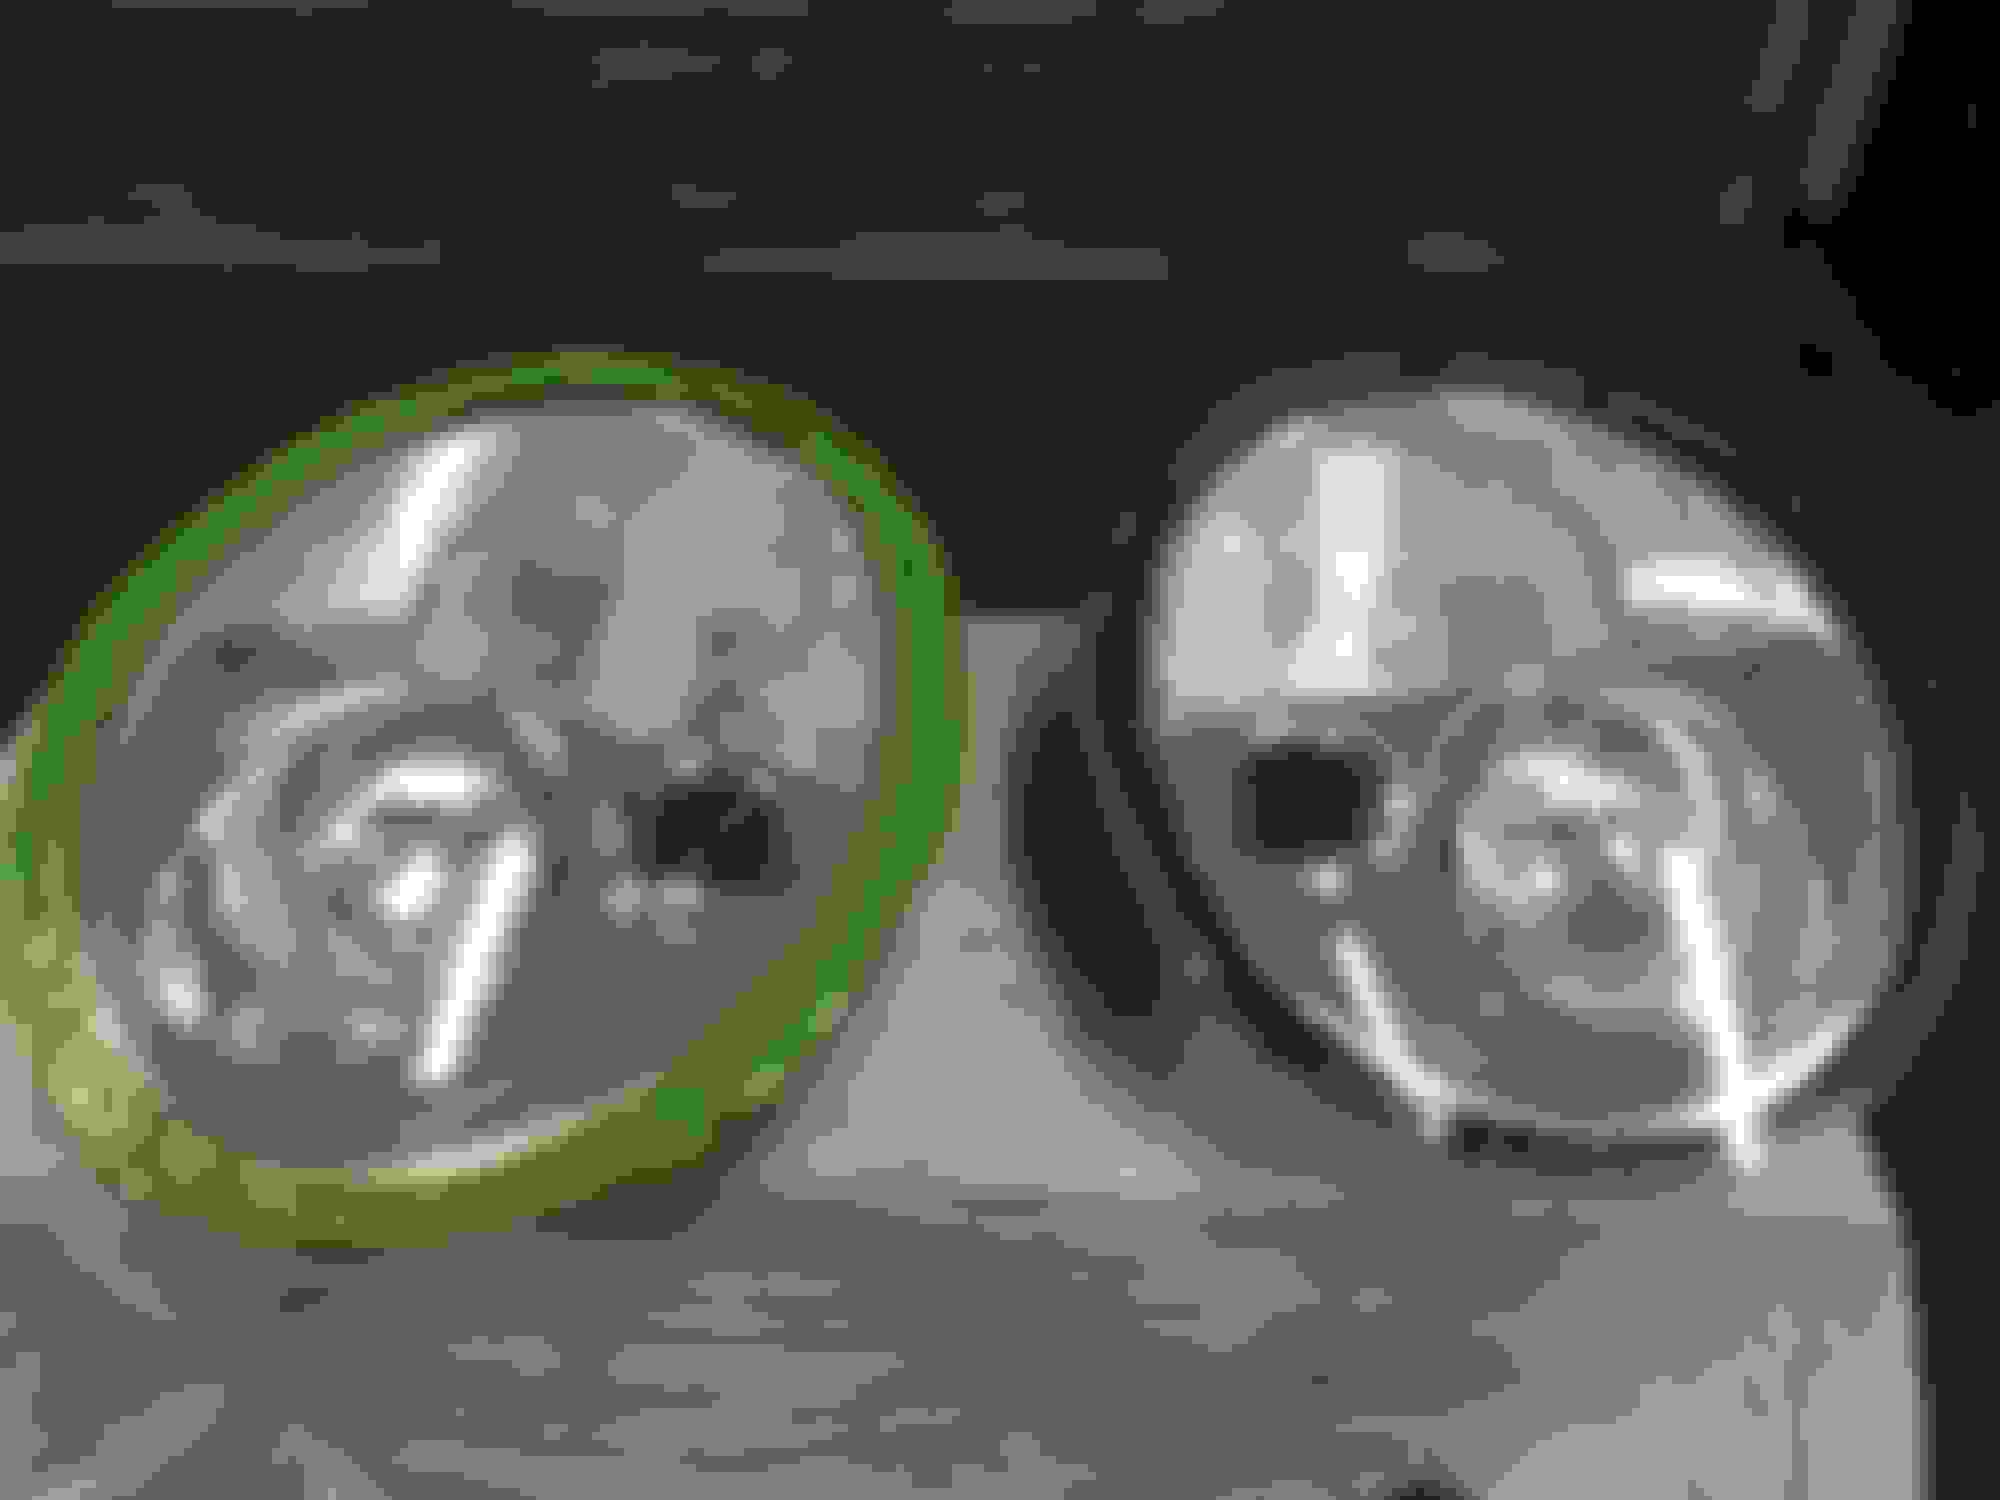
Progress has been a bit slow lately but still progress none the less. My inner and outer ball joints were smoked so I got around to replacing those finally. LCA bushings are next on the list as far as that goes. I also restored my headlights which were beginning to re haze from the last person doing it and not correctly sealing up the work. This should hold me over until I can get me some better ones. No super cool photos but I figured a update without any photos at all would be kinda boring, so here's a few of the headlights before and after.
I completely forgot to get a before of the whole light but if you look at the cloudiness at the top, that's what they looked like.
Wet sanded down.
Left is after clear coat. Right is after clear coat, wet sand and polish.
Close up of the orange peel. These orange peeled way worse than usual so I guess the humidity was a bit high and messing with the paint.
This is after another wet sand and then I followed up with polishing. You can still see a faint bit of cloudiness if the light catches it right so I suppose I could have gone a bit longer on the initial sanding but I consider this a success bearing in mind that these are the original headlights.
Finished product with a fresh coat of plasti dip on the rings to complete the post winter refresh.
My gas cap and side scuddles are white. Hadn't really thought about the scoop but i do like the way yours looks. I think your stripes really make it blend though. How are your door handles holding up to wear?
My gas cap and side scuddles are white. Hadn't really thought about the scoop but i do like the way yours looks. I think your stripes really make it blend though. How are your door handles holding up to wear?
Yeah, I noticed your gas cap but I didn't notice the scuttles.
I think you're right, the white stripes bring it all together.
I've only had it done about 2 weeks, but so far so good. However, I'm also stupid careful and just touch the inner handle to open it, and close by pushing the door itself, no hands on the actual plasti-dip!
I also haven't hand washed it or anything since then so no input on pressure washer/brush.
That's funny because I do the exact opposite. I always close my door by pushing the handle to avoid putting smudges on the paint or window, crazy I know but the smudges drive me crazy. I may give it a shot and just keep the dip spray on it to hopefully prevent peeling.
Made some good progress lately. Got aero grilles installed, which cleans up the front end a lot in my opinion. Also finally got around to doing Powerflex LCA bushings and went ahead and did poly front sway bar bushings while I was down there. I actually dropped the sub frame rather than trying to do the on car method. It actually surprised me at how easy it was to drop the sub frame. I should've just done that when I did my ball joints considering the time that I wasted trying to do them on the car.
The poly bushings seam to have tightened up the front end a ton. I never really knew what people meant when they said it but they really do make a huge difference.
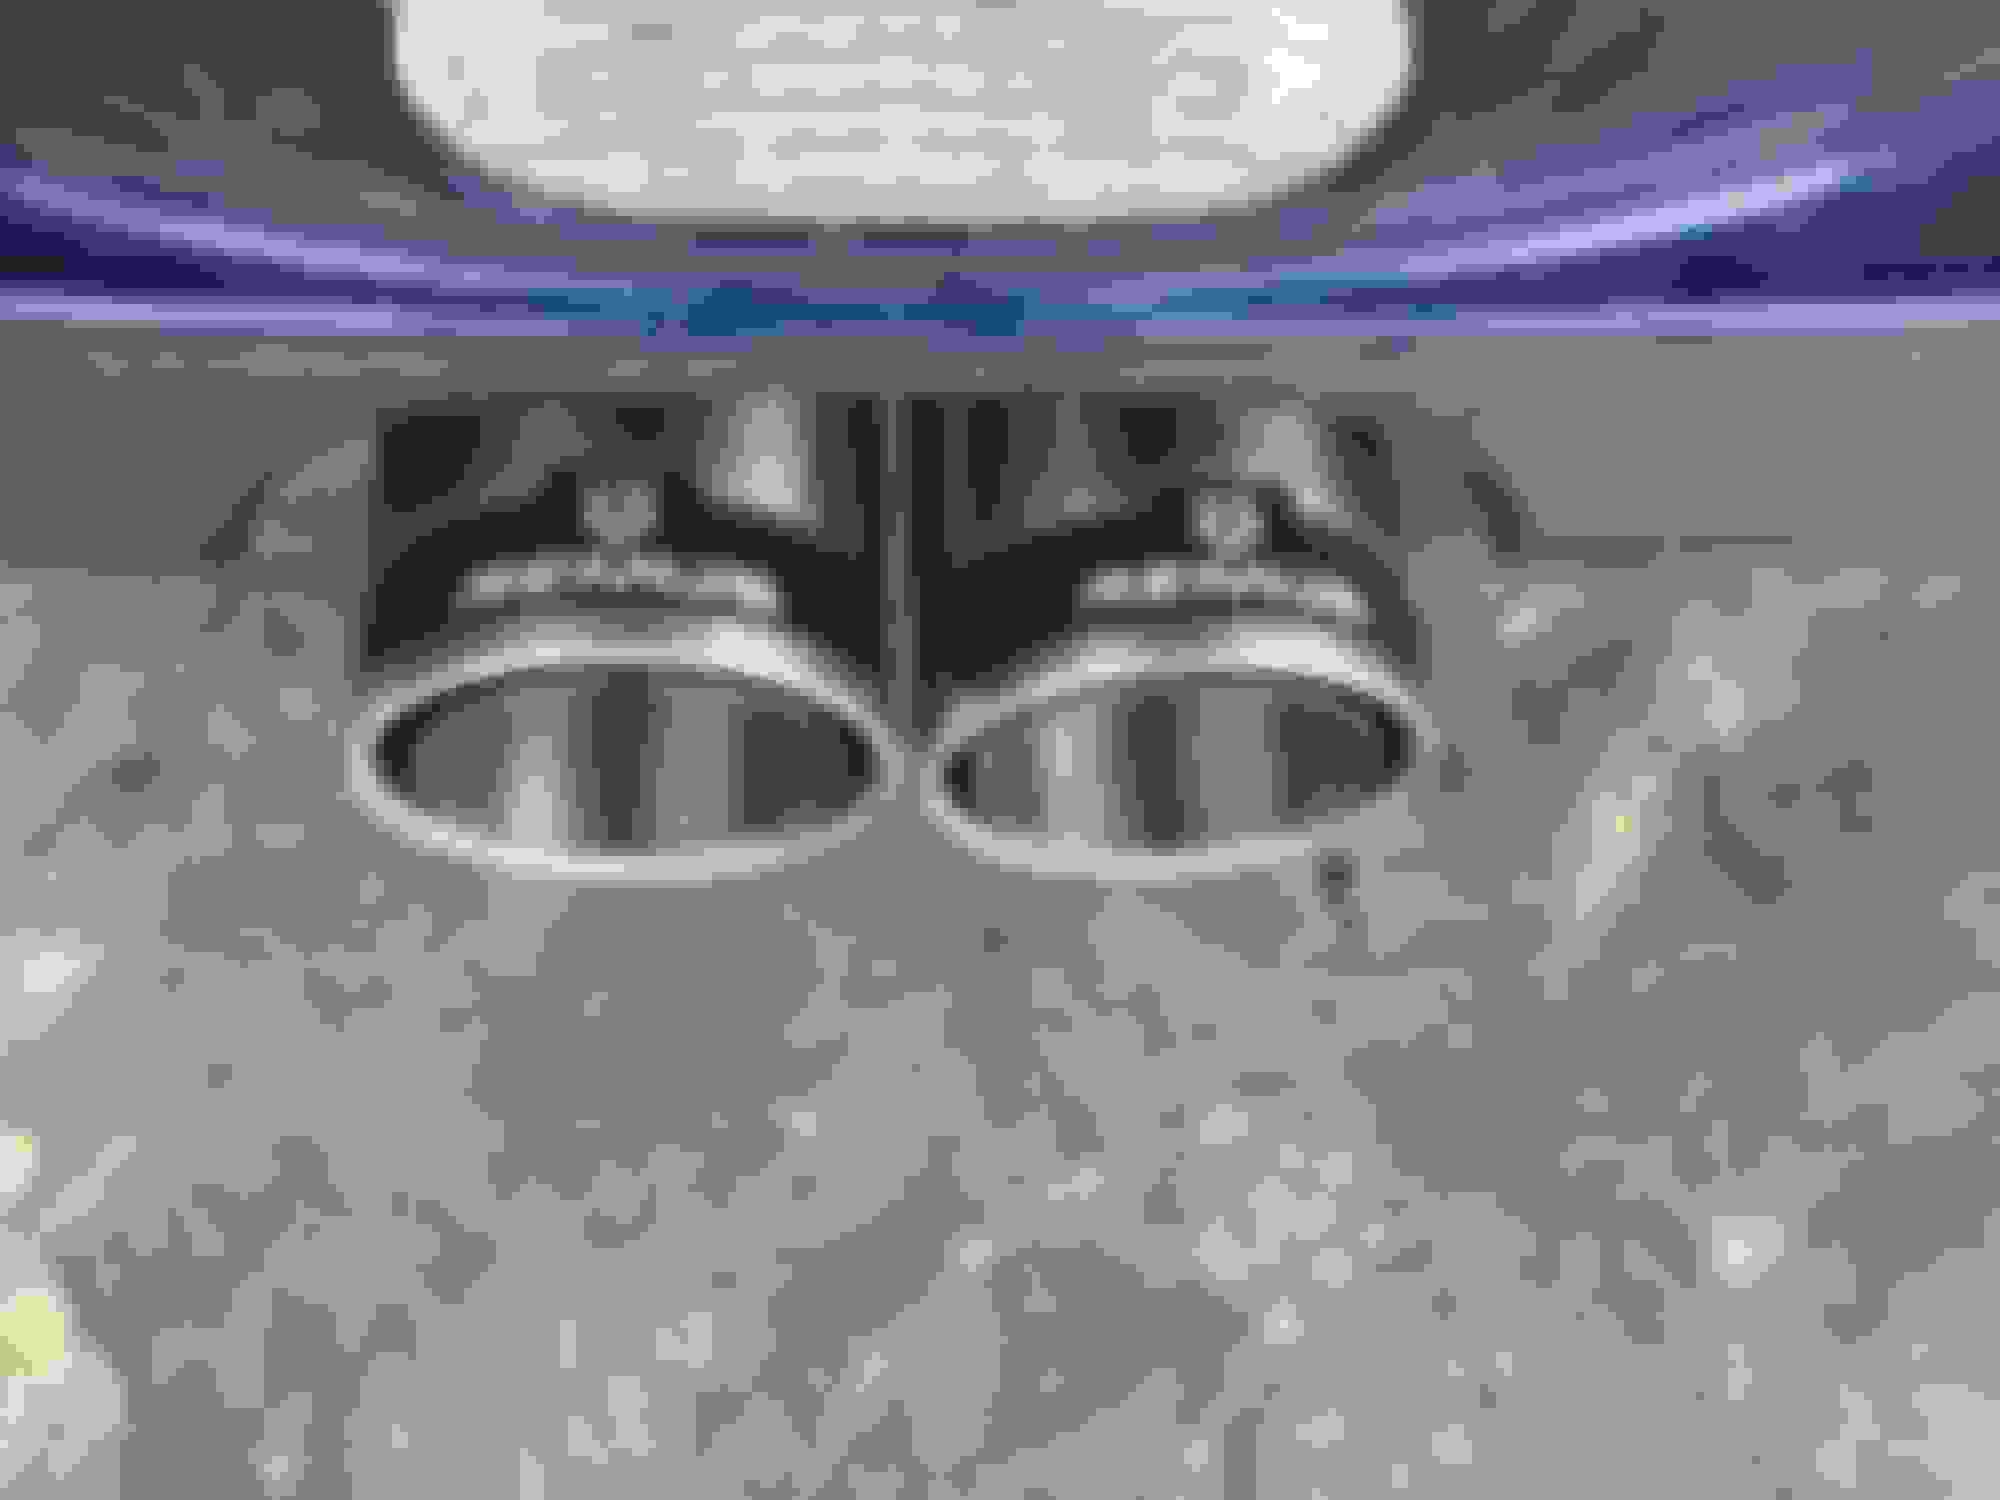
To top it all off I finally made my decision on my exhaust and couldn't be happier. After a lot of looking around and listening to sound clips I settled on the Remus sport exhaust. Install wasn't to hard and the sound is awesome so far. Should get even deeper as it brakes as well.
Anyways, pics!
After some fun got the sub frame out and LCA brackets/sway bar off and ready for some poly bushing goodness.
One side took a bit of muscling to get off as it wasn't in as bad of condition as the other. I pulled the other one straight off without any tools and you can see the after math of that. I guess 13 years is a bit long for a rubber bushing to last.
After a trip to a local shop to get the old bushings out and new ones pressed in, and then a second trip because I got him to press them in the wrong way... Everything is back in and ready to go back in the car. Stupid mistake on my part and cost me a lot of time and a few extra dollars but it gone done in the end.
And on to the exhaust. I was impressed with the packing job.
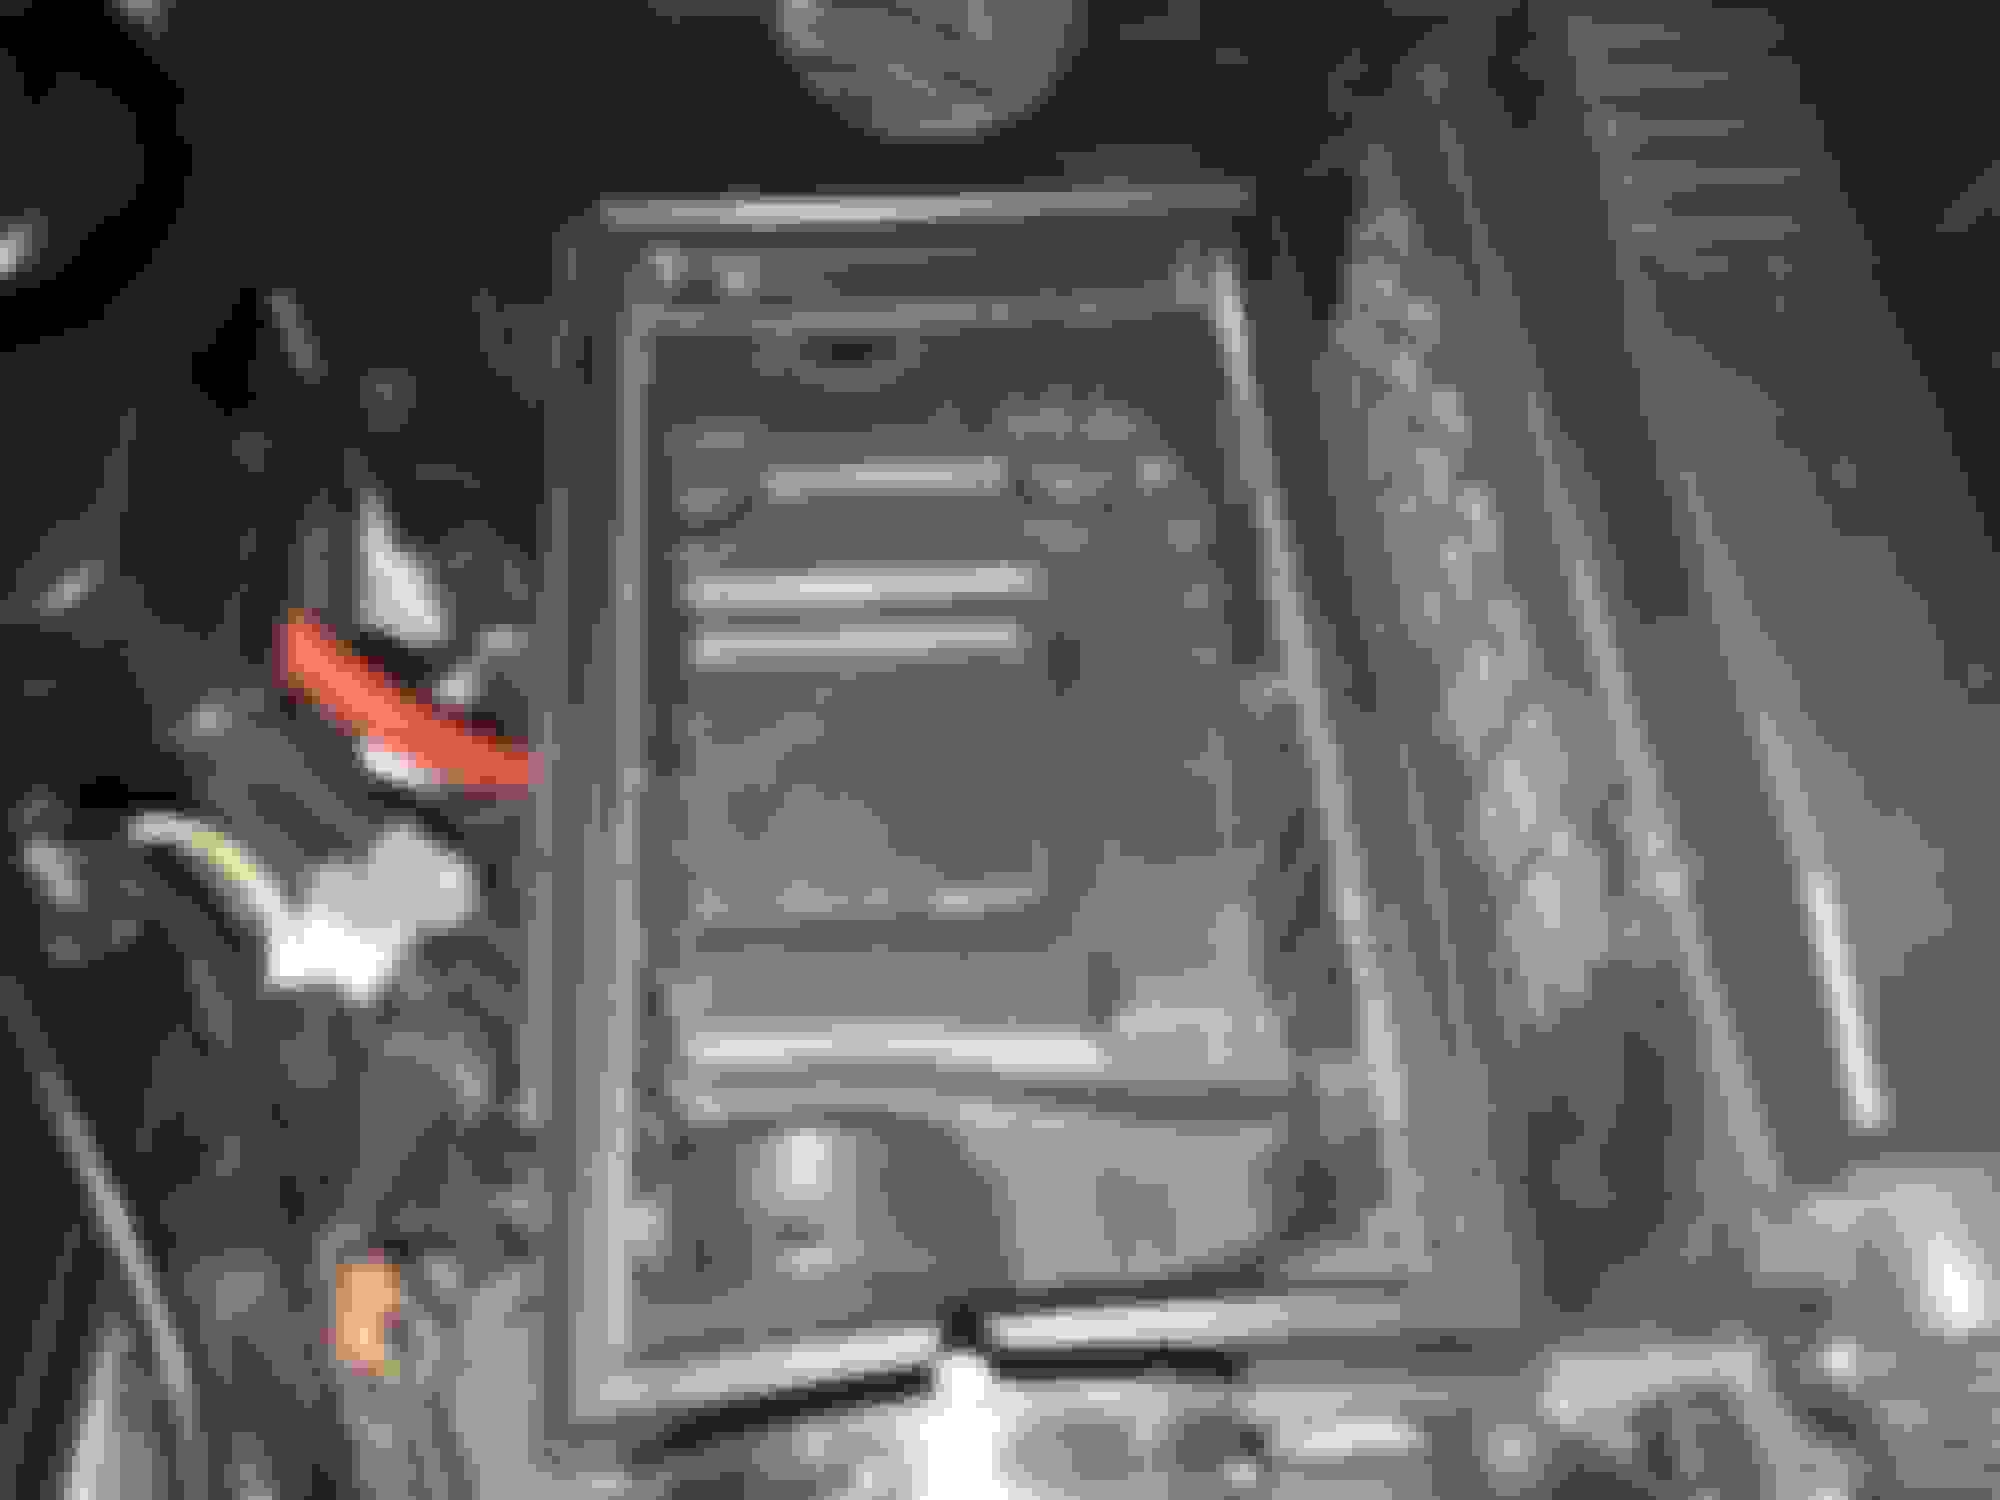
Everything laid out. I forgot to mention that this is a German exhaust and they usually only import these as needed so there wasn't much effort put into making the instructions America friendly. I should put a pic of them up because the broken English is hilarious and the instructions are bit lacking to say the least. It being an axle back they do at least give the measurement for where to cut and splice the new exhaust in. It was in MM of course but a quick google to inches made it easy enough.
I don't do exhaust installs every day so I had to do a bit of trial and error for this bit.
Having talked to the rep who wasn't aware of the difference in the exhaust hanger design from the earlier and later gen r53 I was pleasantly surprised to see that they supply the different hangers for both.
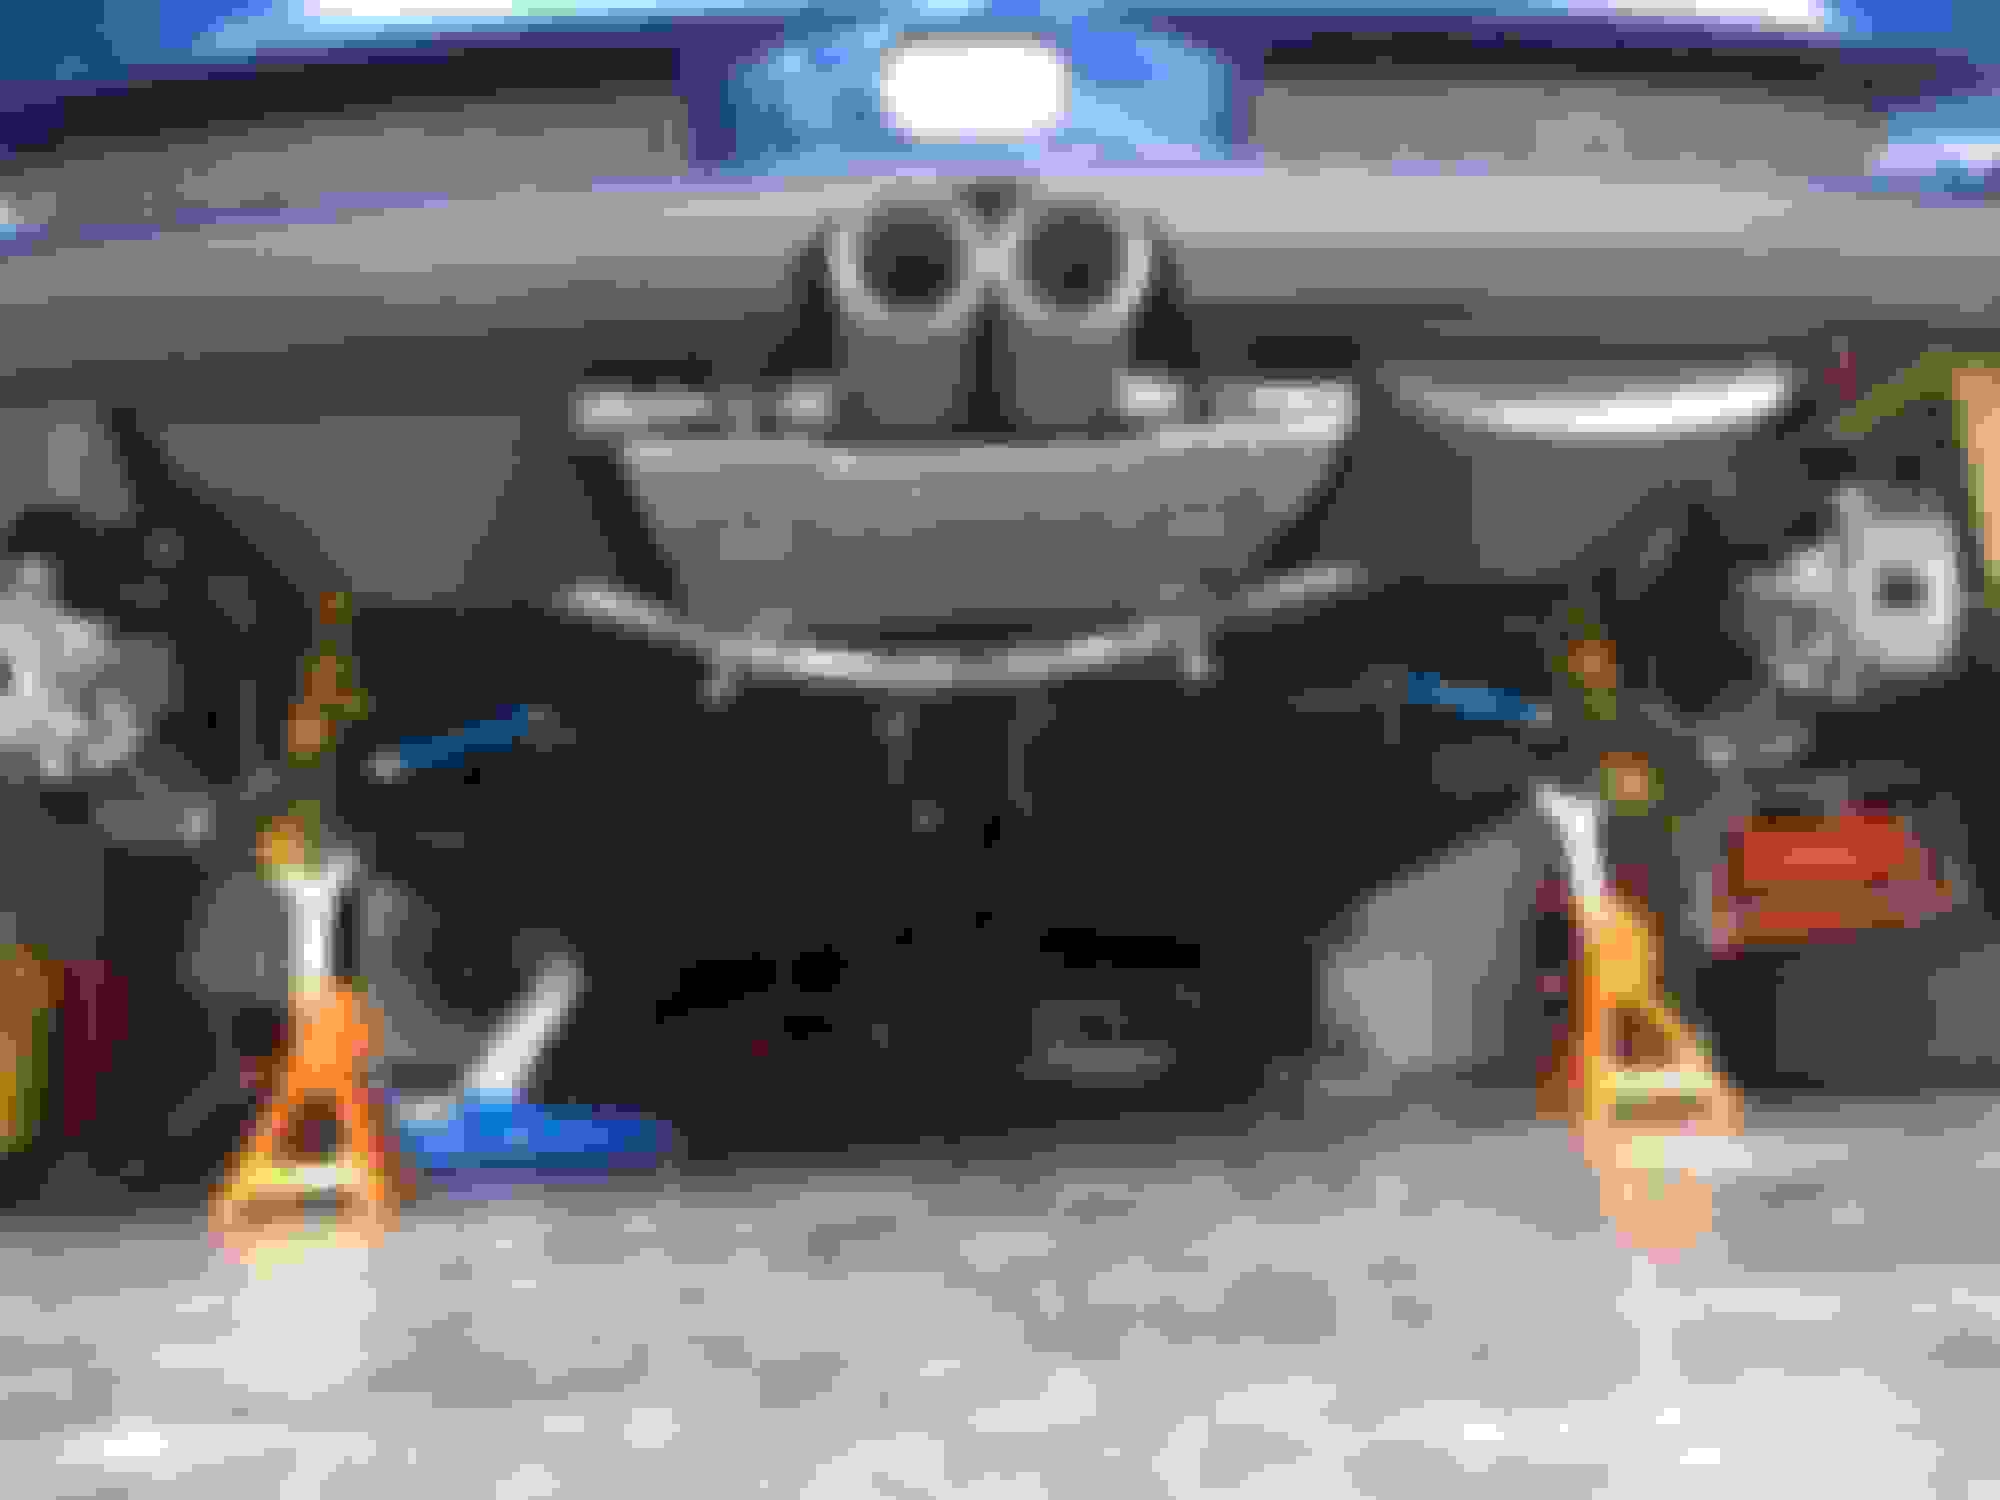
All done.
Excuse the dirtyness, it's been nasty here the last few days and the wife gets to park in the garage so she's a bit dirty.
Had quite a scare after driving a good bit this weekend between cars and coffee which is a little over an hour away and another car show back the opposite direction from my house. Started with the TPS light coming on, then a bit later the ABS light, then the ASC light. The trifecta was upon me...
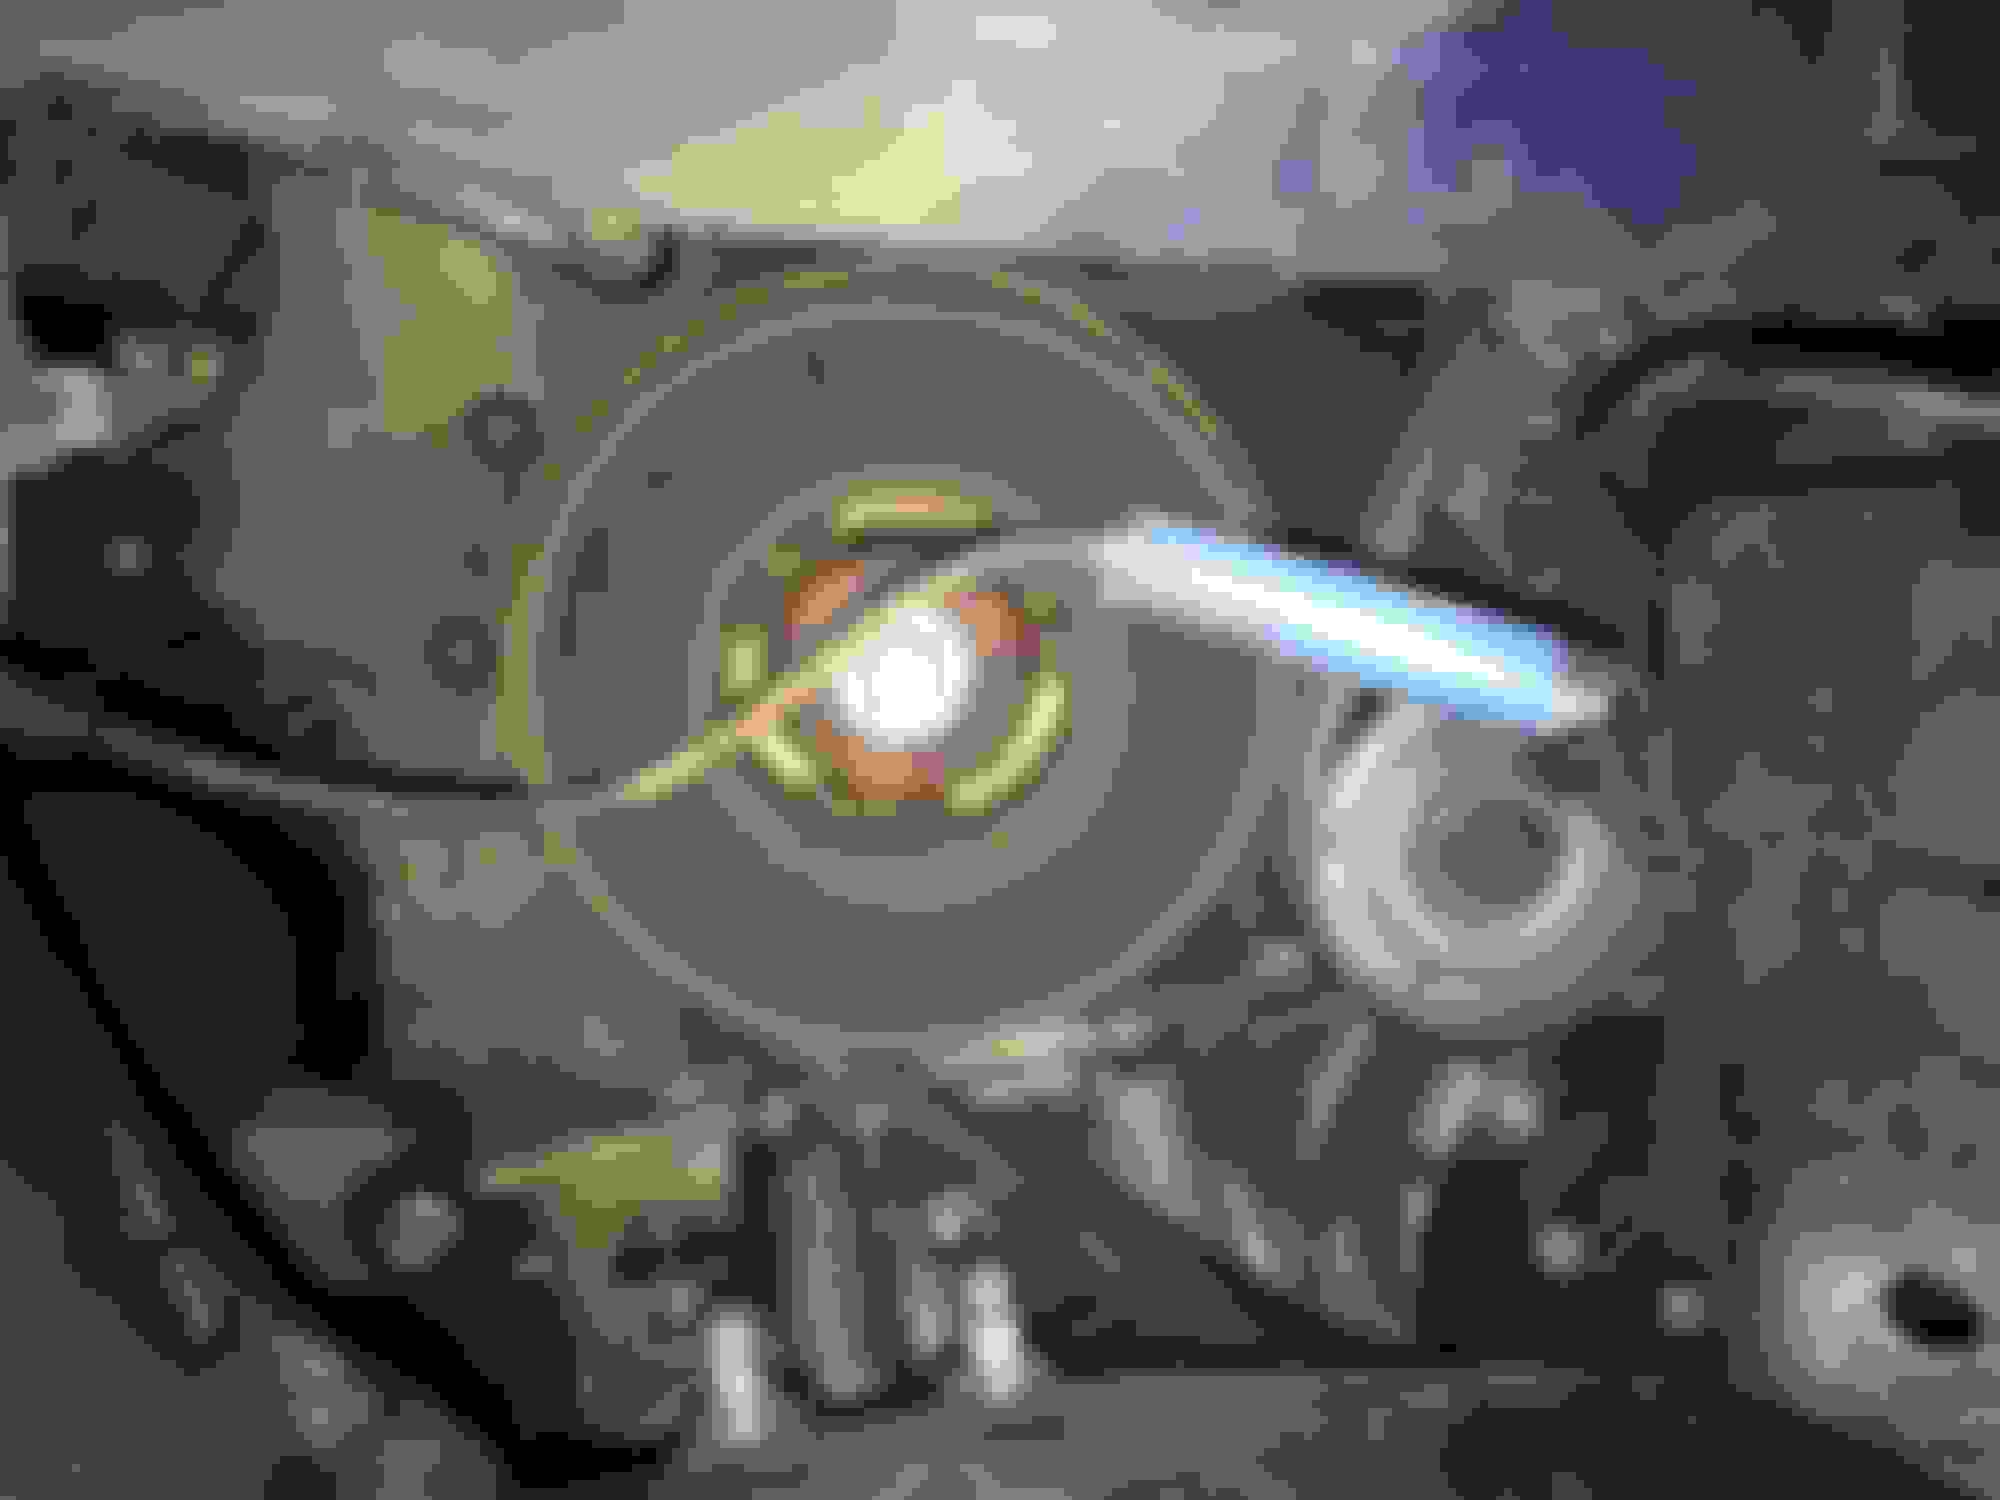
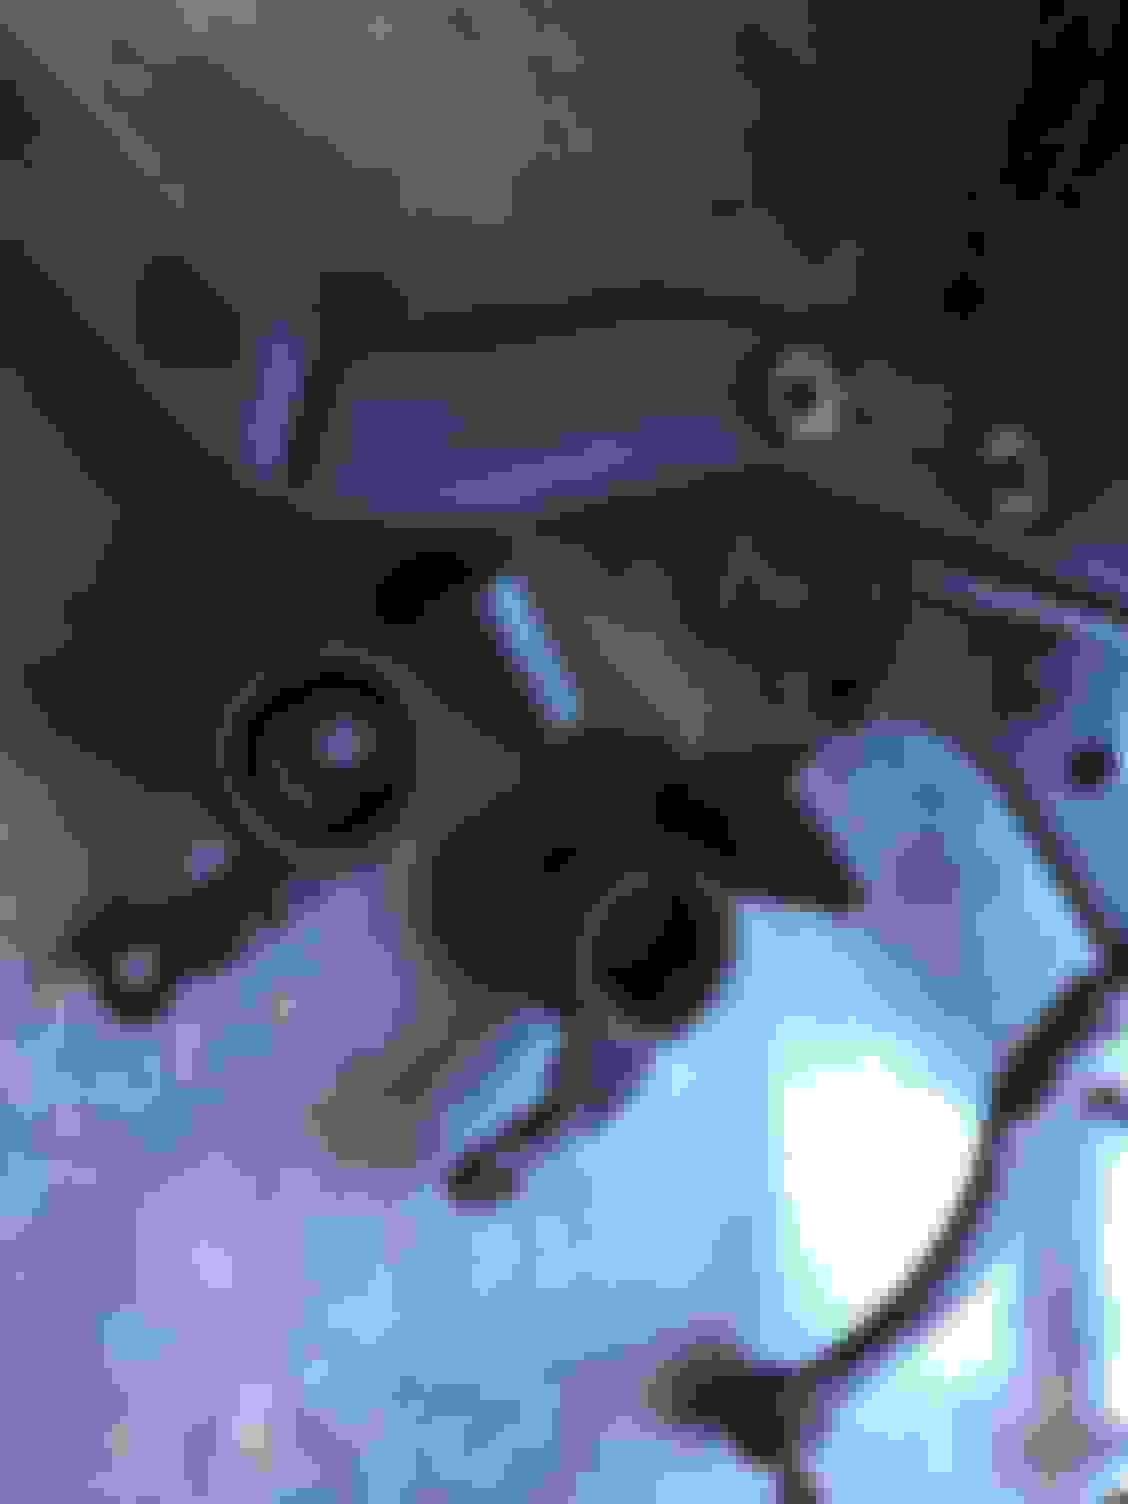
I've seen quite a bit about this phenomenon with our cars so I figured I would start with the ABS sensors and just see if anything was wrong there. It turns out I struck gold on the first corner I checked, passenger front. Turns out the small plastic clip that holds the wire away from the impending doom of your belts and pulleys broke!
New sensors and plastic clips ordered but for now I just cut and re-attached the wire. Seems to have done the trick so far but I still plan on replacing it just to be safe since its such an easy repair.
It was actually laying on top of the crank pulley when I found it but you can see the damage it did. One wire was completely worn through.
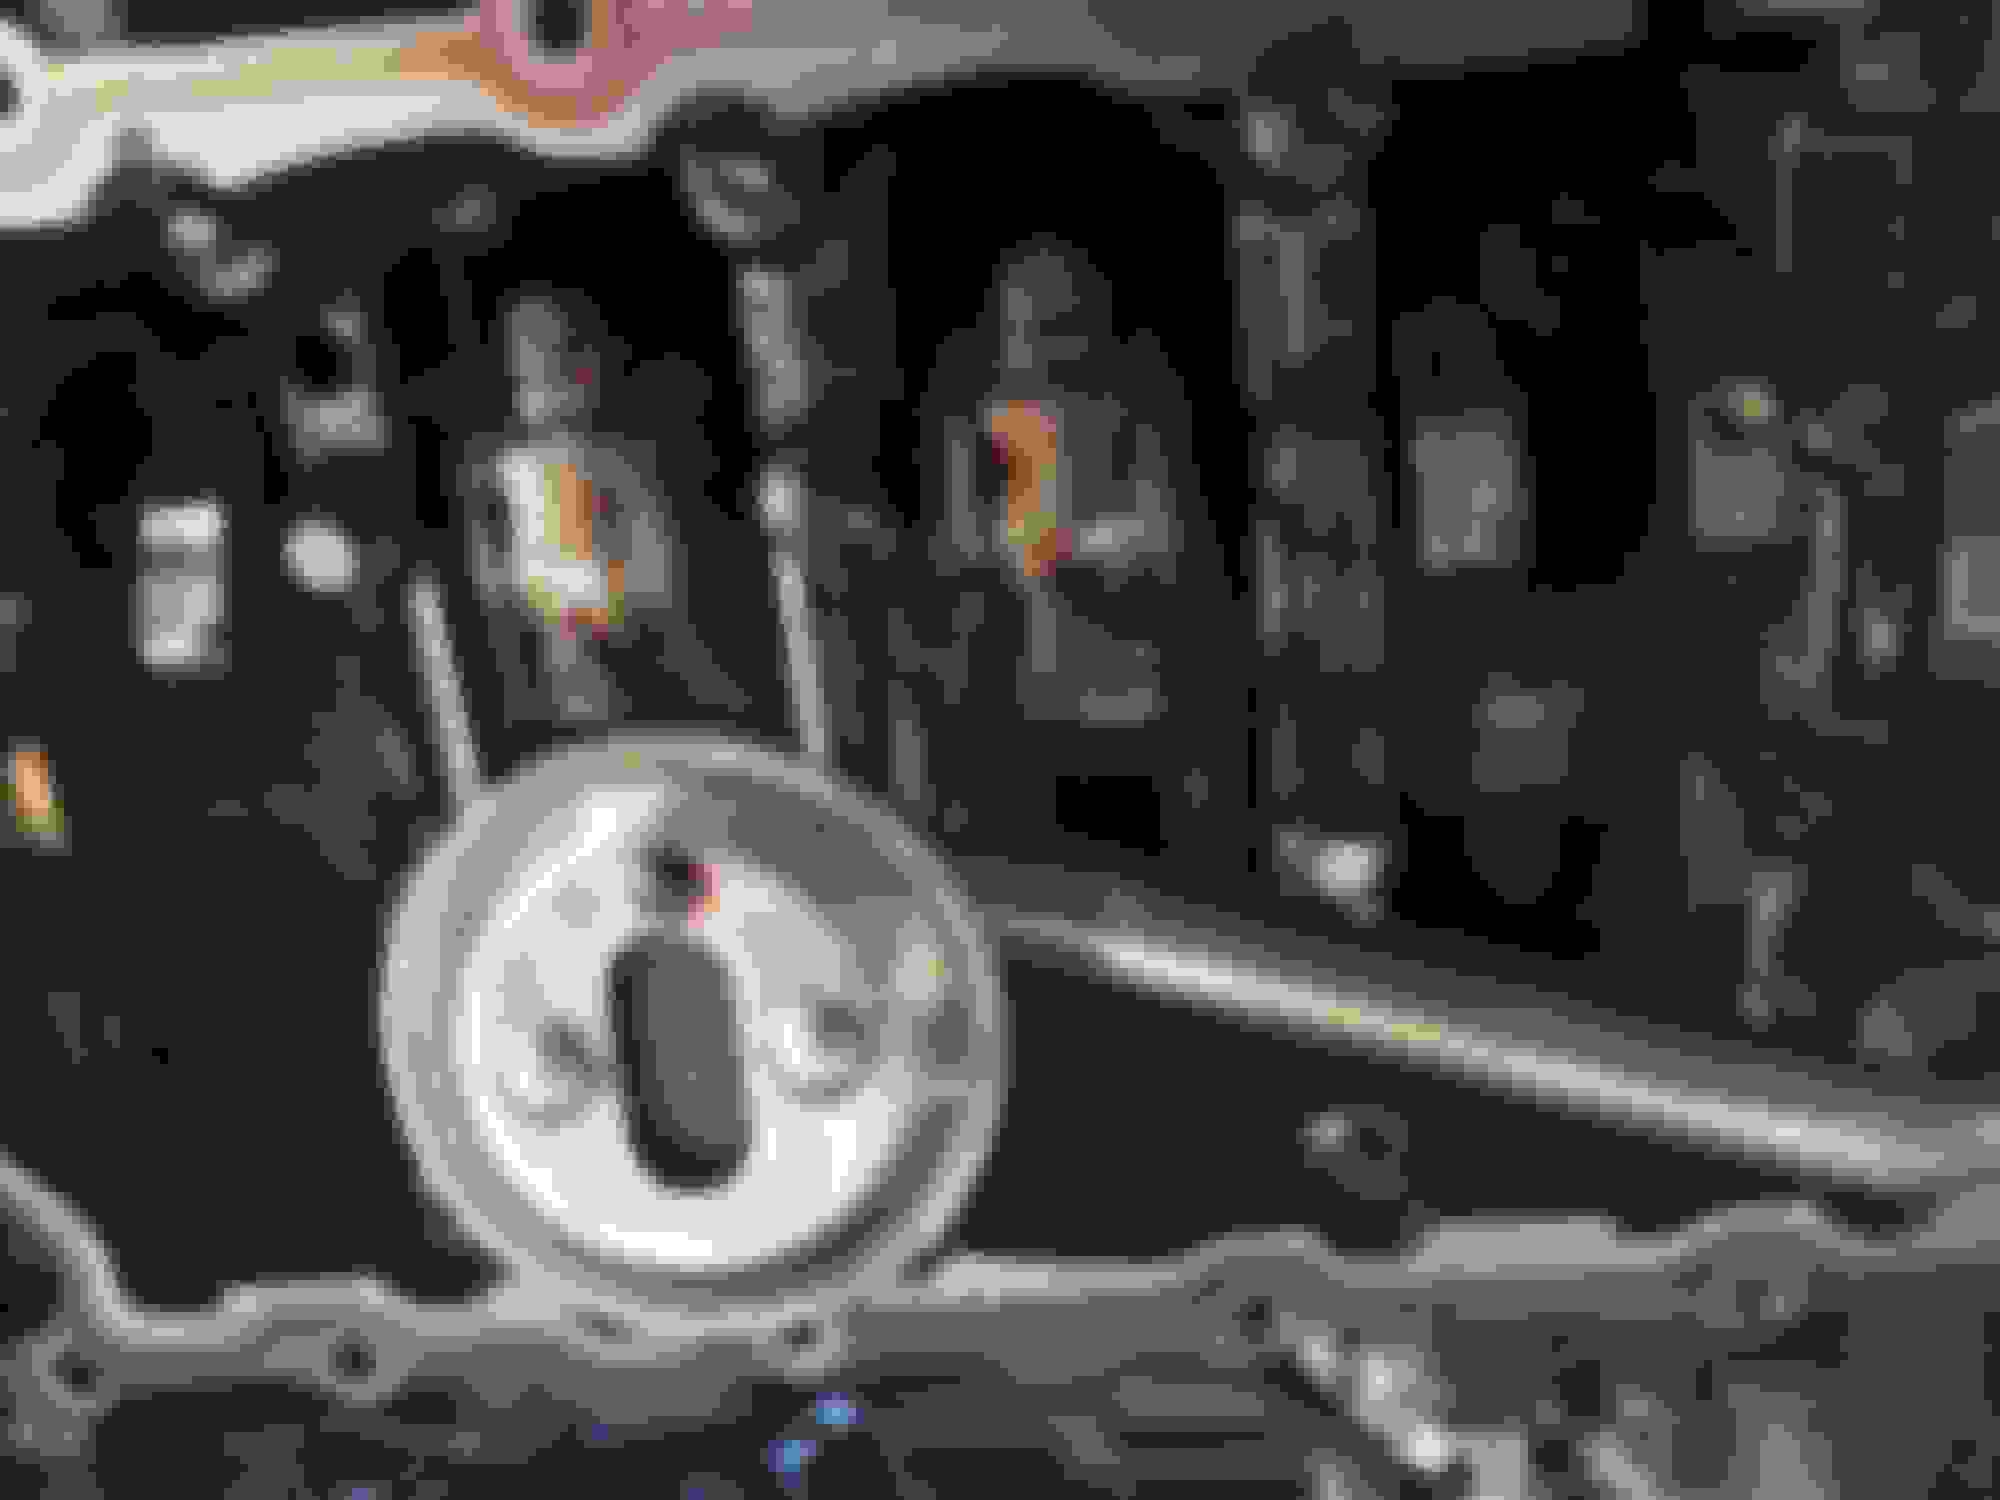
The culprit clip.
Bandaged and everything tightened up so hopefully it holds up until the new parts show up.

 02-21-2016, 06:50 PM


 ... Everything is back in and ready to go back in the car. Stupid mistake on my part and cost me a lot of time and a few extra dollars but it gone done in the end.