When you click on links to various merchants on this site and make a purchase, this can result in this site earning a commission. Affiliate programs and affiliations include, but are not limited to, the eBay Partner Network.
How to replace front sunshade / sunscreen R56 Cooper S
Alright ladies, I finally got around to R&Ring the flapping front sunshade on my 2008 R56 Cooper S with two sunroofs. I tried to glue the end of the shade where it delaminated from the gold metal ribbon with Loctite fabric glue, but it didnt hold. So I bought a new shade from ECS Tuning for $140. The tuning shop that does no tuning. They do however have good customer service and very competitive prices, I've found.
Its bloody easy to swap.
You need:
- Torx T25 bit, extension and 1/4 drive ratchet or just a T25 "screwdriver"
- Loctite BLUE
- Inch pounds torque wrench (optional).
- 6 *new* T25 Torx screws from Mini (optional). Manual calls for NEW screws. I reused mine and used Loctite.
Sorry for blurry pics.
You must take off both glass panels to install front sunshade because part of the screen is under the rear glass panel.
Its 3 T25 torx screws on each side of each panel.
Make sure glass roofs are closed so the screws are exposed.
No trim needs to be removed. Just unscrew 6 torx screws and pick up glass panels. Its that easy.
See the blurry screws?:
Then stick a medium size flat head screwdriver and pull towards you and push the tab up with other screwdriver in to free it. Or try one screwdriver in each tab. Takes a little jiggering to get the tabs loose. Dont be afraid to break the tabs since you plan to replace the shade anyway but you shouldn't need to break them to get it off. Note that I took this picture before removing the rear glass panel. You need to remove it to be able to pull out the front shade.
See the tabs?:
Once you have both sides free you just lift it away.
Insert the new shade starting with the plastic nub, I prefer to call it a plastic peepee. Line it up and press into the corresponding hole. Then push the tabs into place. Takes a little force and moving back and forth.
See the peepee? See the hole?:
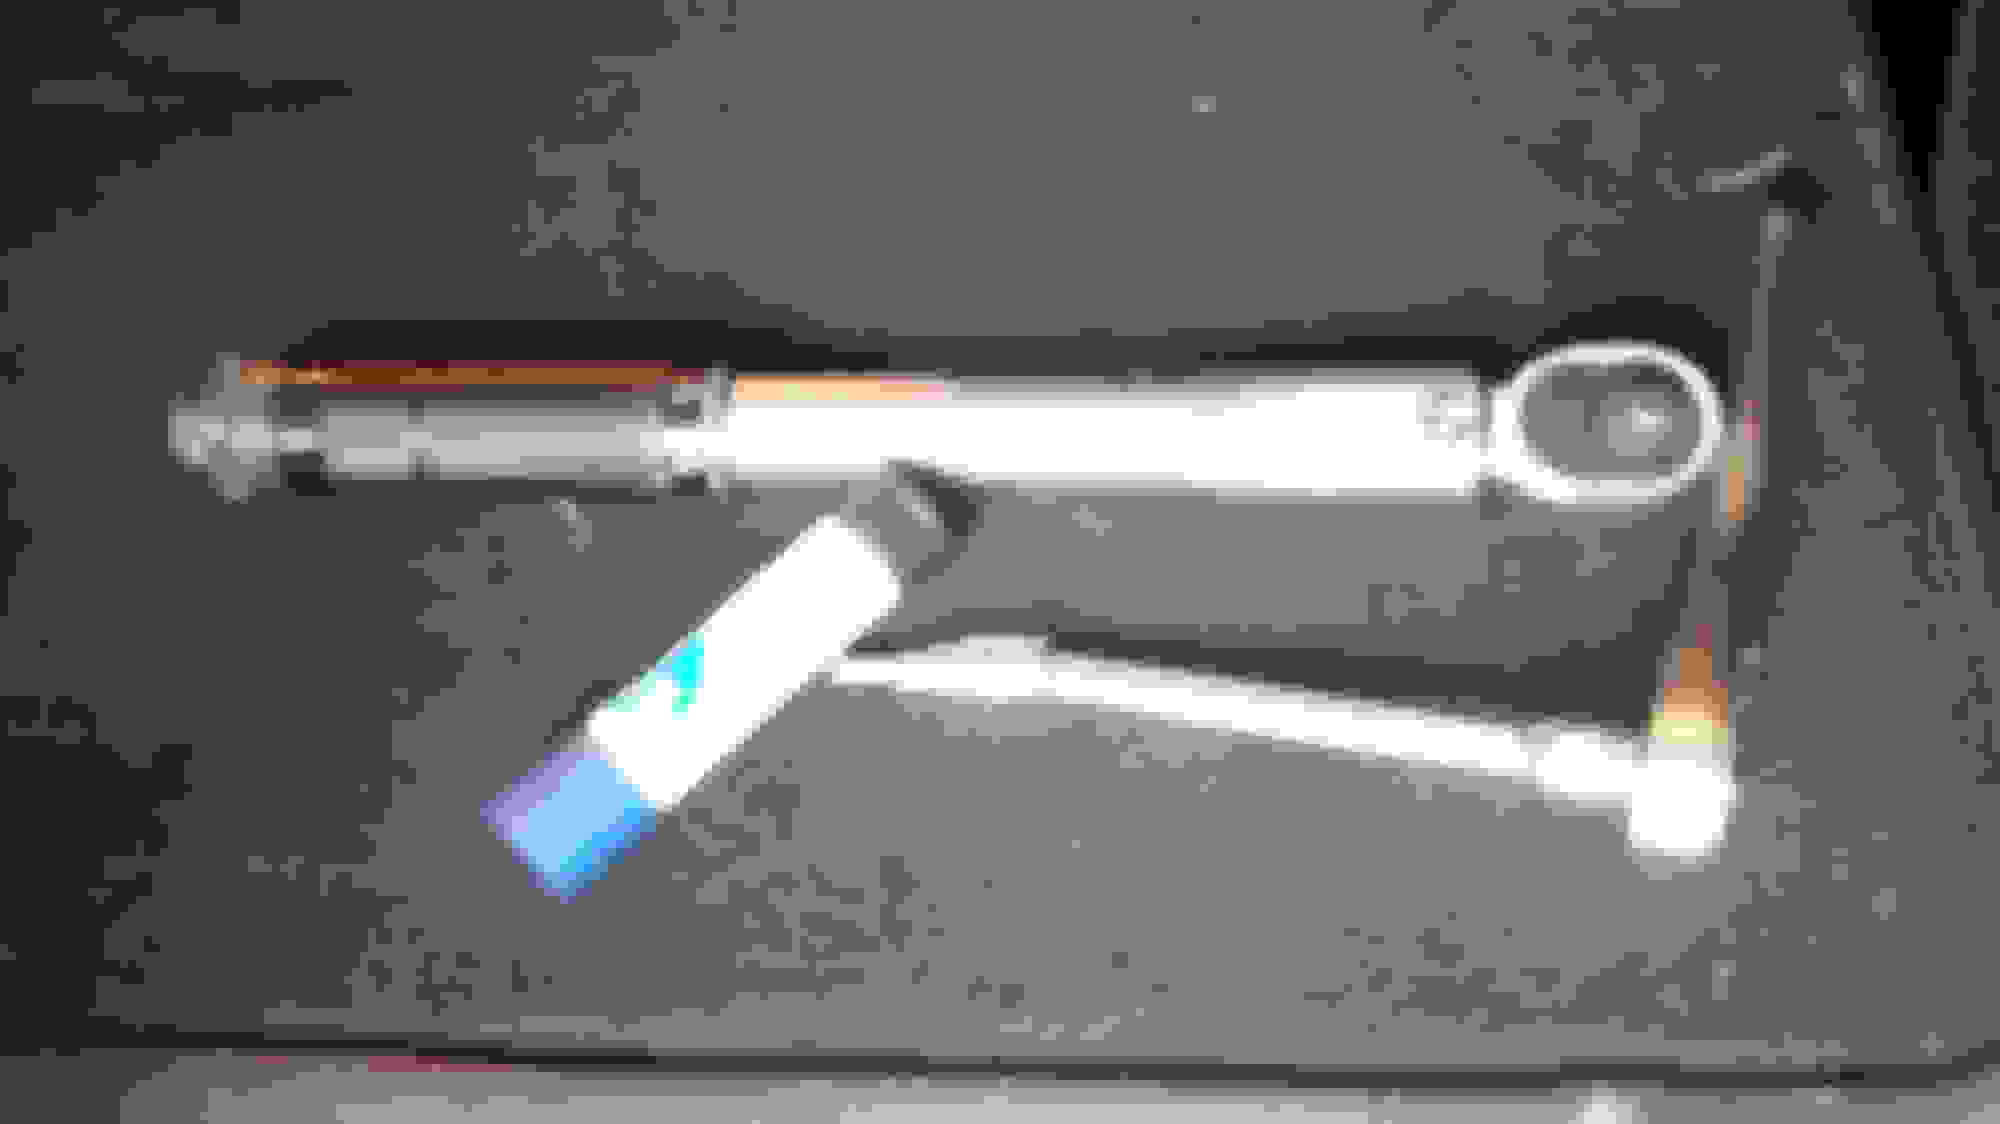
Here is the new shade installed:See how the rear and front sun shades sit back to back?
Then make sure the gold colored metal ribbon is flush and can slide smoothly into the abutting plastic guide.
Now reinstall glass, put some Locktite Blue (semi permanent) on screw threads and only partially tighten the screws. Take a credit card and run it along the perimeter of the glass from outside the car to make sure you have an equidistant gap around the entire glass panel. Repeat for both glass panels.
NOW tighten to 4 NM or hand tight/firm. Dont go nuts. It requires only 4 NM...
Did your old shade ever slide open on it's own when closed under hard acceleration or both windows down? Does the new sun shade have a bit more firm slide when opening and closing it? BTW, nice DIY guide!
Nope, mine never opened on its own. It separated from the metal ribbon on the edge.
But yes the new shade requires much more force to operate. Why exactly, I'm not sure. Sorry bro.
The only operation of the shade is slide open, slide close, if that requires more force than its tight when sliding in the rails. That tells me mine are worn since they open to easily.
The only operation of the shade is slide open, slide close, if that requires more force than its tight when sliding in the rails. That tells me mine are worn since they open to easily.
Yes sir. I would come to the same conclusion. There must be a spring assembly inside the shade's roller which creates tension.
When I have a moment I will look at the old shade and dissect it and get back with you.
I want to add something on this thread and it is about repairing the screen rather than replacing it. The fabric on my shade is fully detached from the metal guide and I was itching away in ordering a new shade on ECS and doing the replacement procedure as per the OP's instruction but the McGyver in me said "hold-on, try fixing it first and if it fails then get a new one" so I went to my library of glues and looked at what glue is good that can flex and will hold-up with outdoor weather and easy enough to apply in controlled small amount. The answer is Gorilla Super Glue.
So here is what I use:
1. Pair of surgical gloves (latex)
2. 2 small BBQ sticks (unused)
3. Gorilla Super Glue (non-gel type - blue container, impact resistant)
4. 2 piece of credit cards or similar
Here is how I did it:
1. The fabric is just glued on the flexible metal rail (metallic color). I would first pull the sun shade all the way to the open position. You do not need to remove the glass for this fix.
2. Lift-up the fabric and expose the underside of the fabric. You need to see the brownish side.
3. Starting from the pull side of the shade get one BBQ stick and put a dab of gorilla glue on the tip and apply small amount of the glue on the brown side. Do not put too much glue! THIS IS VERY IMPORTANT. Do it one inch at a time and take your time and do not rush it. The last thing you need is to put glue on the black guide rail itself and you will have a permanent shade in place.
4. Now when you have an inch of fabric with glue use another clean BBQ stick to maneuver the fabric back into the guide. Then use the stick to stretch the fabric. It should not be hard to put back the fabric and stretch it at the same time. The glue will set in within 10 seconds so you need to be quick on this next step.
5. Grab one of the credit card and insert it between the fabric and guide rail. When you insert the credit card make sure to drag it on the fabric so that it will pull-in the fabric towards the inside of the guide and this will press the fabric to the metal guide.
6. Count 5 seconds then you need to move the fabric shade with the credit card still in place (hold the card a little when you move the fabric and make sure the card also moves with the fabric). Move it back and forth 8-10 times so that the glue on the rail will set in and any glue that you accidentally placed on the guide rail will dry up and will not stick to the fabric.
7. Leave the first credit card in place then do #2 to #6 again. Upon placing the second credit card remove the first one and move the shade as per item #6.
8. The end part will be the tricky part but still doable. Just take your time and it will be glued-in and do not forget to move the shade.
Do it properly and you will have fixed your shade and it will only cost you $5. Do it like a red neck and you will have a permanent shade and you will be kicking your own nuts. When you manage to glue everything in and you are sure that it is moving freely leave it in the close position for 1 hour and bake it under the sun to make sure the glue will dry up properly and it will not delaminate. It took me 30 minutes per side to do the re-glue.
Last edited by Shotgun_banjo; 05-22-2017 at 10:07 PM.
The Gorilla Super Glue should hold. I have it for a couple of days already and my windows and sun roof are all open and the wind hitting it and flapping the fabric does not seems to make it to delaminate. I Also tried opening and closing the fabric really fast like I want to break it and the glue did not fail. I have used The Gorilla Super Glue on exterior applications outside of my house and is exposed to direct sun and rain and for 3 years it has not failed yet. I can't imagine it failing on the sunroof if it has held my exposed outdoor security camera up for 3 years already. Try it as a last resort before replacing the entire fabric. I sound like I am now selling Gorilla Glue but this stuff really works.
The Gorilla Super Glue should hold. I have it for a couple of days already and my windows and sun roof are all open and the wind hitting it and flapping the fabric does not seems to make it to delaminate. I Also tried opening and closing the fabric really fast like I want to break it and the glue did not fail. I have used The Gorilla Super Glue on exterior applications outside of my house and is exposed to direct sun and rain and for 3 years it has not failed yet. I can't imagine it failing on the sunroof if it has held my exposed outdoor security camera up for 3 years already. Try it as a last resort before replacing the entire fabric. I sound like I am now selling Gorilla Glue but this stuff really works.
I dont like Gorilla products. I think they are pure hype/marketing. BUT keep us posted.
Does this glue bubble up like the regular Gorilla glue? I presume not or it couldnt roll up.
I dont like Gorilla products. I think they are pure hype/marketing. BUT keep us posted.
Does this glue bubble up like the regular Gorilla glue? I presume not or it couldnt roll up.
Nope. I think the one that bubbles up is the regular Gorilla Glue. The "super" version has a lot of give and that is the reason why I used it versus other products. This glue also does not whiten up like other super glues when exposed to air and it dries clear.
I will post again after a week to see if it is holding up.
Well-don't know if I'll get around to it anytime soon, especially since the part is now $100 more. $140-yes. $230-maybe. May try to repair, but will have to wait until it gets cooler. Too hot here to take the time.
Can you just take it out without replacing it? Thinking of an after market screen as an alternative.
Thanks again!
Guys, when putting back your new or repaired shade, remember to put some soft tape between the roof and the Shade support, as this is one of the biggest contributors for rattles in a R56.
Guys, when putting back your new or repaired shade, remember to put some soft tape between the roof and the Shade support, as this is one of the biggest contributors for rattles in a R56.
hello how are you, excuse a question I was reading your publication that you made a few years ago and the truth interests me since I just bought a mini cooper clubman 08 and is with the problem of blinds of sun roof. My question is the following when I remove the sun roof and put it back again it has to be centered or it only has to be at the level of the holes of the screws I mean the two sun roofs because you have to remove them or you would give me that technique You used because my fear is that it is uneven, leaking water, or one side more open than the other. Thank
you for your time and I await your response soon
please if you could send me the name or photo of Loctite Blue you used since there are many variations in the market and they come by number thank you very much I thank you
hello how are you, excuse a question I was reading your publication that you made a few years ago and the truth interests me since I just bought a mini cooper clubman 08 and is with the problem of blinds of sun roof. My question is the following when I remove the sun roof and put it back again it has to be centered or it only has to be at the level of the holes of the screws I mean the two sun roofs because you have to remove them or you would give me that technique You used because my fear is that it is uneven, leaking water, or one side more open than the other. Thank you for your time and I await your response soon
please if you could send me the name or photo of Loctite Blue you used since there are many variations in the market and they come by number thank you very much I thank you
Any medium strength thread locker will work. Go to Home Depot or any auto parts store and buy a medium thread locker. Liquid, gel, paste. Doesnt matter.
Im sorry but I did this years ago but I dont recall having any concerns with centering.
Is the 2008 Clubman an R56 body? or the prior body?

 09-07-2015, 06:00 PM