When you click on links to various merchants on this site and make a purchase, this can result in this site earning a commission. Affiliate programs and affiliations include, but are not limited to, the eBay Partner Network.
Convertible top - Latch hook assembly or broken cable?
Stock Problems/IssuesDiscussions related to warranty related issues and repairs, or other problems with the OEM parts and software for MINI Cooper (R50), Cabrio (R52), and Cooper S (R53) MINIs.
Convertible top - Latch hook assembly or broken cable?
The other night as the sunroof was closing there was a snap noise from the right front corner. The next day I noticed it had not closed completely on the right and when I tried to open the top the sunroof motor ran for about a second then stopped and a broken plastic piece fell out of the latch area. I've tried to open the sunroof manually and the left side releases and moves back but the right side does not.
Questions:
How to manually release the latch?
Is this broken piece part of the latch hook assembly?
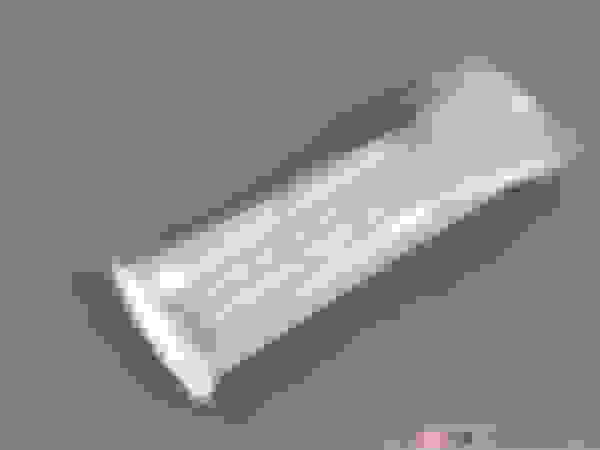
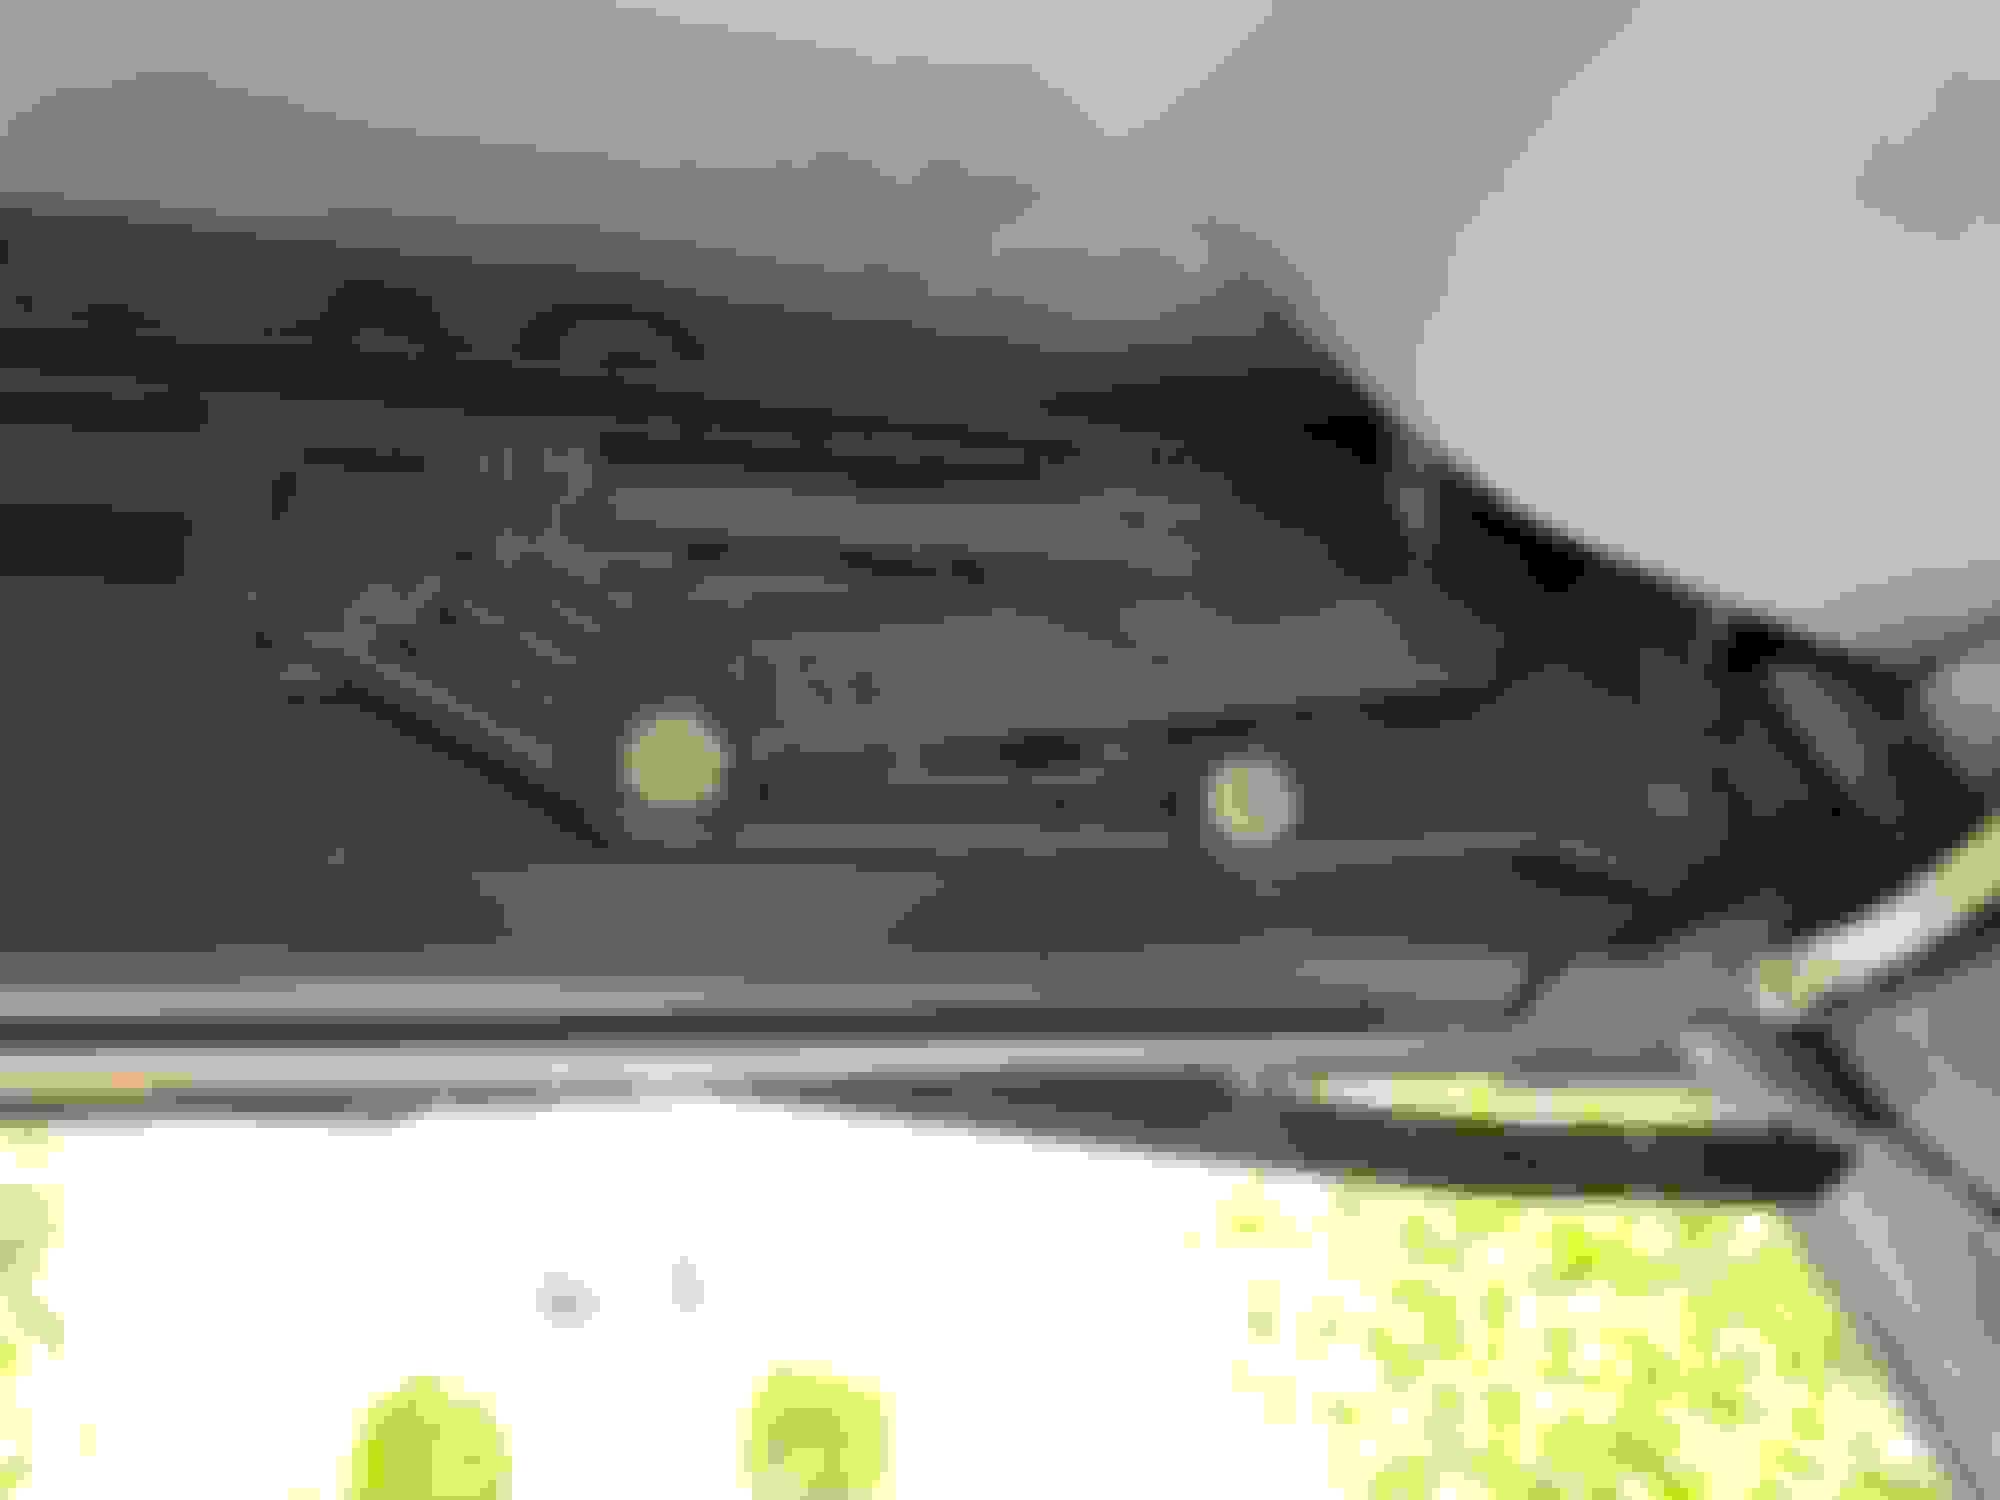
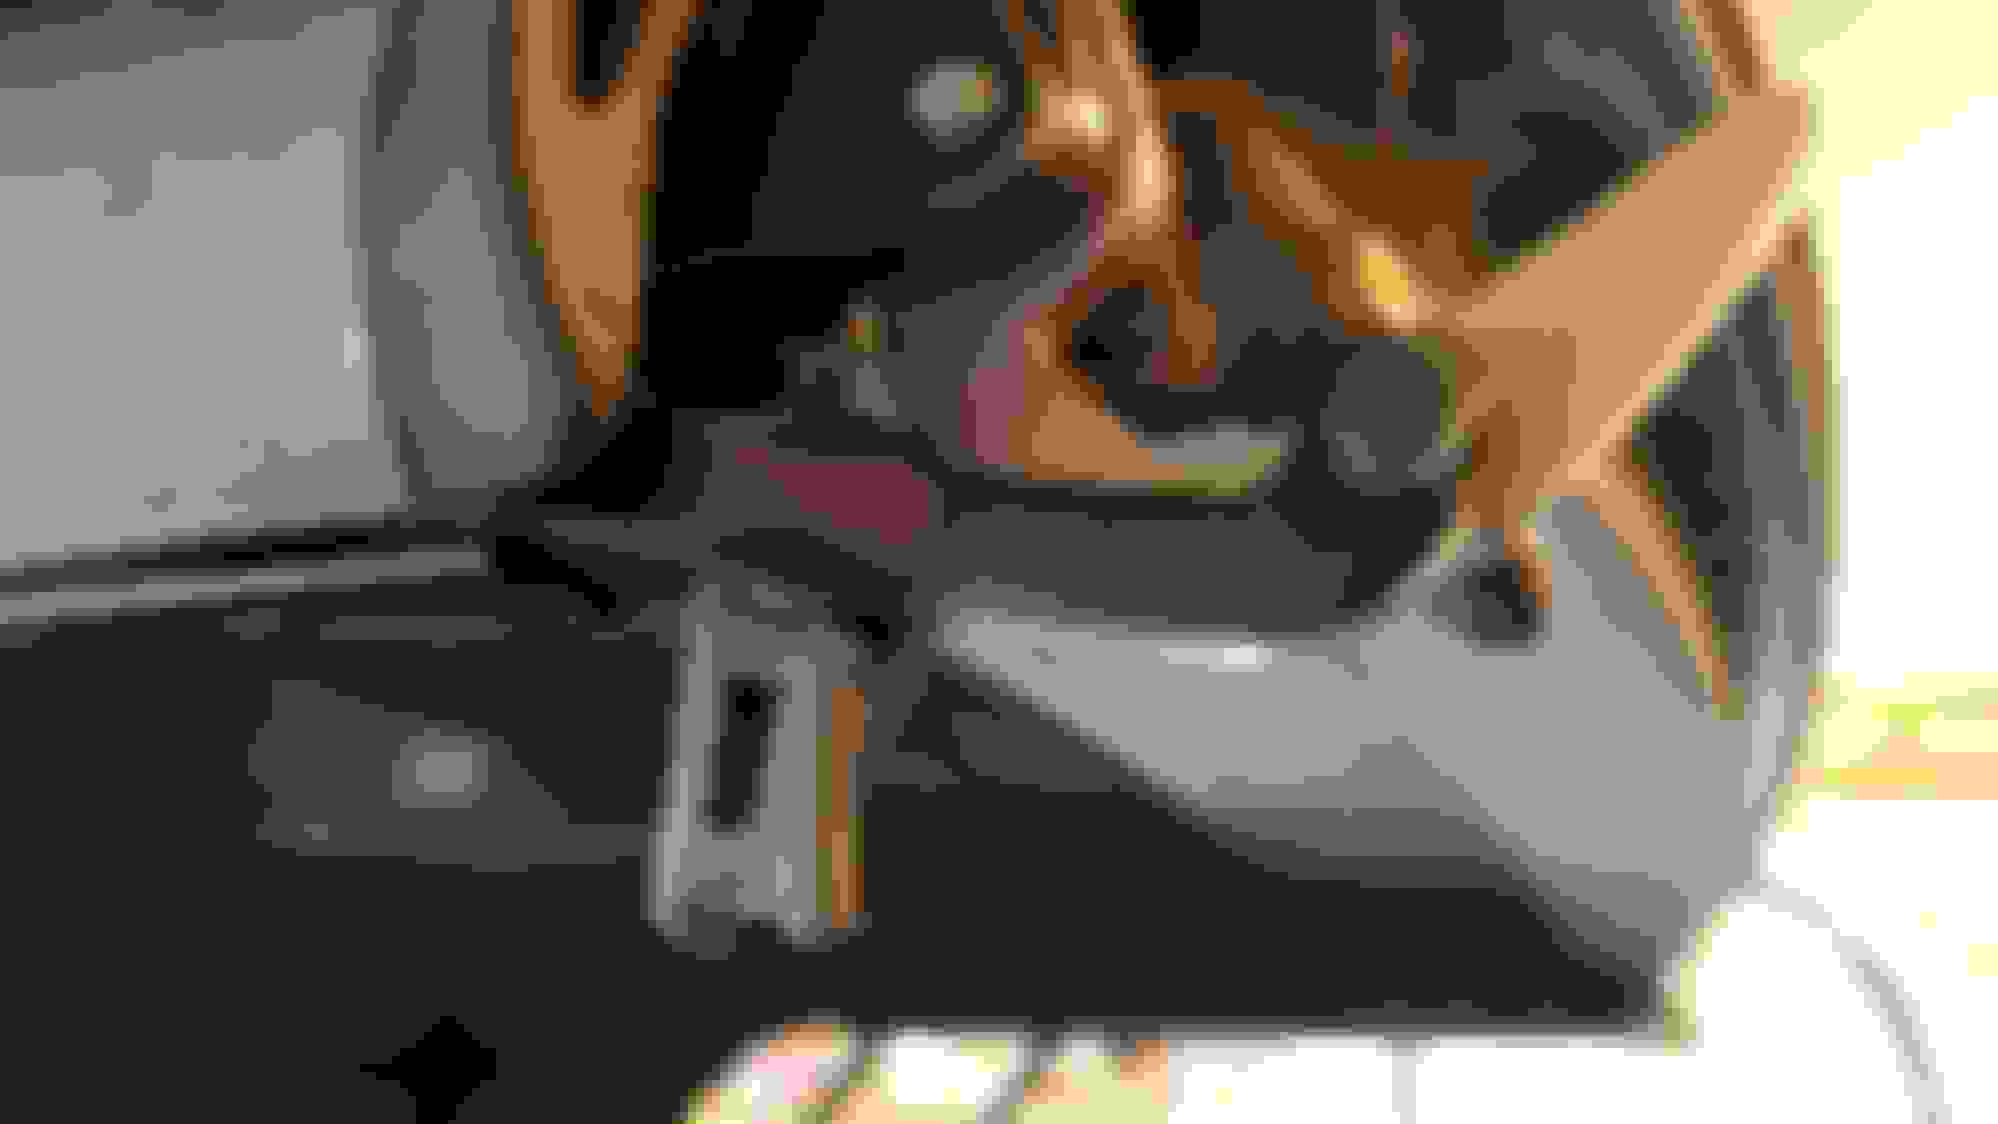
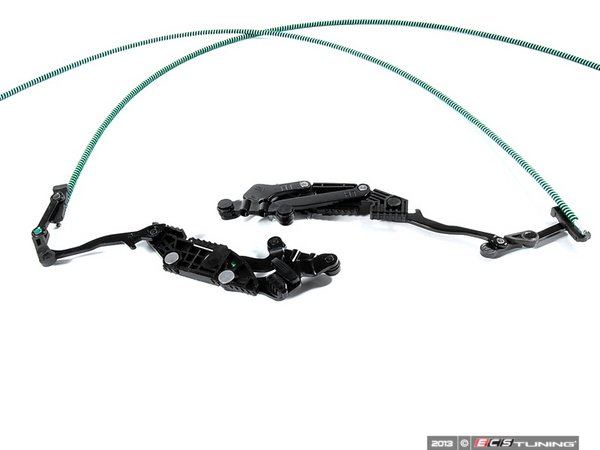
It’s the plastic sunroof cable linkage shown below that’s broken. If I crank in the sunroof closed direction the broken end shown in 2nd pic appears and drops down as shown.. If I crank open the broken disappears disappears down the track. Seems to indicate the cable itself is not broken or disconnected.
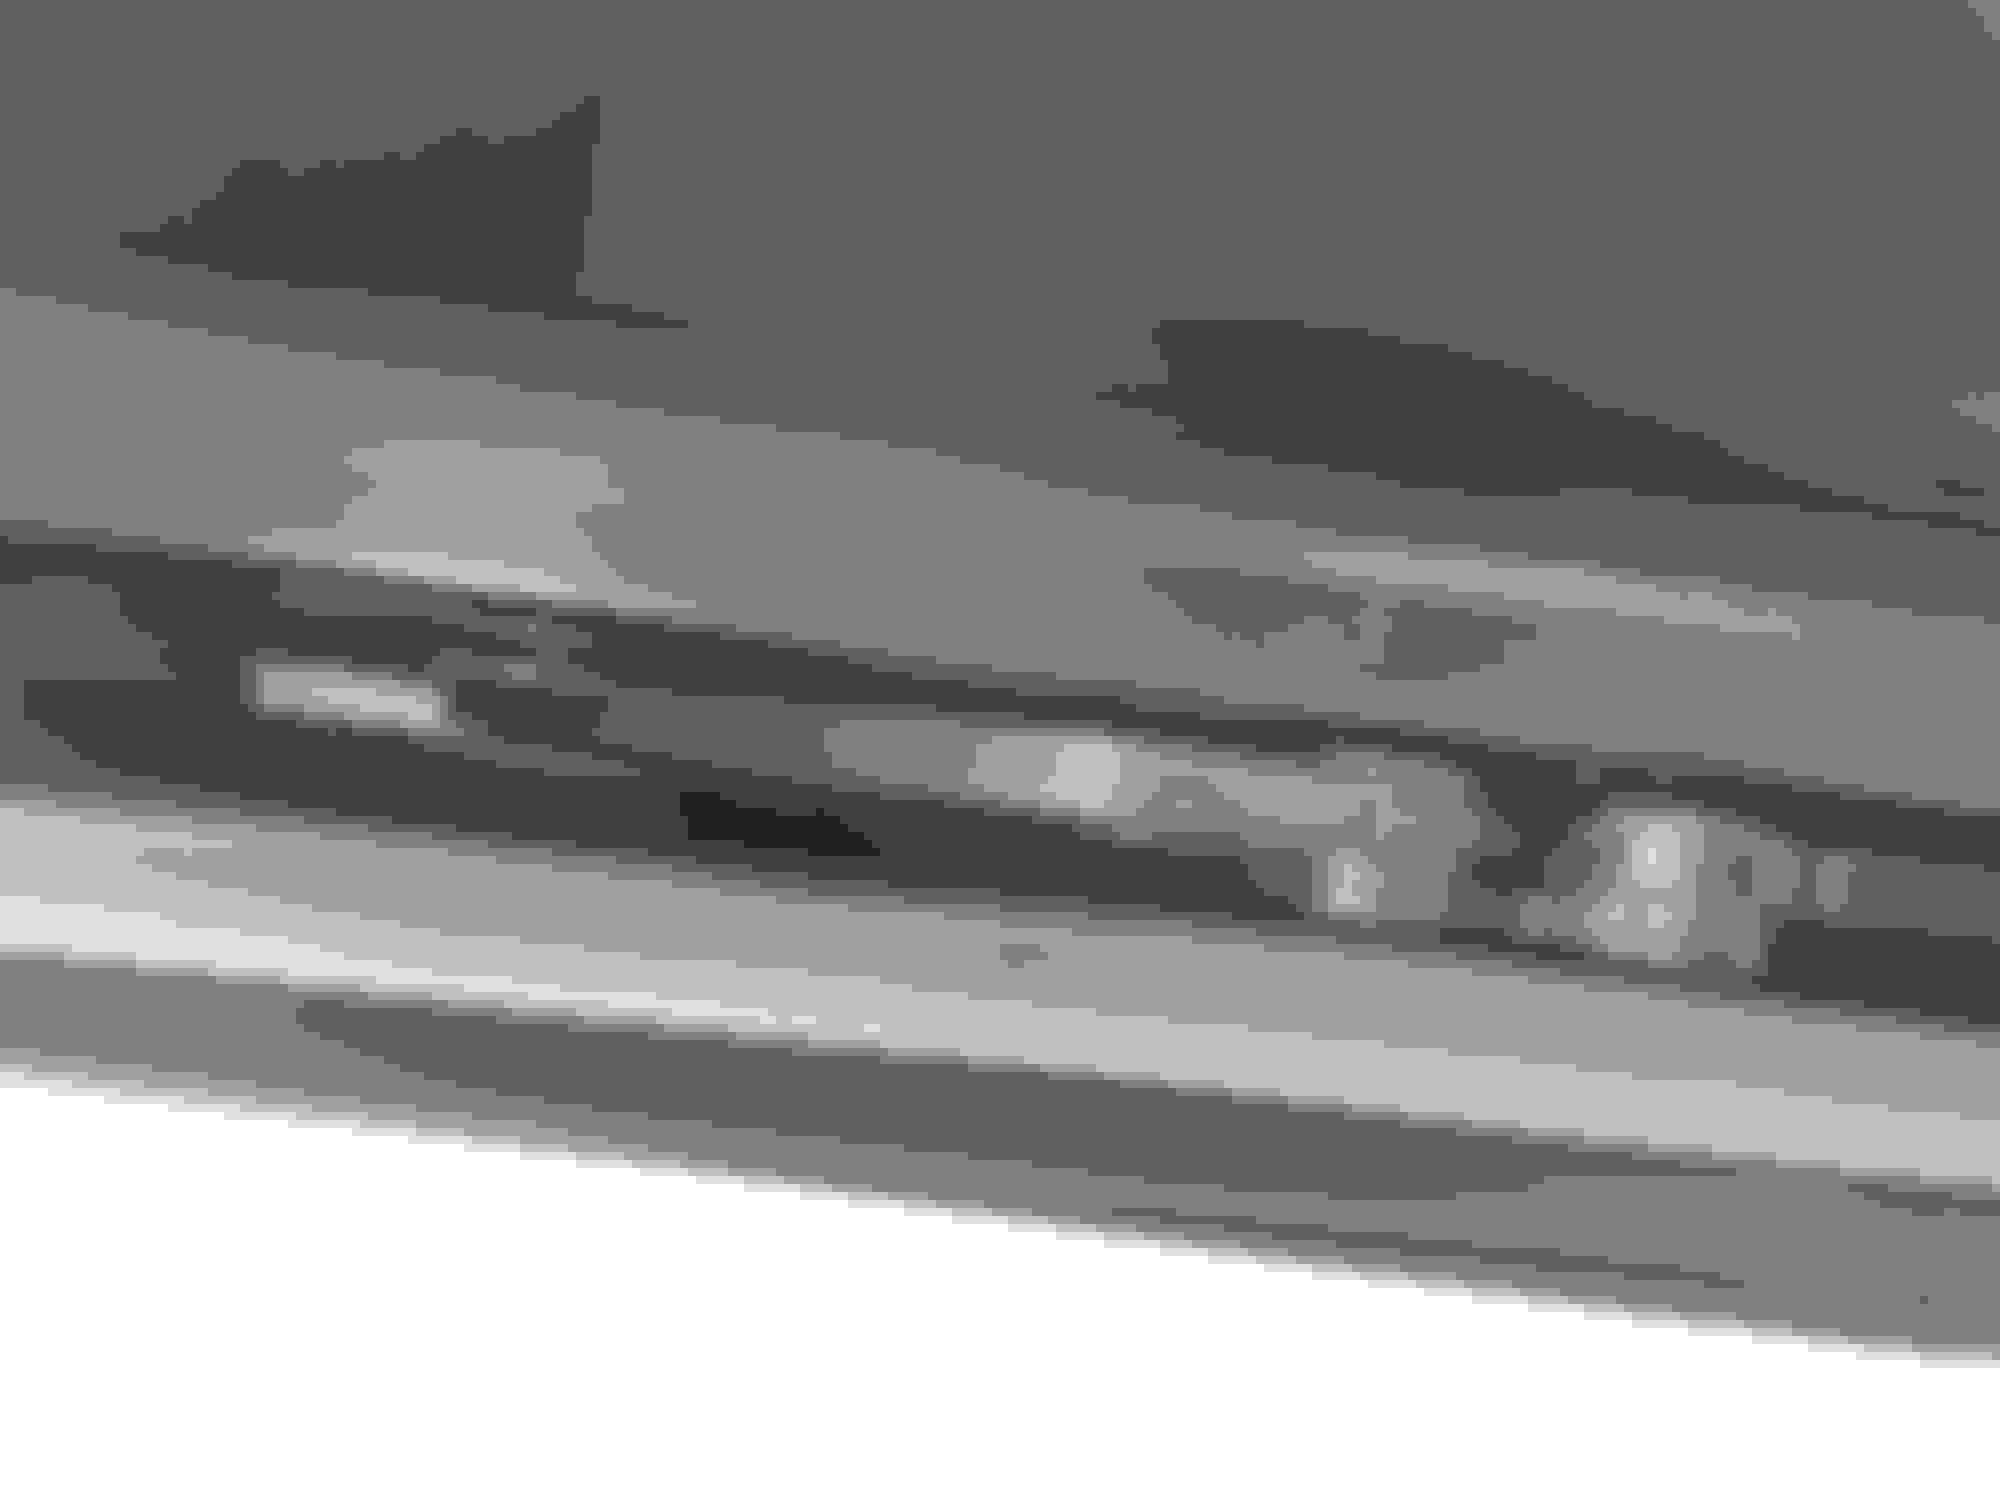
Been following the four part youtube series but am stuck at the step where the sunroof lock is released by using a screw driver to press on what I believe to be the piece which is broken in my case. I understand the goal is to force the long arm with the sunroof lock hook down. Third picture (from the YT videos) has red line where my break is – green arrow points at lock hook on long arm which must be forced down for sunroof to open.
Any advice out there on an alternate way to force this arm down?
Should/can I remove the latch hook assembly first?
Ok, how you do it is wind the sunroof back with the tool. No power. Then wind it back again till it triggers the latches to open then get some help and push from the bottom up on the roof like its going back and you are going to take those front pieces apart to do the cable repairs. make sure that broken front piece slides in the rail ok, you might need to guide it.
Then replace them. Make sure when you manualy work the motor and cables back housing that one cable on. Then take the rail apart, disconnect the motor for the cables and pull those things out. The motor can be manualy controlled with that bent allen wrench in the trunk tools case.
Follow this but you are going to do it without power for you dont hurt anything.
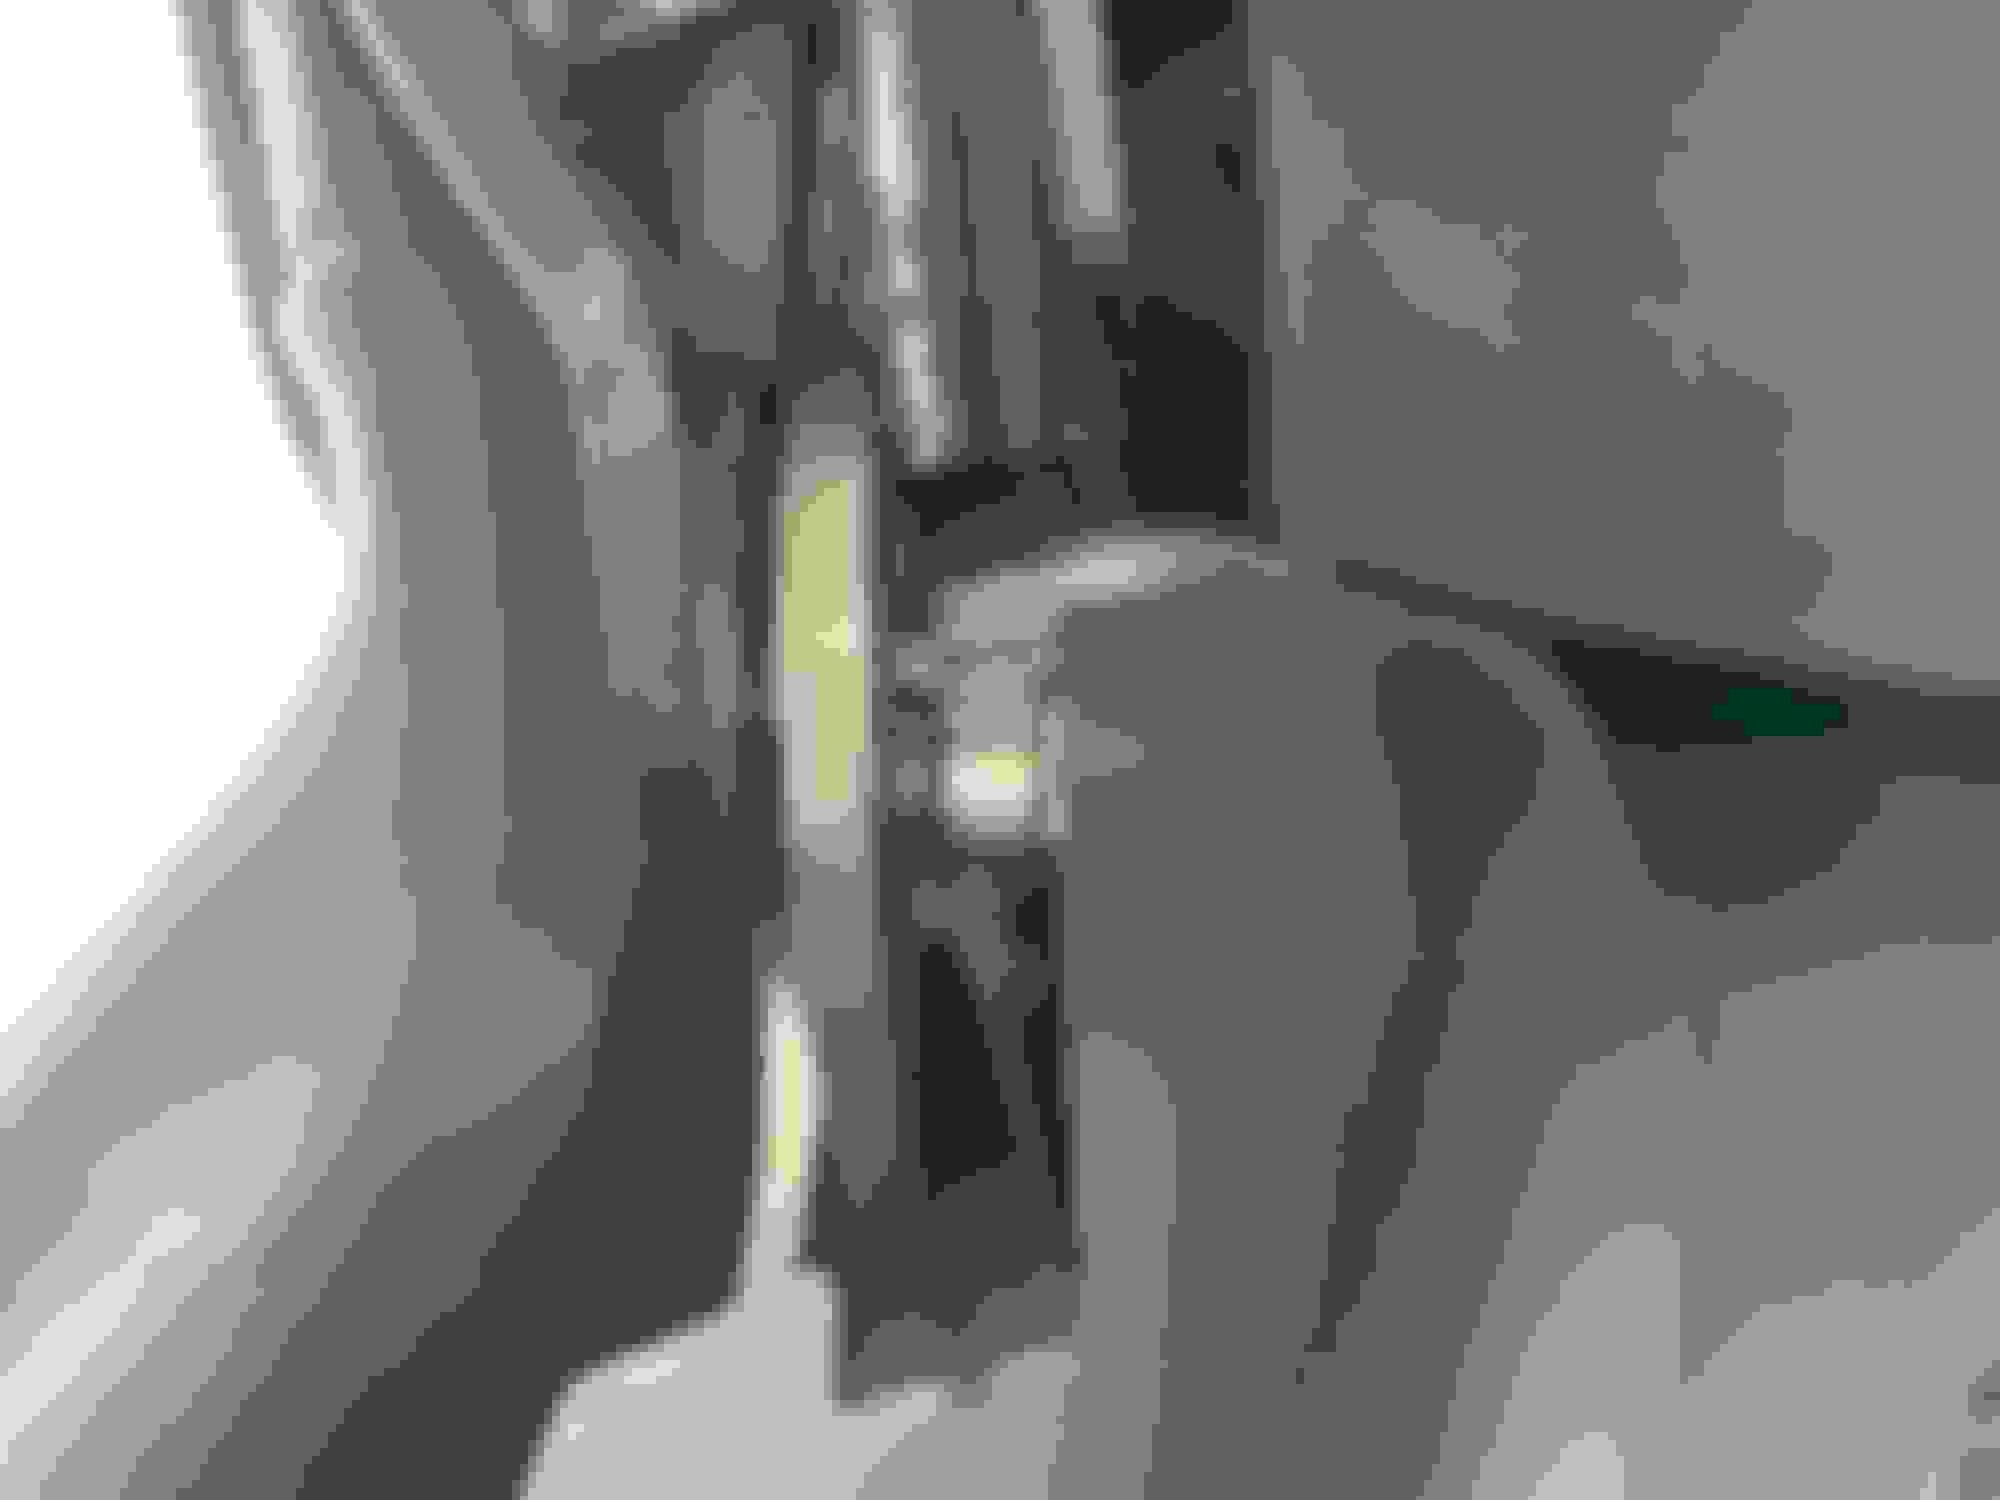
Finally got the sunroof lock released by pressing up on the tab on the back end of the long arm that contains the lock hook. The tab sticks out maybe 1/4 inch and barely moves but you can feel the lock hook let go. See green arrow in picture.
Update: Replaced both side cables with new set from ECS. Installation was straight forward thanks to Tullid's 4 part YouTube video.
Tips from my experience:
2 of the (20 or so) loops on the front of the top did not want to let go. All the others were easy but the second one in on both sides were very stubborn and felt like they were glued (they weren't). Finally decided to heat them a little with a heat gun and after that they let go. Once out I could see they were mangled and had extra material which was catching.
When pushing the business end of the cable back down the track mine was hitting something past the lock positions. Turned out to be the front leading part of the bracket was not aligned perfectly with it's track. This is the piece which rides on the upward curved track and which causes the sunroof to rise. During the install the curved art of the track is removed and alignment is important.
When re-installing the latch hook end make sure the T30 screw is started before you tighten any of the others. Otherwise the T30 might not align.
Used Sunroof motor with Allen wrench to manually test cables. But once powered up the motor did not move the cables. Took back motor out - verified it was turning - then put it back in - and it worked.
(Not related to cable install) Right side tension wire end was frayed and has caused a rip on the inside of the top about 18 inches to the rear where it makes contact when the top is down. I wrapped the tension wire bracket (with wire in) in electric tape to stop it from getting worse.
Hi all,
same plastic part broke as well :(
Question : do you think it will hold of I try to glue the part back ( even if just temporarily until I convince my wife to let me spend 500USD for the complete set) . Does that piece of plastic have an important function...will it support it's original task ?
Thanks in advance for your replay
Yes it's important. I heard of people gluing them with a JB weld and it held short term but not long term. Also being a little pain in the but to glue. I had my cable replaced already and the second set was made much better than the originals. I am still on my second set at ~280K miles and lots of top-down driving. What people have to do is grease and oil the top once a year and that helps keeps things moving easily. Had mine done at about 55K miles.
It is my first convertible car which i bought in October.. i realise now my mistake of not checking the grease status- i guess that is the main reason why plastic parts and cables suffer damage. I was desperate at first as i did not know what happened and i started to search online and i found this forum which is like a ''gateway to heaven'' for me. Now i know how to fix it myself thanks to Tullid's videos. i will try to open the roof mechanism to check also the cable because until now i haven`t done anything , but i am thinking seriously if i will buy the new sets for 500USD considering that i bought the car with 2500USD. I don`t know...i think i will try to glue back the plastic part and try to save some money for the new ones soon . As i work for an automotive company producing car parts , it would have been great if we would have been producing Mini parts ) but unfortunately not :(.
Either way, i would like to thank you all for all the support you are offering here to ''newbies " like me
if you think i should know more about my chalenge please do tell
regards,
paul
I have used this and then wd40 or PB blaster to clean up the old and regrease. Get a towel and use it to wipe up overspray and grease running down all the convertible top scissor metal sections.
Finally got the sunroof lock released by pressing up on the tab on the back end of the long arm that contains the lock hook. The tab sticks out maybe 1/4 inch and barely moves but you can feel the lock hook let go. See green arrow in picture.
hi - am having the same issue being unable to unlatch the hooks on MCC 2004 R52. Have tried to push up on the tab but not moving. Using a flat head screw driver to push up at the end as shown in the pic but no movement. Any help or suggestions? Also tried the manual wind back as described in this thread but that didn�t do anything.
Hi - am new on the forum - have recently purchased a MCC R52 - 2004- with a view to learning a few fixes to get it ready for summer. Bought the car with broken roof. The motor runs and sounds like cables move. Have done all the manual resets, boot catch easy things etc Think the cables are disconnected. Roof doesn�t move at all. Issue I�m having is same as the one above, in that I can�t get the manual unlock to pull back like in the Tullid video guide. I�ve tried the fix from ECS with manual Allan key. No joy. I�m trying the MassMini suggestion above - the sunroof lock release by pressing up on the tab on the back end of the long arm that contains the lock hook. I�m using a flat head screw driver and applying a lot of force but nothing moves. I�m I missing something. I�m pushing it upwards towards roof on the visible end as per green arrow, is that right? Any help or advice really appreciated. Only other thing I can think to get roof off, will be to try and take out the roof rail strike plates catch.
Thanks for responding ECS. As a newbie when you say pull back more trim, please could you elaborate? Would it be worth blasting some Wruth lubricant on the mechanism around the tab to push up on?
I�ve taken off the inner trims, looked down the rails all seem clear. I can�t take off the top section trim. Part # 54347154505 and 54347154506 - as I can�t get to the front screw as the sunroof will not open at all. I have removed the middle screw in the track and can lift up the top section trim. I�ve tried taking the rubber seal off the door frame up the the sunroof to access the screw, but that is stuck on at the top of the windshield and I didn�t want to pry off in case it wouldn�t go back on and then could leak.
I�ve tried lubricating around the manual release latch but hasn�t made any difference.
I�ve tried to remove the screw at the front by the latch but it doesn�t appear to come out. Any more suggestions on what I could try? It�s exactly the same problem on both drivers and passenger side latches. Could I be missing something? Drivers door actuator motor is gone. Could this be an issue?
I�ve taken some pics in case it helps. I�m thinking I might have to unscrew the latch plate to get the roof open and then I can try and diagnose further. Unless anyone has a better suggestion?
After more searching on the internet I found that on tullid part 2 video comments - a Russian posted the same issue. I followed his translated update, removing rubber door trim and easing plastic windscreen trim to reveal 2 to t30 screws (see previous pic) holding in the latch bracket which the roof locked into. I removed the sun visors for better access. Then removed the latch bracket and lifted the roof. From there I was able to remove the bracket from the top and bottom locking elements and reattach it back onto the car. I then unlocked the middle roof mechanism (as per tullid video) to raise roof up some more. It allowed me to then put a flat head screw driver in and push the plastic tab down the middle rail (tullid part 3 - 7:30 for visual) which moved the mechanism back and then allowed me to access the manual lock. I put the roof back down and closed it all up. I then ran though the tullid videos and found both cables disconnected. Have done the fix and the sunroof is now working. Great videos tullid and thanks ECS for your previous comments very useful. I�ve done the lubricating as well. Hopefully this fix should last a few years before I decide to fully change the cables and latches.
 09-10-2017, 06:41 PM


 ) but unfortunately not :(.