When you click on links to various merchants on this site and make a purchase, this can result in this site earning a commission. Affiliate programs and affiliations include, but are not limited to, the eBay Partner Network.
Dynamic Damper (DDC), Tools Needed to Dissasemble.
Dynamic Dampers do not have the 7mm Allen head on the shaft to hold while loosening the top hat nut. There is a 10mm 6 point hex at the top of the shaft.
Here's my solution.
Besides basic wrenches and sockets, you will need these specially tools:
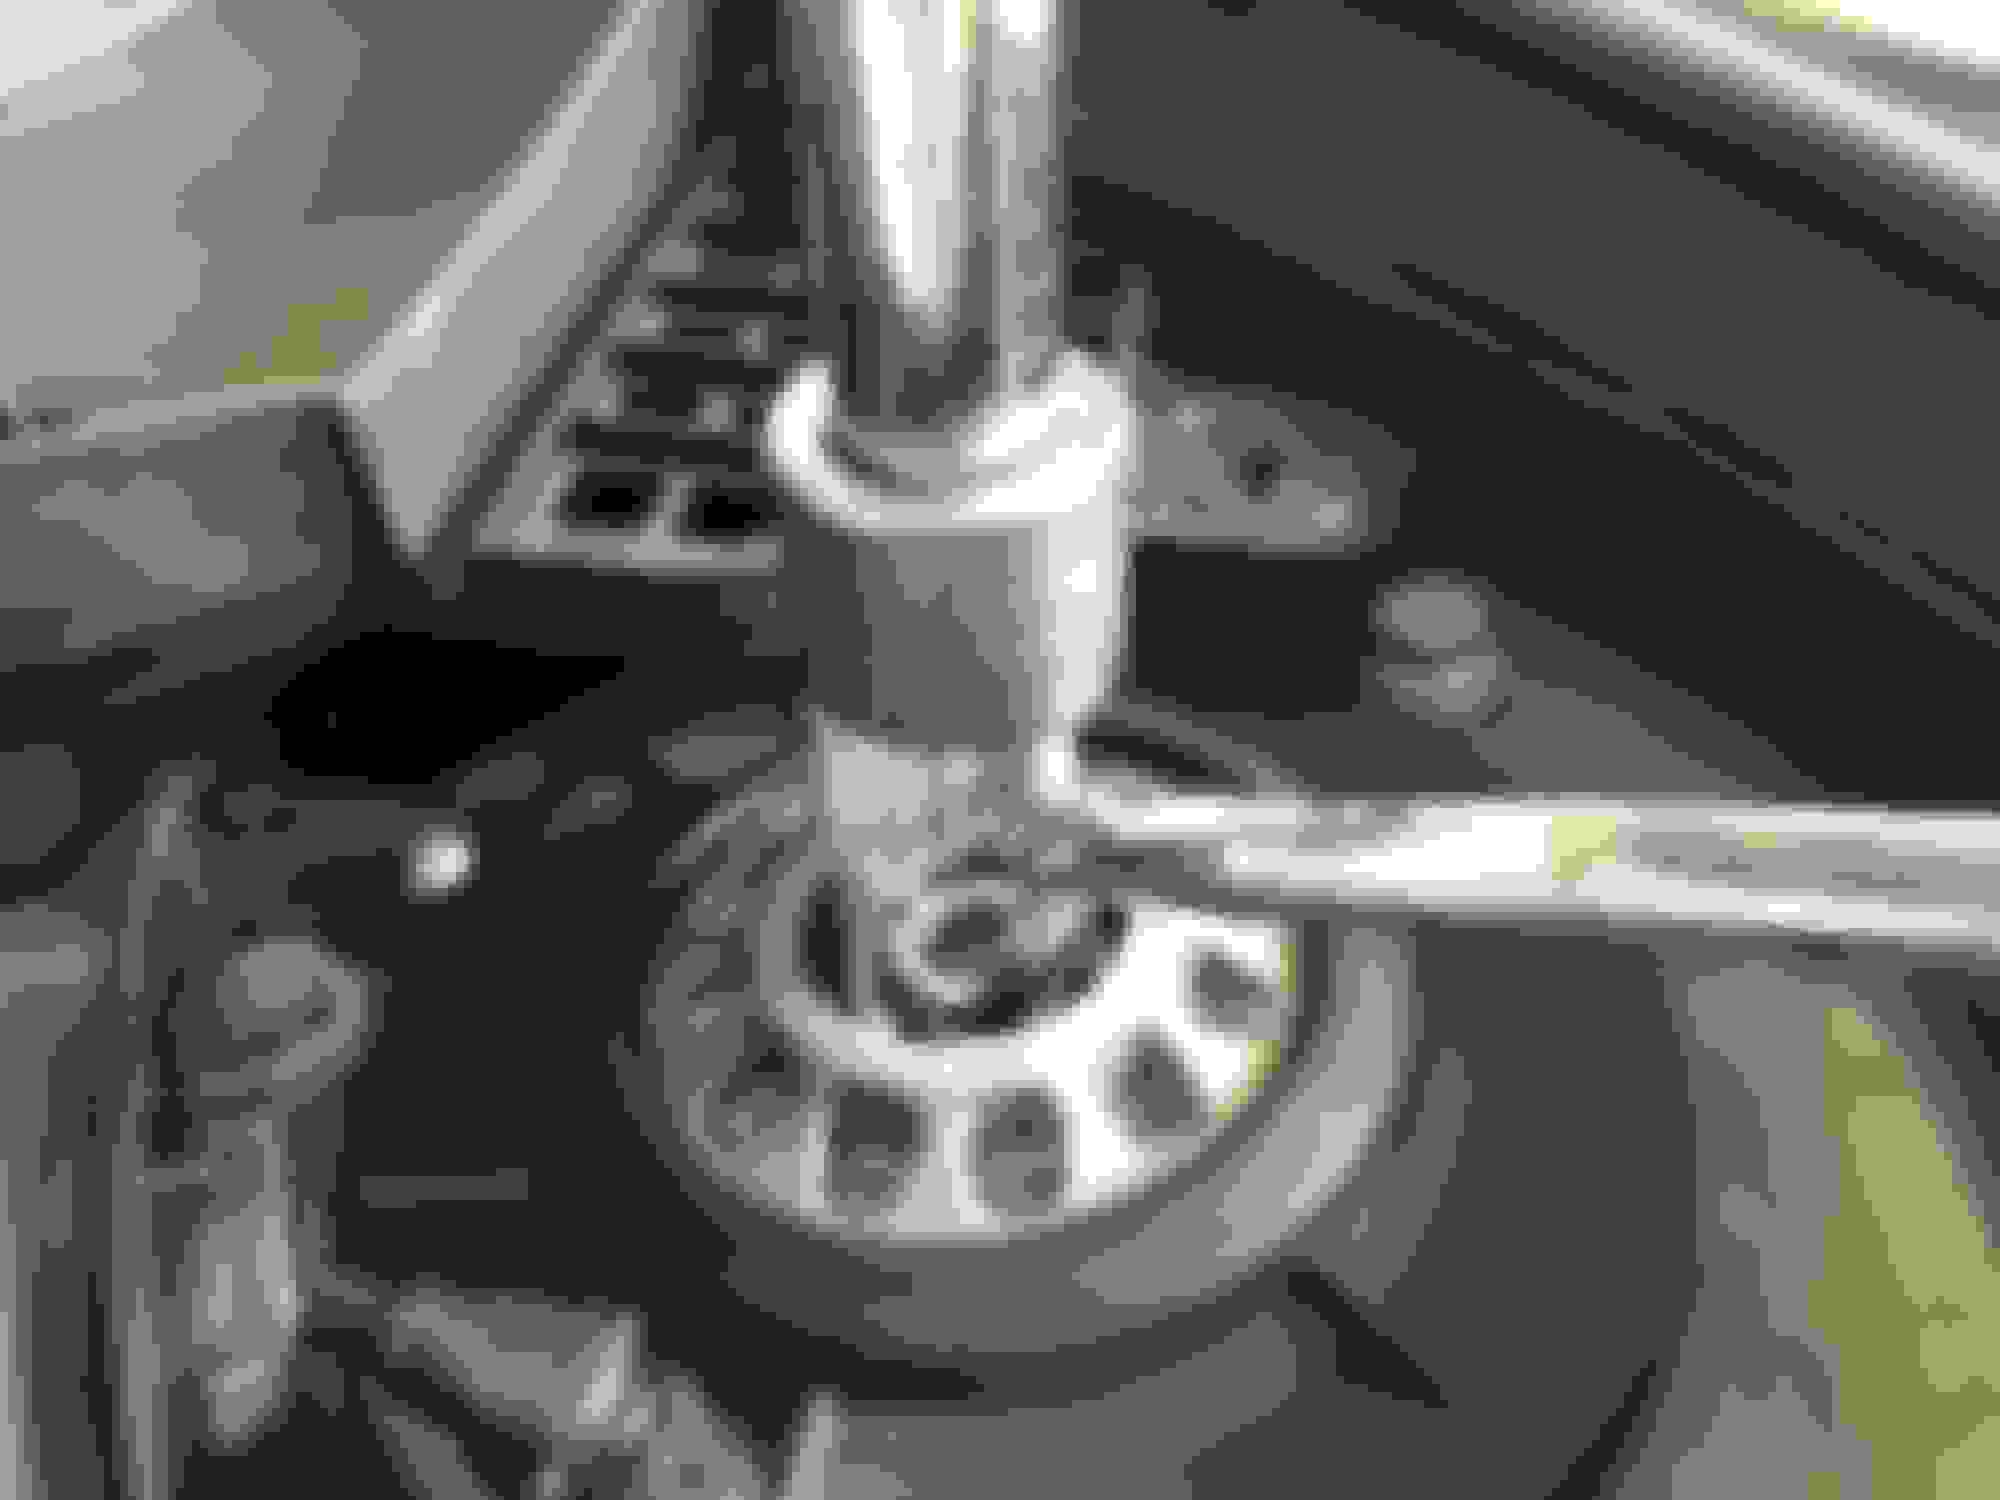
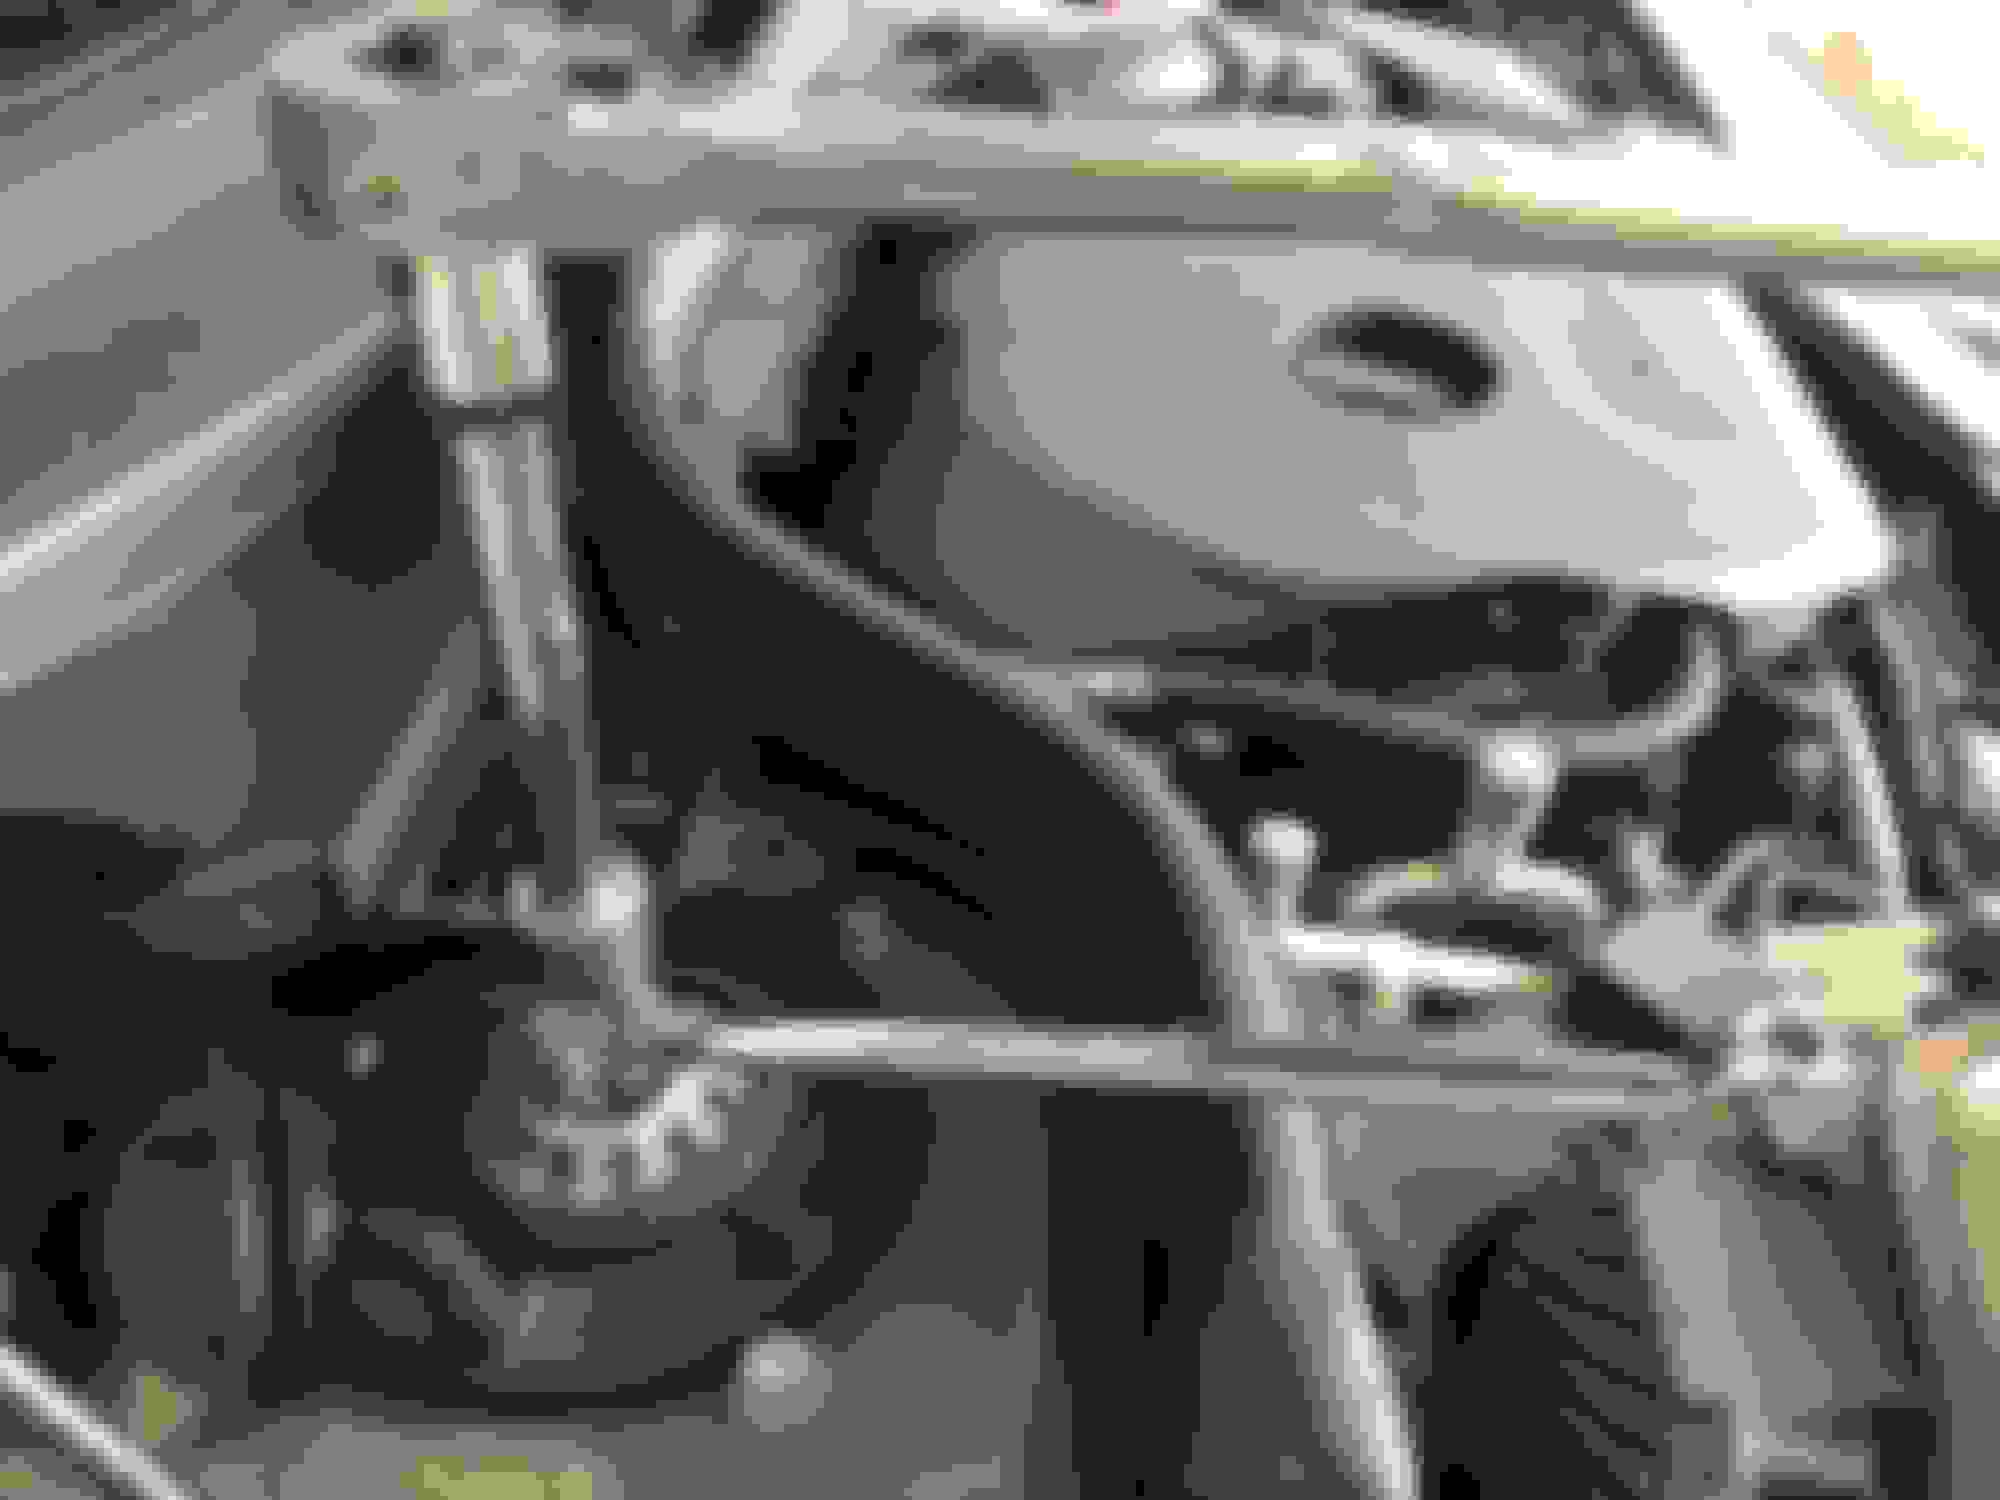
Just finished the front springs, here's a trick for spreading the spindle:
Insert the spreader in the opening just below the cross bolt hole, if you try the top part
the strut tab will catch on the tool.
Leave the top of the strut bolted in, push the rotor down with your foot, and bam!!!
Also do not fully tighten the top strut shaft nut until after you install,
you will need to turn to top hat to position, and turn and hold the shaft
to line up with the electrical connector.
The ECS tool and 10mm brake bleeder wrench worked perfectly!!
DO NOT LET THE SHAFT TURN MORE THAN 1/4 TURN.
USE OF AN IMPACT GUN TO SPIN THE NUT OFF WILL RESULT IN A
DAMAGED $375 SHOCK.
Of course, there will be a follow up saying, "I used an impact with no problems" That would be luck. In my previous career, as a tech, Ive ruined many shocks with impact guns trying to beat the flat rate!!!
BTW, No spring compressor required to install new spring, just push down and start the nut!!!
Last edited by TVPostSound; 05-19-2019 at 04:10 PM.
Just finished the front springs, here's a trick for spreading the spindle:
Insert the spreader in the opening just below the cross bolt hole, if you try the top part
the strut tab will catch on the tool.
Leave the top of the strut bolted in, push the rotor down with your foot, and bam!!!
I just used a large mallet on the upright. a few hits and it dropped. no spreader tool required.
Originally Posted by TVPostSound
DO NOT LET THE SHAFT TURN MORE THAN 1/4 TURN.
USE OF AN IMPACT GUN TO SPIN THE NUT OFF WILL RESULT IN A
DAMAGED $375 SHOCK.
I used an impact to disassemble and reassemble. Have put more than 30,000KM on the car since with zero issues. the reason is because the 10mm hex is not very strong. I initially tried to use a 6pt socket on it inside a custom made 18mm extra deep socket with an opening. The hex deformed very quickly. tried a wrench while putting a small cutoff of round rod in the electrical plug to resist deformation, Nope, still deformed. Zipped it off with an impact after that (shaft didn't move within shock) then zipped the nut back down after the new spring was in.
 05-20-2018, 11:33 AM