When you click on links to various merchants on this site and make a purchase, this can result in this site earning a commission. Affiliate programs and affiliations include, but are not limited to, the eBay Partner Network.
Stock Problems/IssuesDiscussions related to warranty related issues and repairs, or other problems with the OEM parts and software for MINI Cooper (R50), Cabrio (R52), and Cooper S (R53) MINIs.
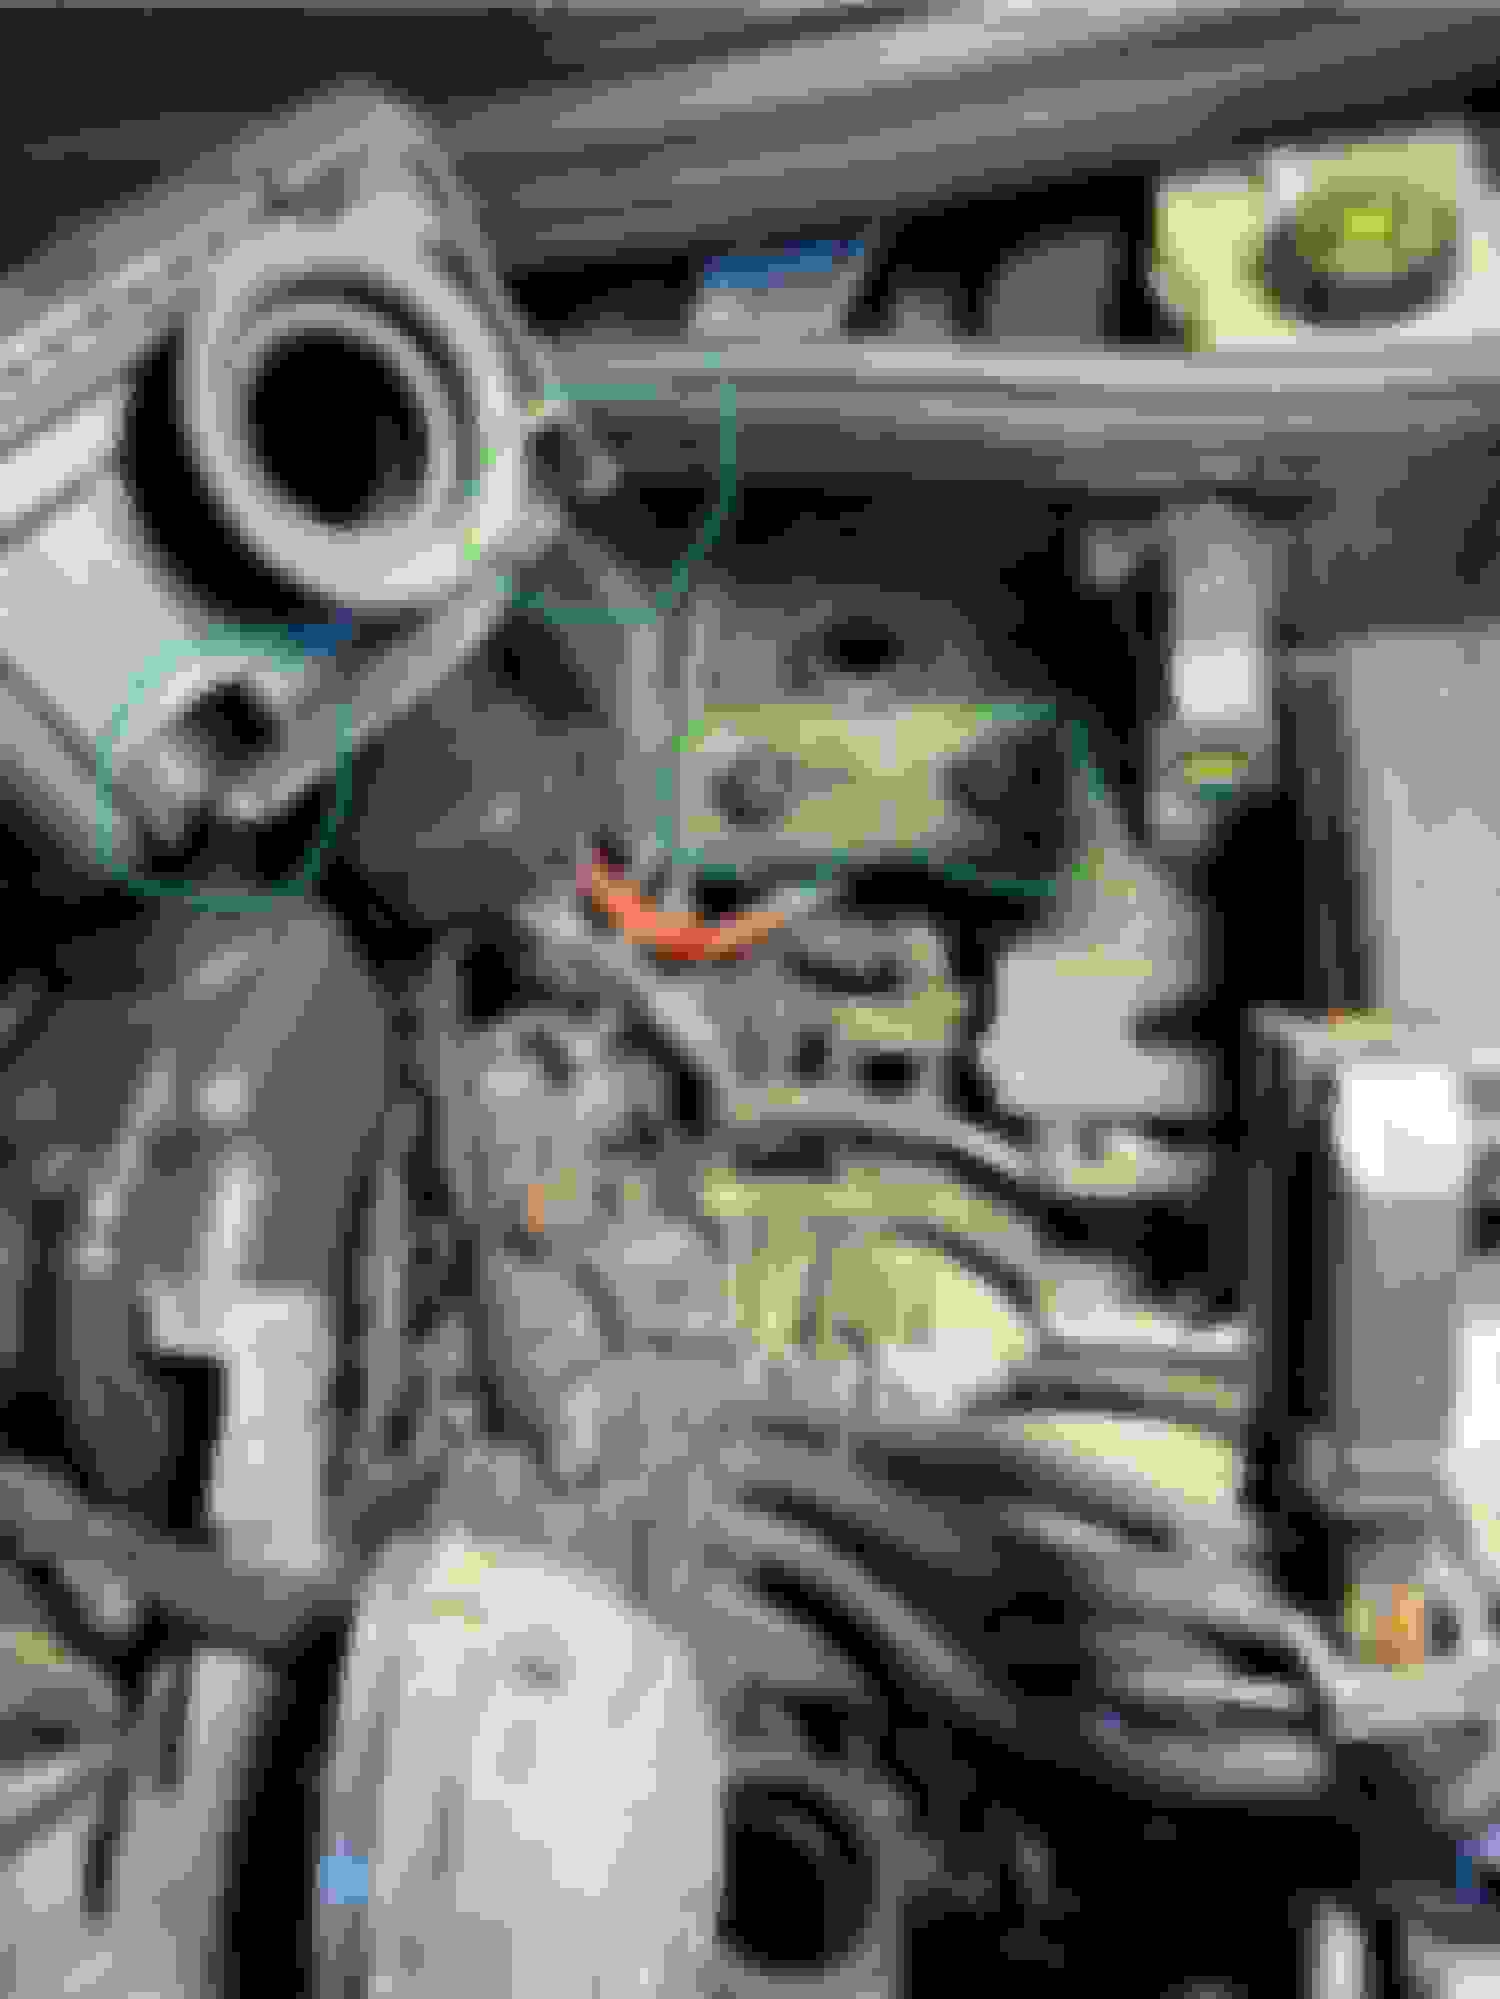
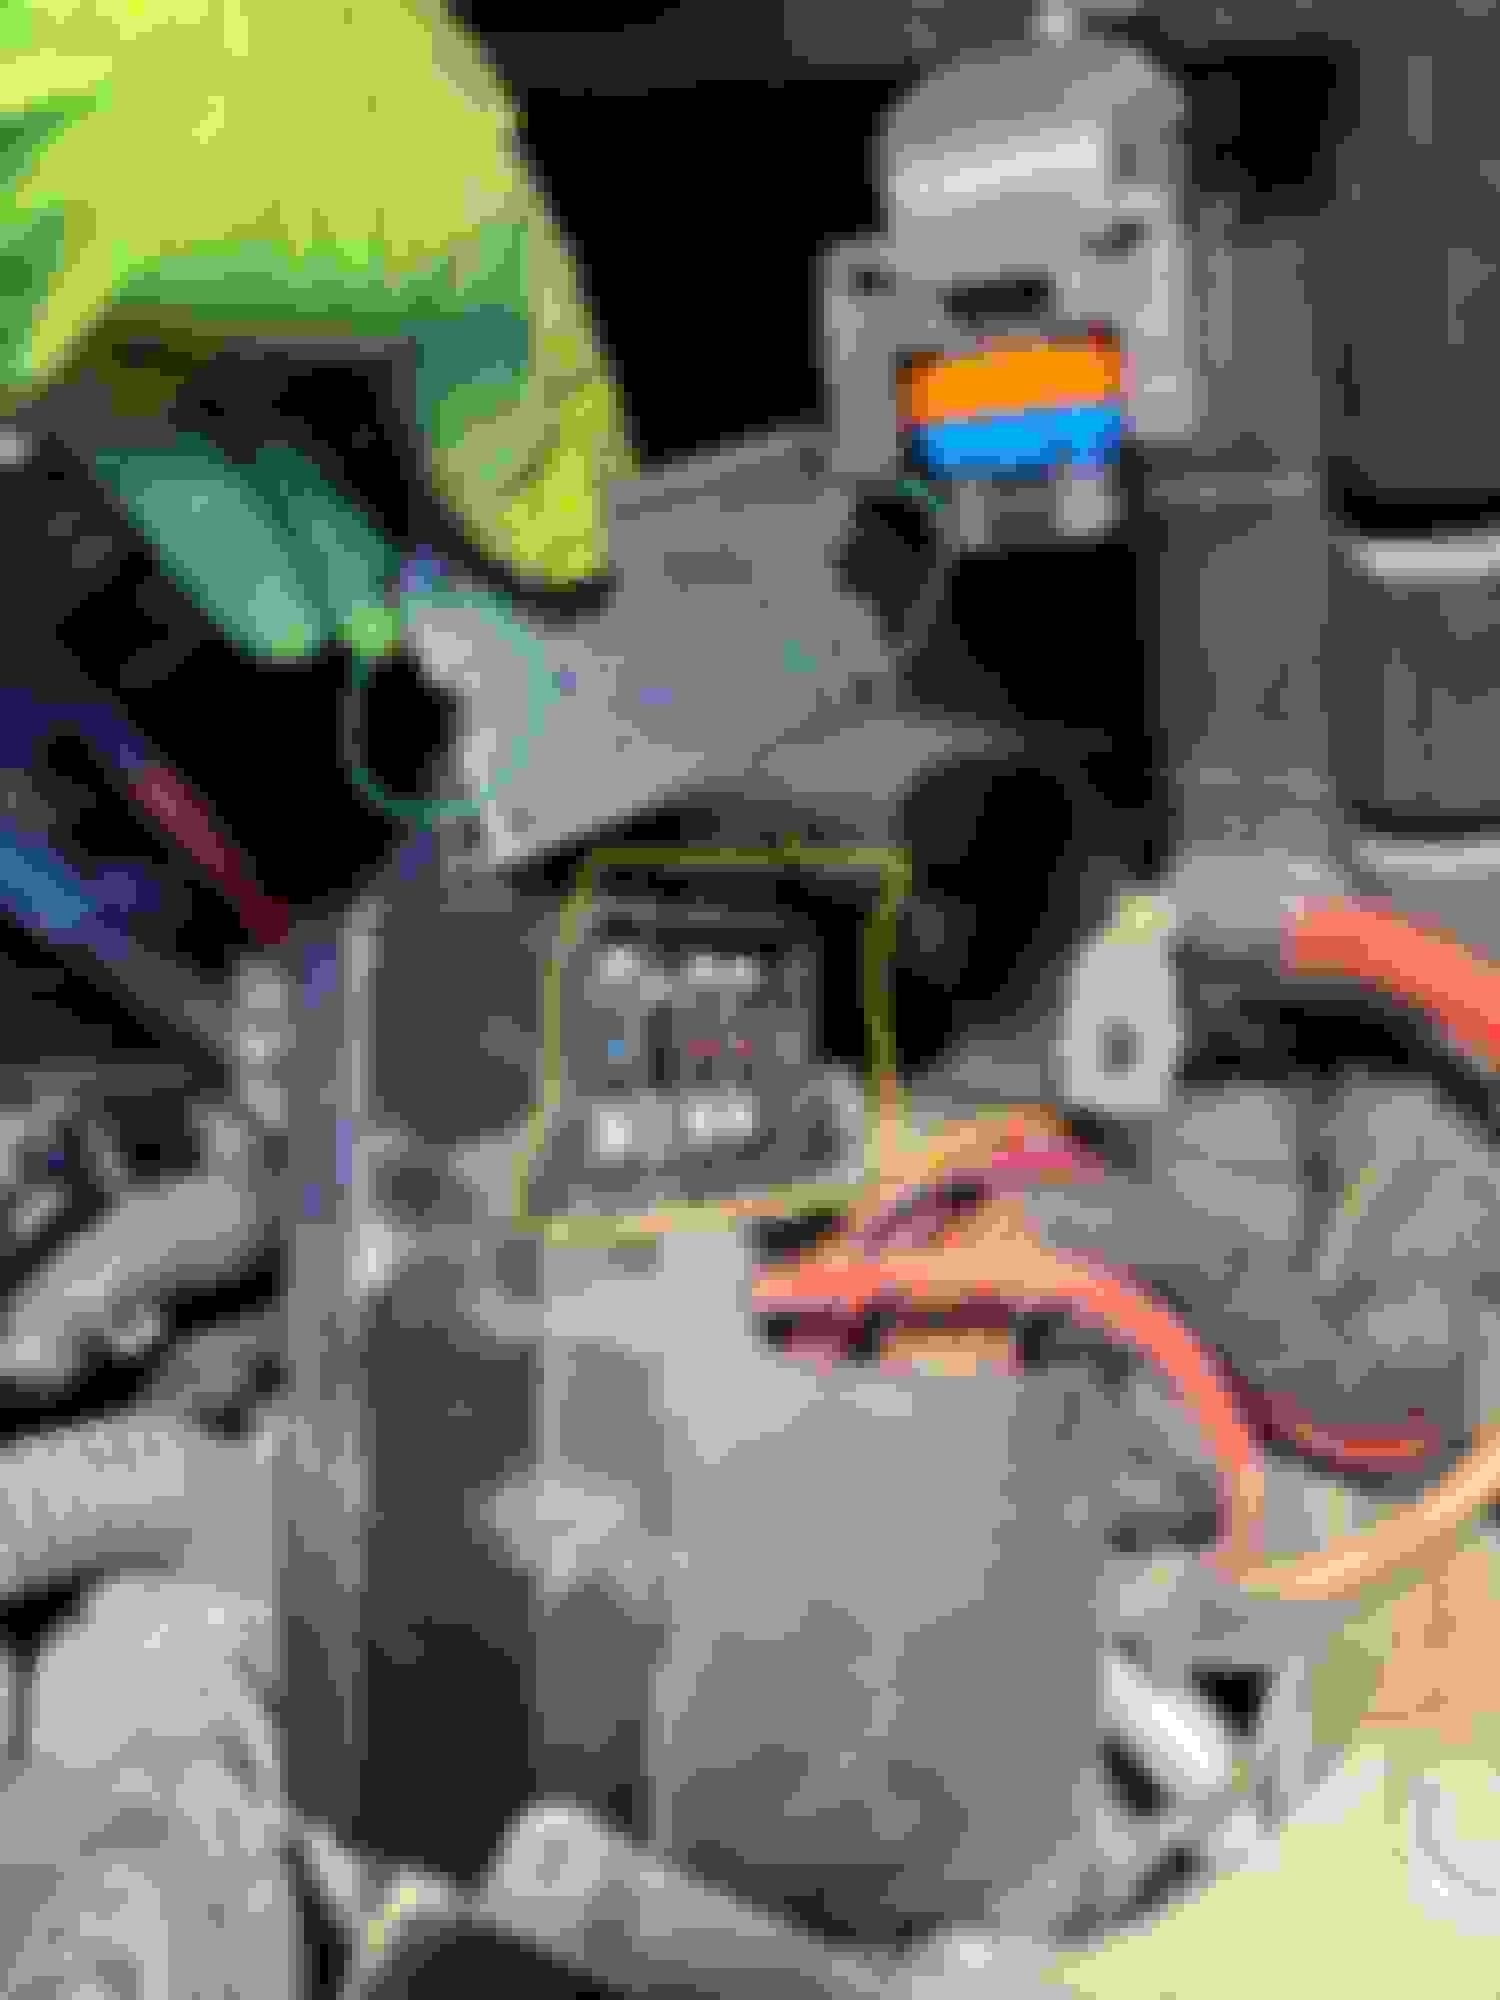
That is the underside of the fuse box, removed and flipped over. There is also a cover on the bottom that hides the fuses that needs to be removed (it's sitting on the strut tower in the picture).
Instead of removing the 100 amp fuse to disable to steering pump, you can remove the thick red wire next to it instead (much easier, requires no tools).
I didn't even know there was a 100 amp fuse on the beast, I never really studied the schematic but now I will.
When the power steering pump fails, quite often it gets 'stuck on', since the power controller is built into the pump motor itself. Some people want to disable the pump in order to prevent the battery from dying. Disconnecting the battery on a MCS leaves one stranded outside unable to open the hatch easily, you have to unlock the car with the kay and fish around under the rear seat to find the manual release. Many '02 cars dont even have that release.
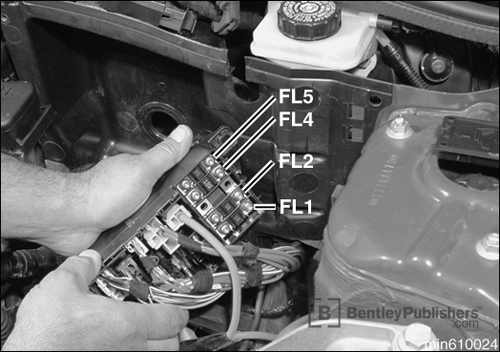
The hidden fuses under the fuse block are sometimes the cause of large groups of accessories not working. The 50 amp fuses feed groups of other fuses.
To get to this fuse block (as per my personal experience - this may not be the best way, but it works):
disconnect and remove your battery.
Disconnect and remove the box o' circuitry that is just to the right of the battery. To remove the plugs, pull horizontally on the pulltab at the wire side of each connector. It will pull out about .75". then the connector will pop off.
there will be 3 bolts holding your battery compartment in on the inside, and one bolt at the front on the outside. Remove them.
Remove your battery compartment.
Remove the two bolts that hold the fuse block in at the top and bottom.
flip the fuse box to the left, so it falls over into the former battery area. You can now access the underside. At the back, there is a picture of a manual embossed on a plate that takes a screwdriver on some tabs to remove. Pop off the plate and you are set.
Note that you may remove the two bolts holding the fuse block without removing your battery. Either i am too stupid to figure out how, or the wires are simply too short to access the underside of the block without removing the battery and compartment. The picture shows a removed battery compartment, so i have a feeling i'm correct. That aside, since there is a direct connection to + on the fuse block, odds are that if you go toying with this with your battery hooked up, you're gonna tap ground and fry the battery.
The fuses underneath are not visually inspectable. You will need to remove them and use a voltmeter to determine their fuseworthyness. You will also need a torx25 to remove them.
Right, right, indeed i removed the battery compartment, while a turbo/super would require removal of something else.
I always like to test fuses out of a circuit. There is always a chance that the circuit will have a path in some other way that causes a bad fuse to look good. Alternately possible is that you've now created a path to the battery (in other devices, since we've removed the battery to get to these fuses, riiiiight?) that is *through* your meter. And since you're testing ohms and not amperage, you're set to blow your poor meter if there's any reasonable amount of current.
I have a 2006 R53 and am trying to narrow down if I have a PS pump issue. I want to check the fuses and heard about this �hidden� 100amp fuse on the bottom of the main fuse box. I also just so happened to be replacing my bypass valve so some of the components were already out of the way. It really isn�t that difficult to do so just be patient. The most �technical� part is re clipping the retainer bands. Don�t forget to disconnect your battery first.
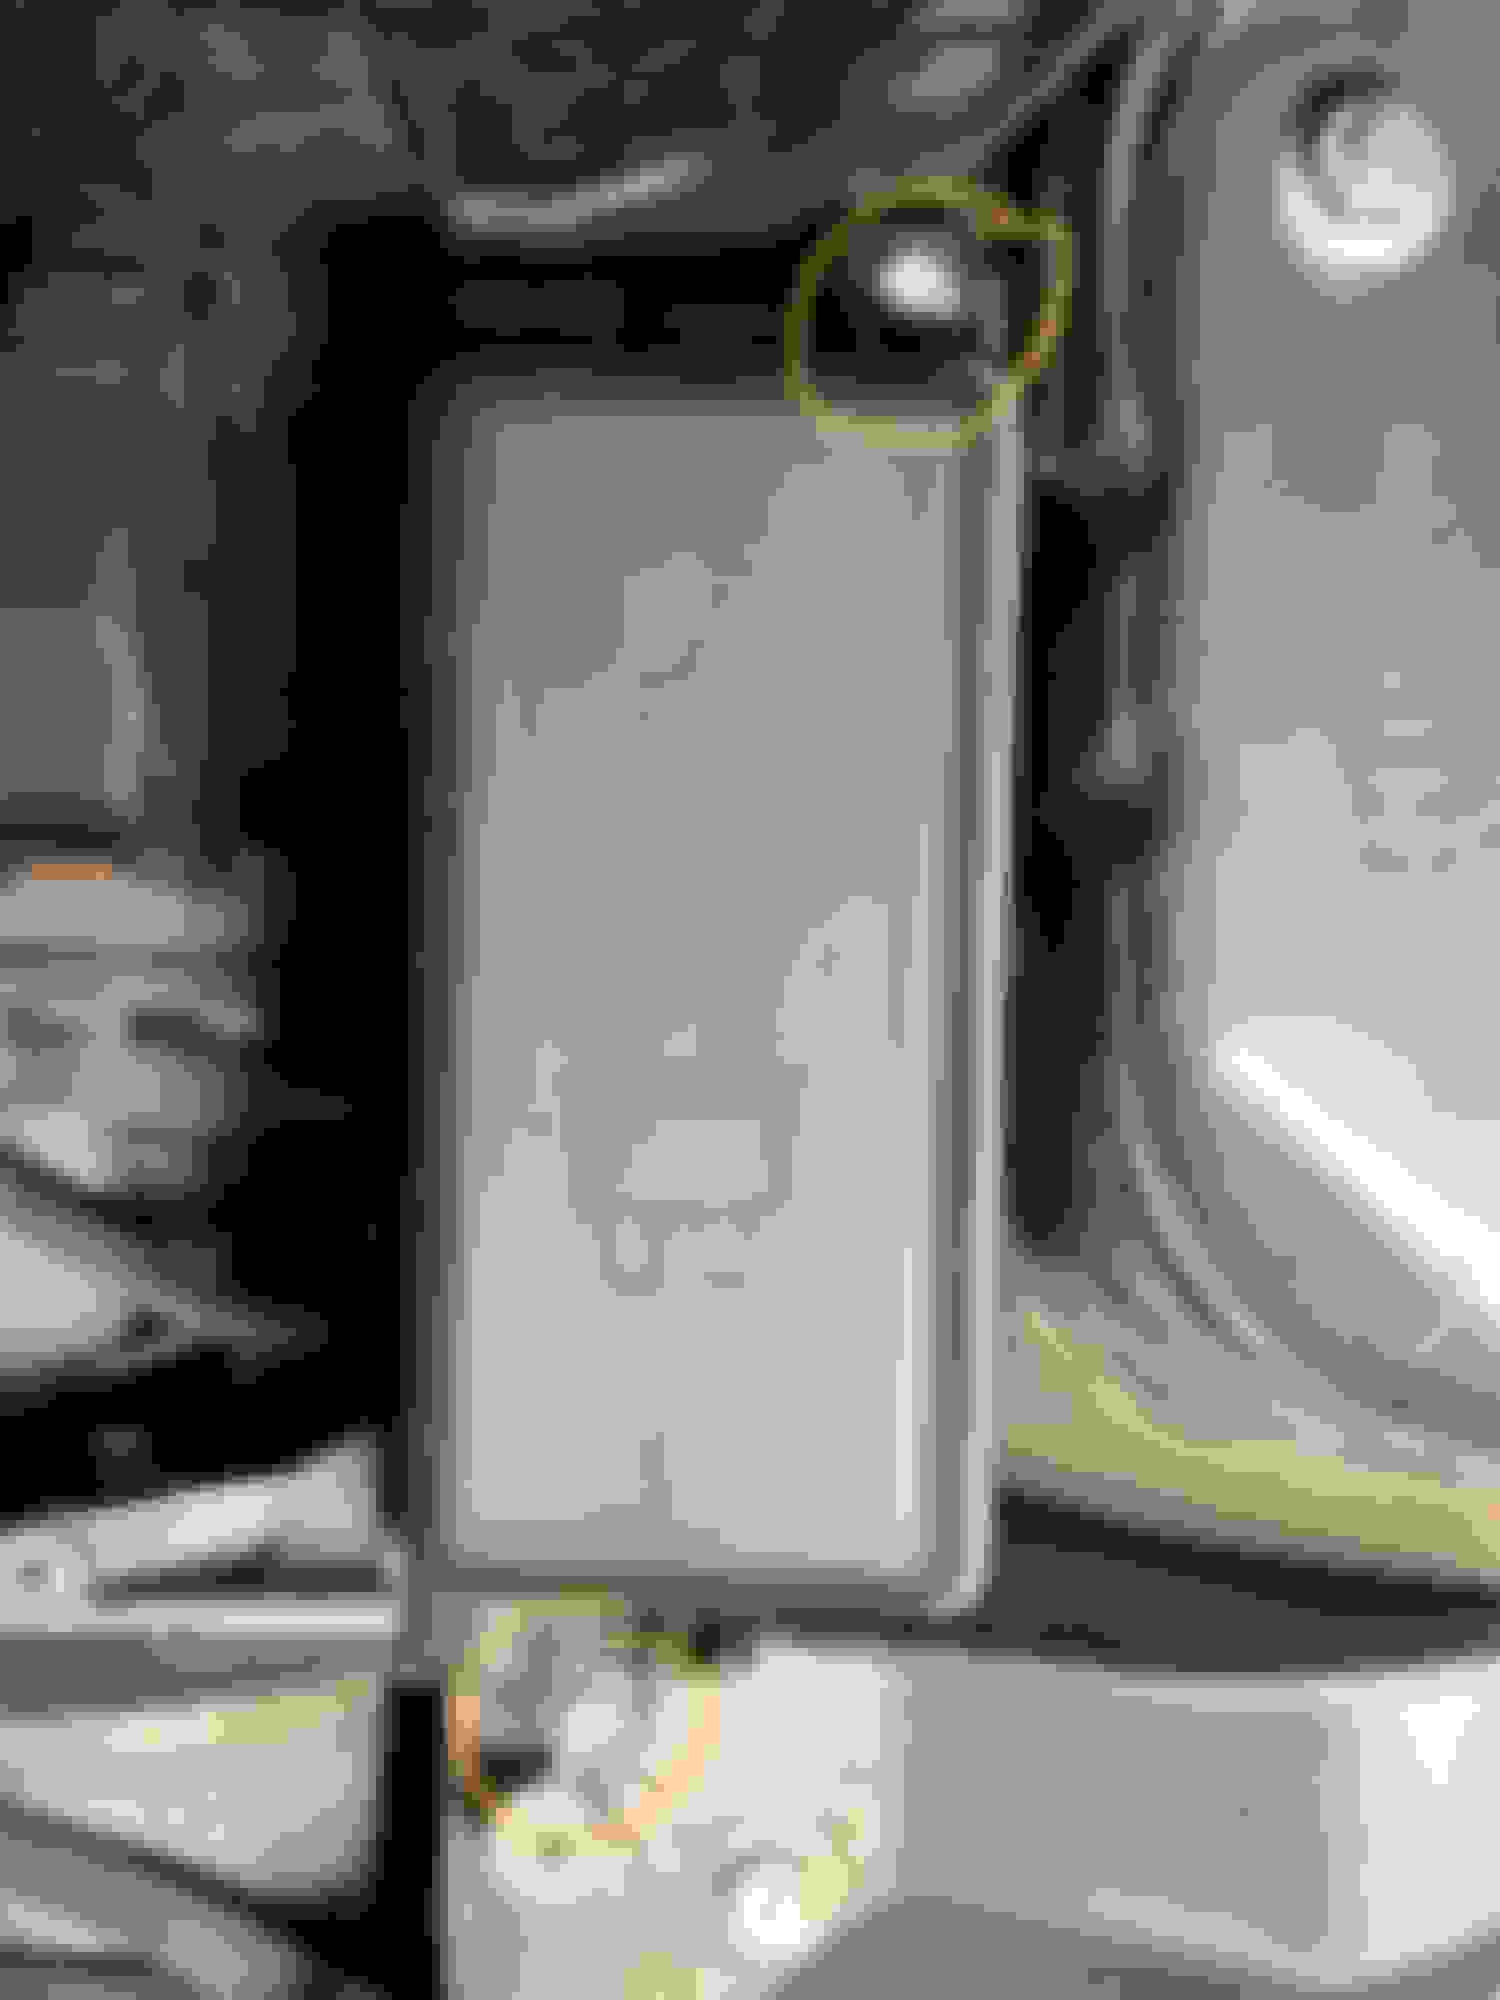
1. Here is the fuse box with two 10mm bolts. Remove those. Fuse box with bolts
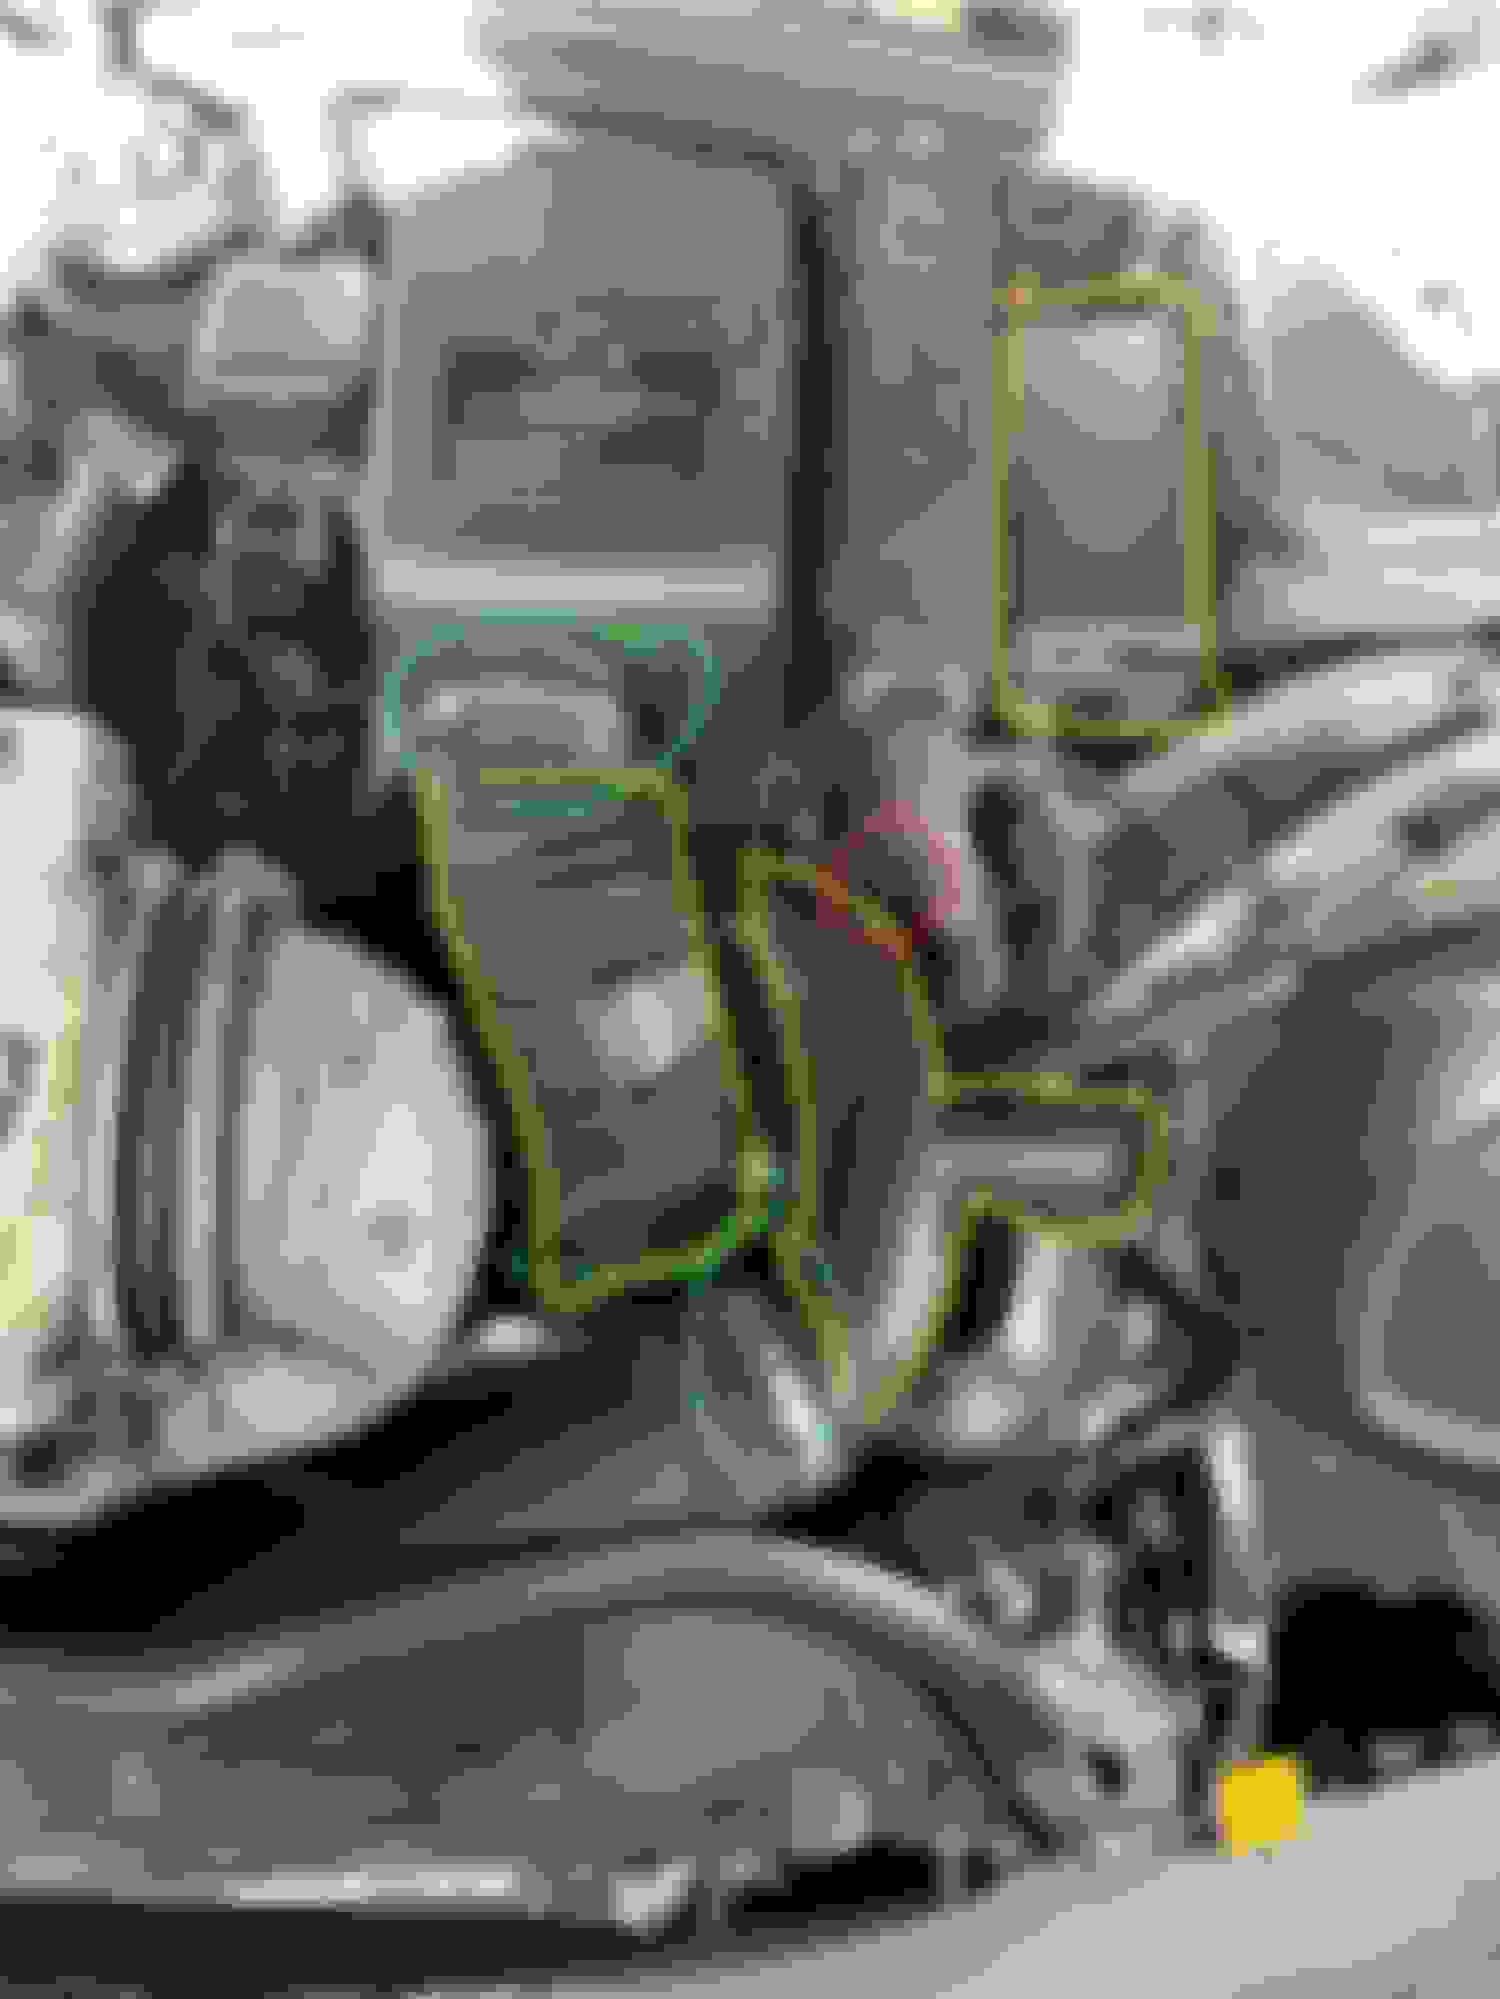
2. Now remove the intake and air box pipes (highlighted in yellow), start by removing the clips (highlighted in green). Insert a small flat screwdriver and twist like you are unscrewing and they should easily unclip. Now twist the ridged pipes out of the way. Rotate the bottom pipe toward passenger side and it will come out. Note that when you reinstall there is a small guide pin that �hooks� into a slot on the right side of the pipe (highlighted in red)
3. Remove the battery connection holder. You will see that two pins are holding it on each side. Simply pull up to release those pins. Note that there is a large plastic bracket that the battery box rests on so you will need to lift it up and over that bracket.
4. Now remove the cover of the air box, torx25 I think. The battery cables are held next to the air box with an open C. Make sure you reinsert those cables into the C on reinstall.
5. I�m not sure what this is called so I will call it the computer box. It sits in between the fuse box and the air box. Remove the cover. You are now going to unplug both cables. It�s not easily to explain but once you see it, it will make more sense. There is a sliding �pull� device that unlocks the cable, pull with two fingers to release it. Once it�s fully pulled back you can pull the cable straight up. NOTE: when you plug them back in later be very careful not to bend a pin. The back cable release device was very hard so I used two plastic trim tools to push on both sides of the locking slider.
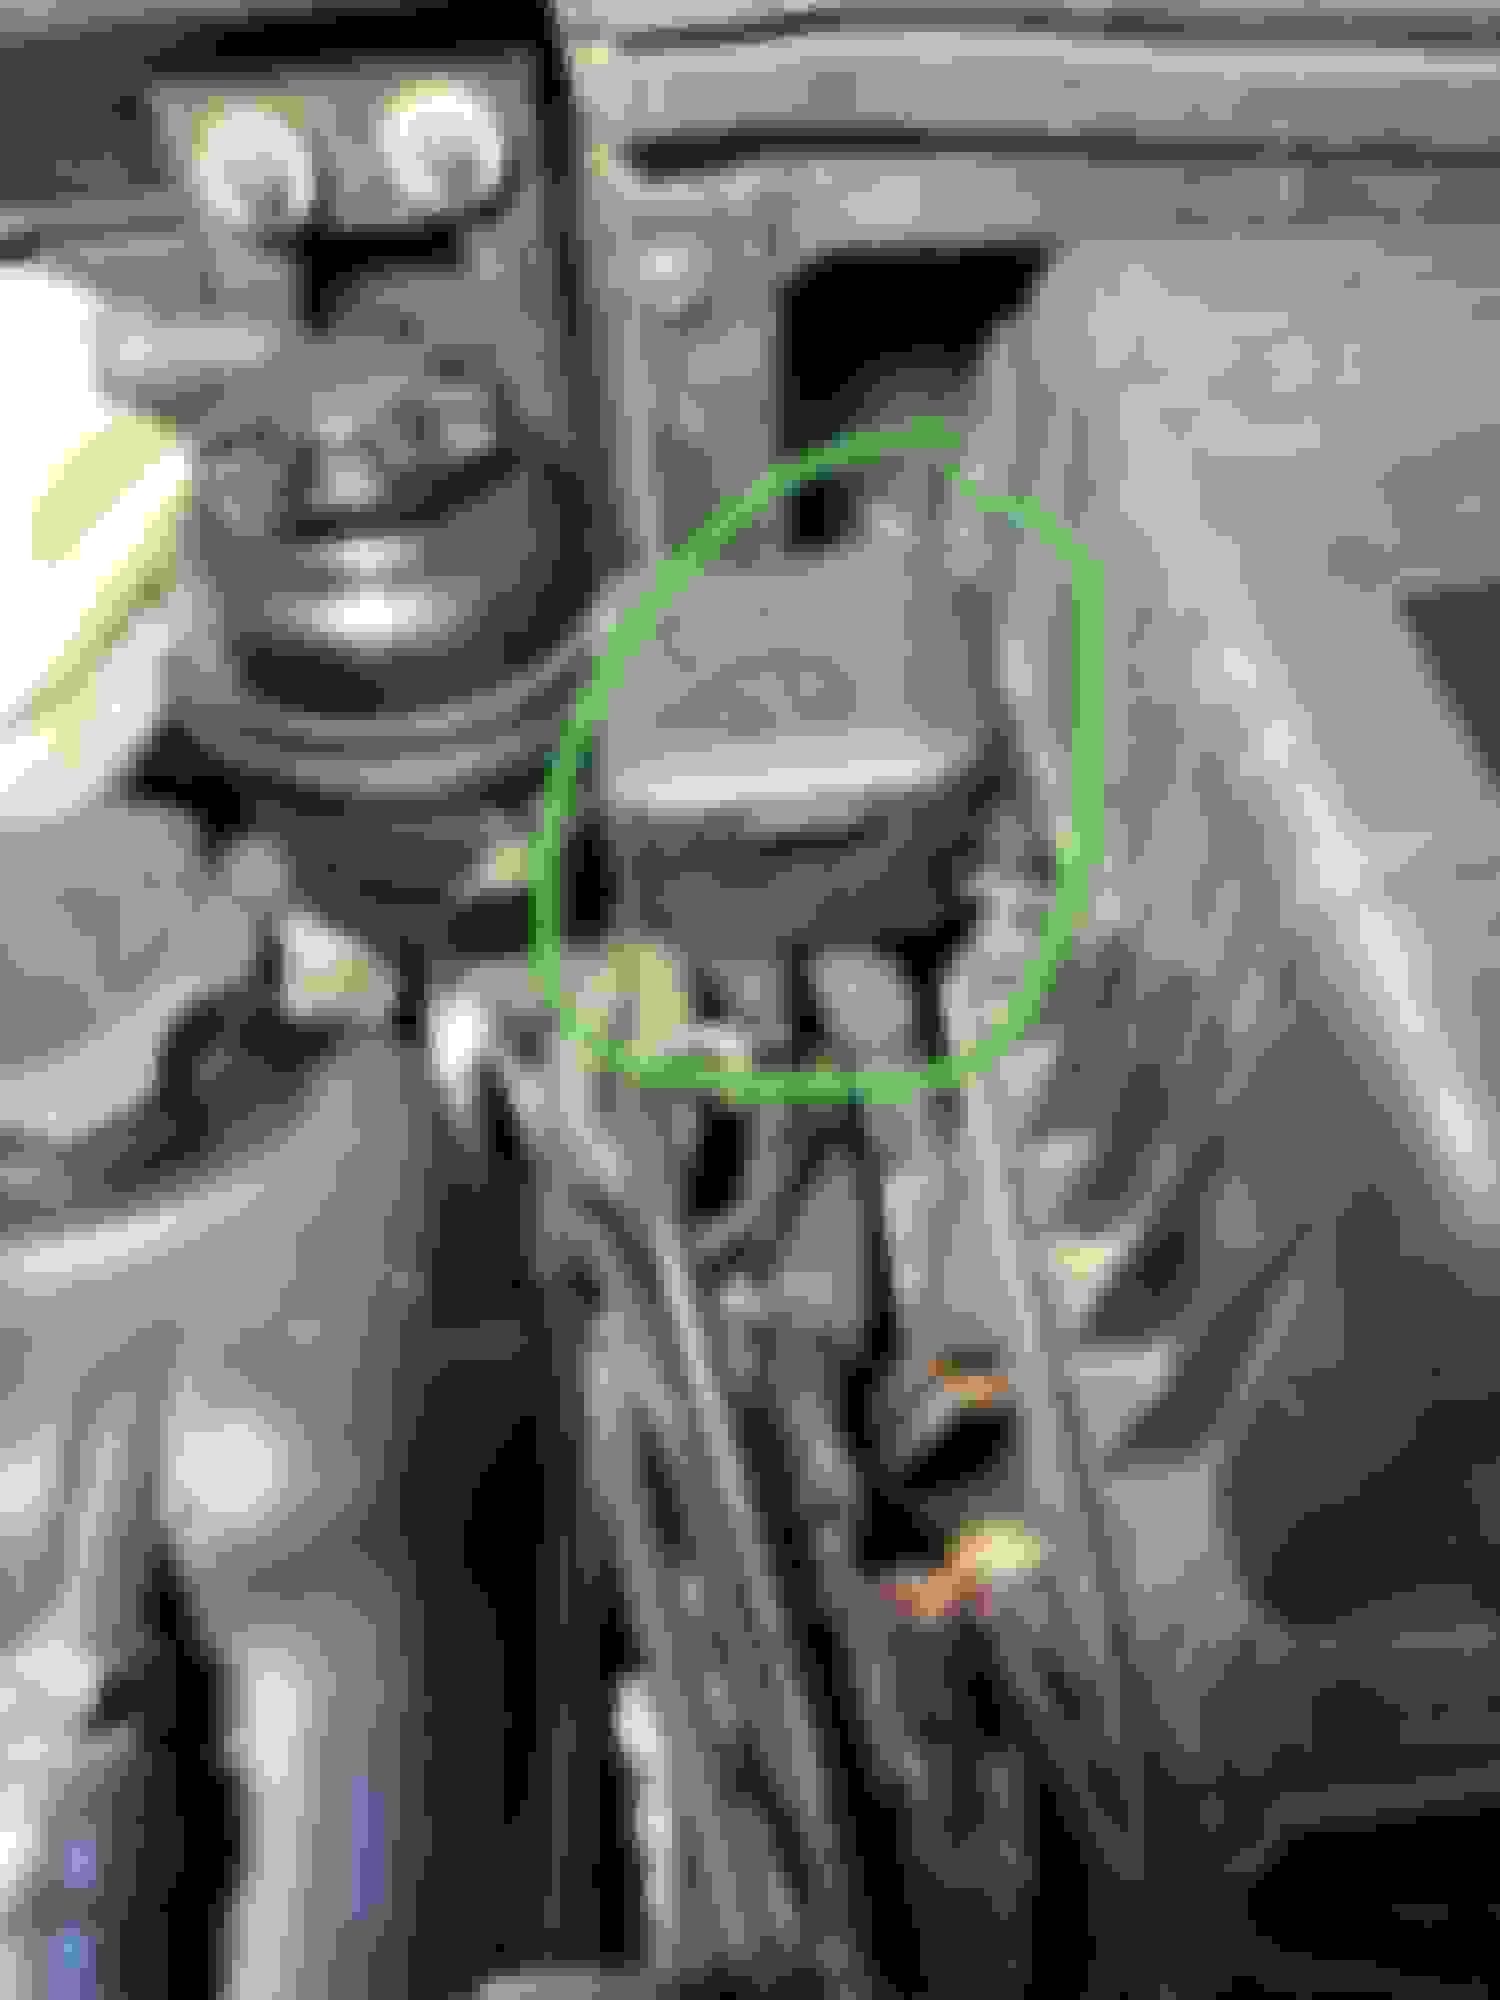
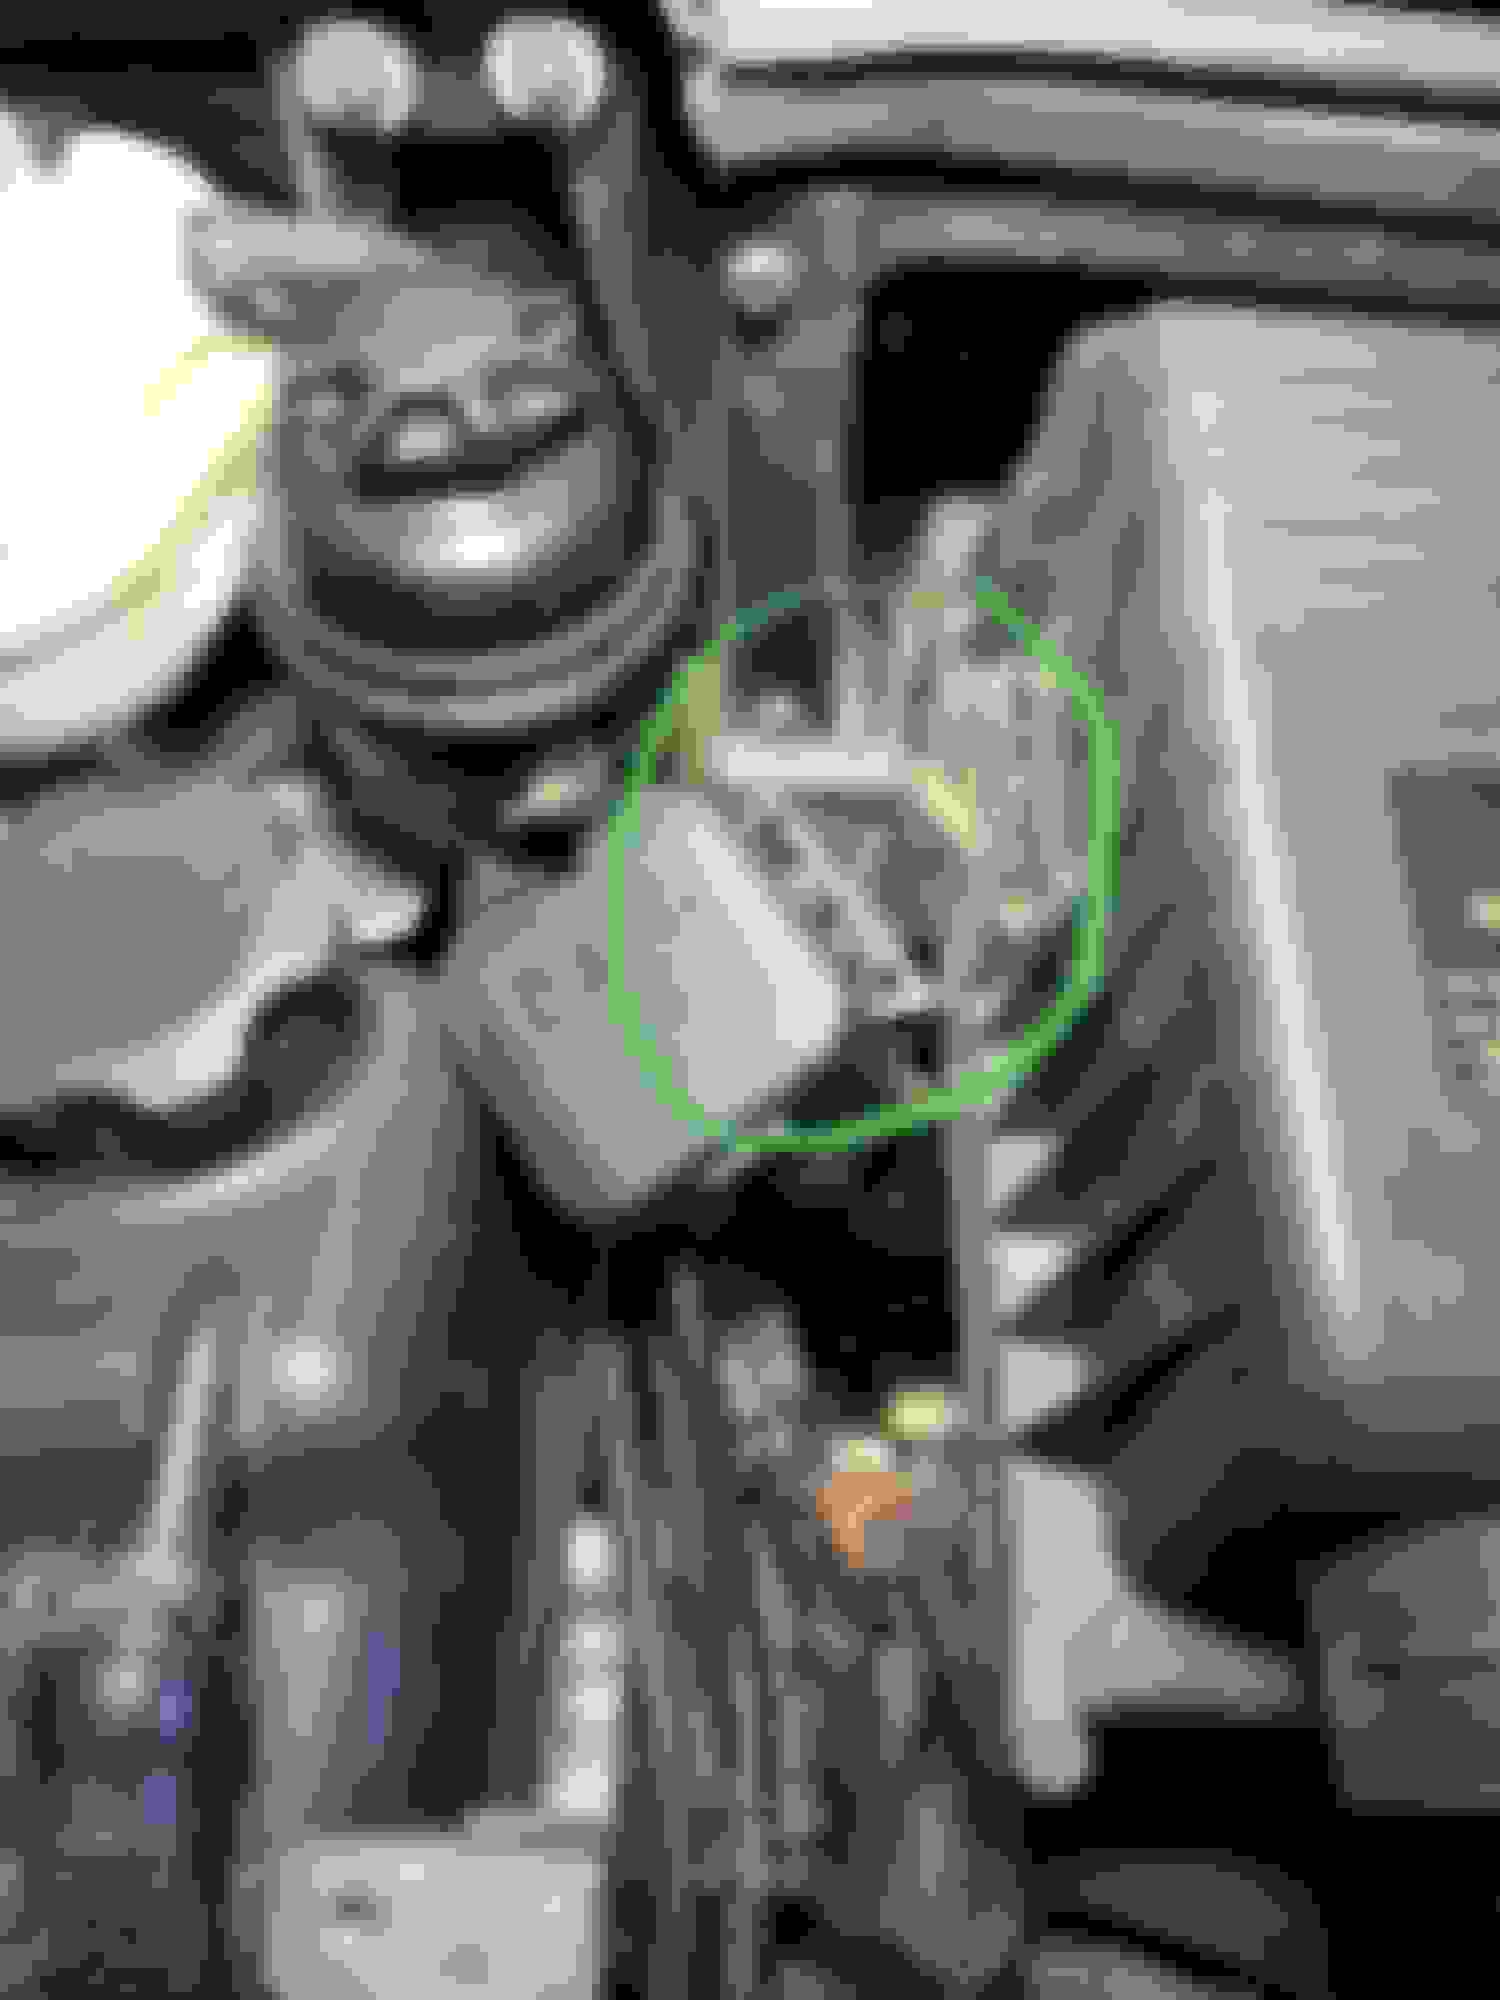
6. The air box should now be able to slide forward and rotate out. The box is held in position near the firewall with two �pucks� that easily slide out (highlighted in green)
7. Now open up the fuse box cover and remove the cable in front (highlighted in green) with a flat screwdriver in the tab slot. In the reinstall make sure you use a plastic trim tool to push on the cable end until you hear the �click� of the tab in the slot. Reinstall with plastic trim tool
8. Finally you can freely move the fuse box over to see the bottom. Use a screwdriver to release the tabs from the cover and now you can see the other large amp fuses.
9. Reassemble in reverse order. Note the metal band clips are actually very easy to reclip. I use a large angled set of pliers. Place you plier ends as shown in the photo and simply squeeze to reclip.
Detailed posts like the ^^^above^^^ is what makes this forum an invaluable resource that the Bentley seems to lack in some chapters.
Thanks for this great contribution @Rstodd !
Awesome! Seen those block fuses go on people that don't jump the battery correctly (mix up cables) or they switch wires around on the starter/battery wire that runs to the starter by accident.


 11-19-2007, 04:52 AM