When you click on links to various merchants on this site and make a purchase, this can result in this site earning a commission. Affiliate programs and affiliations include, but are not limited to, the eBay Partner Network.
Stock Problems/IssuesDiscussions related to warranty related issues and repairs, or other problems with the OEM parts and software for MINI Clubman (R55), Cooper and Cooper S(R56), and Cabrio (R57).
Found car losing coolant and could see it coming from thermostat side so have bought replacement thermostat and harness from our sponsors.
Some pointers for other novices. N18 is quite different to N14 and while I watched several YT videos on this, they were all N14 based, once I started myself I realized set up is quite different. It was hard to find anything related to the N18 but I found this:
Helped a lot particularly with the wiring harness that plugs into the thermostat although mine did not pop out as easily as his.
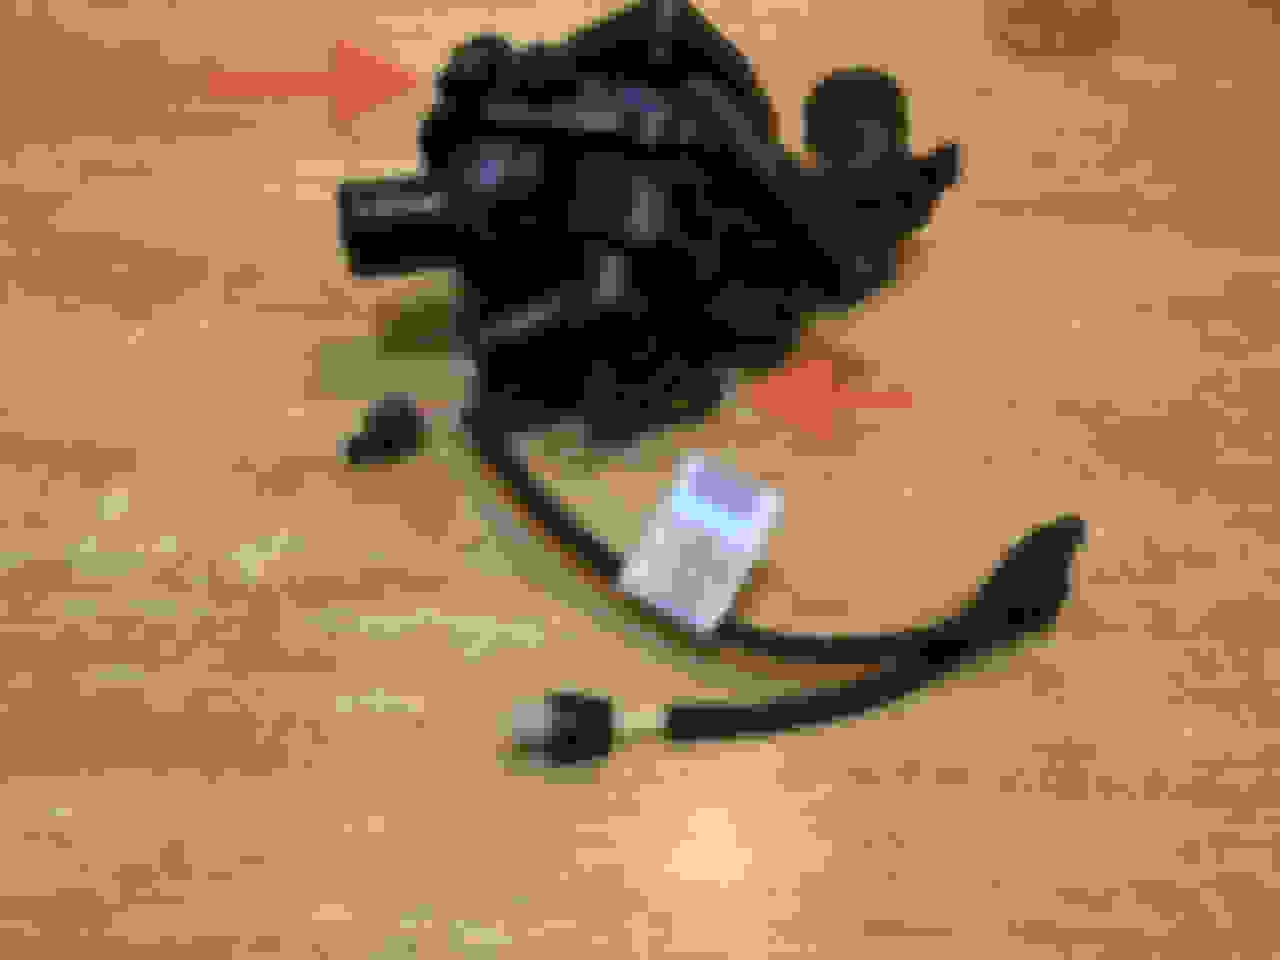
Question for you experts. The new thermostat has 2 plugs and the harness adapter has a 2 cables, a longer one with an orange/white wire and a shorter one with yellow/white wire. I'm assuming long cable goes to plug on top of of thermostat and shorter cable on lower plug since, unlike the N14, the mating connector is to the rear of the thermostat. A sheet instructing proper connecting would be helpful...I'm guessing the connectors won't meet if the harness is plugged in incorrectly, but am not going to test this hypothesis. Pic below:
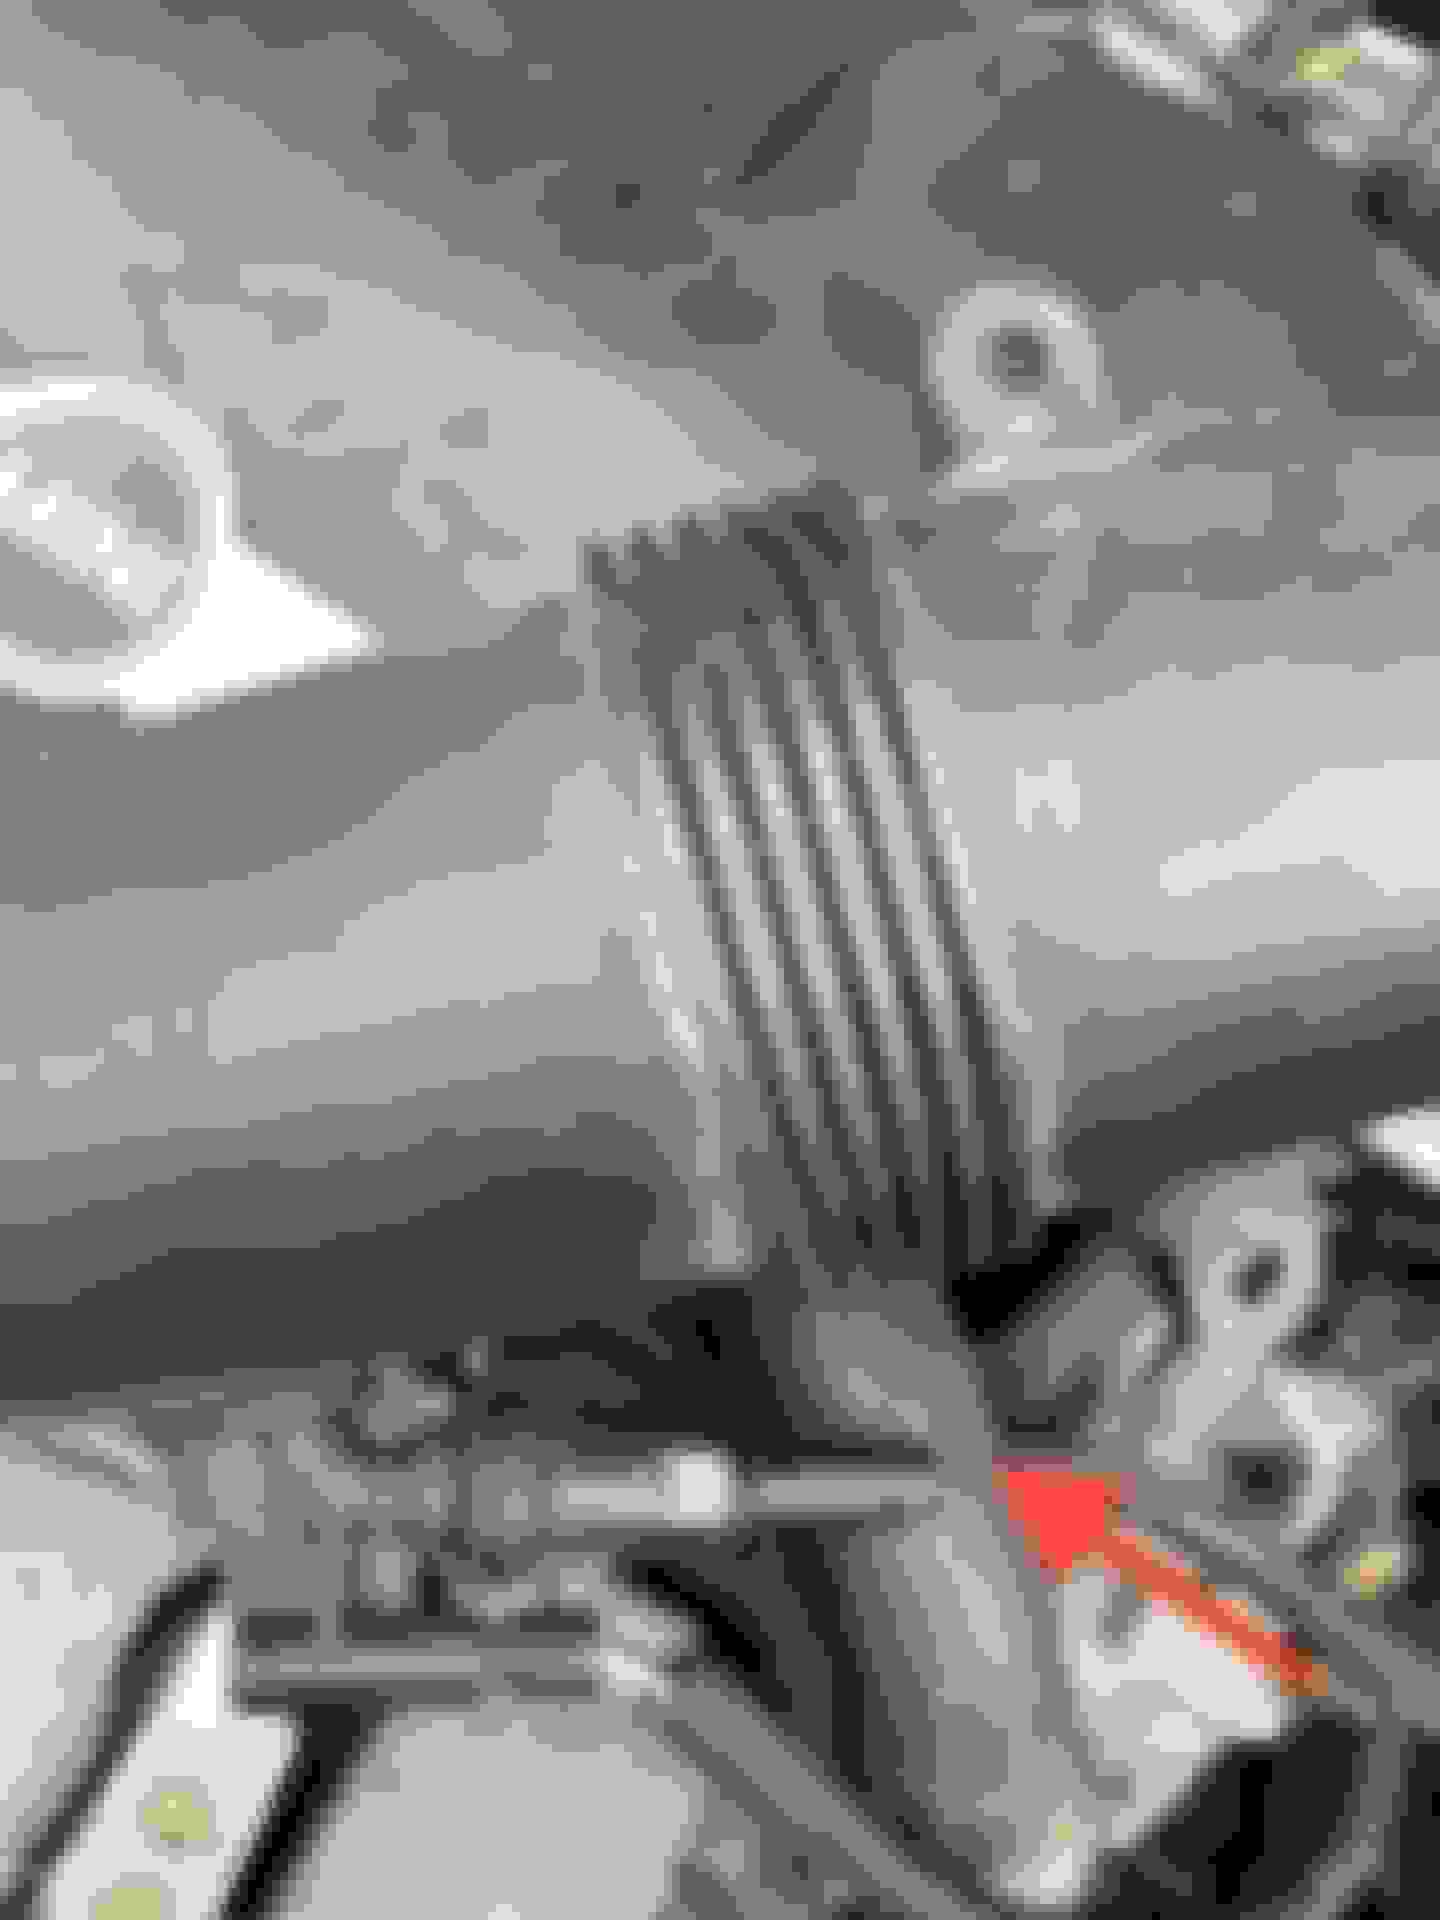
Also, I noted on the air tube to the turbo a plug that had nothing connected. What is this for?
Discovered there's a small notch in one of the connectors so the harness can only plug in one way and opposite to what I had expected.
Finally remembered to look closely at that hose type plug in the second pic. It's closed off so not going anywhere.
Anyway, novice's report on doing thermostat - it's difficult, mostly in getting stuff off. Unlike the video I linked to, the wiring harness that clips into the 2 round holes requires significant force to get the left one out. We found a small pair of vice grips worked well on the hoses - hose pliers were too big. However, the most difficult is the hose from the reservoir, which on the N18 also has a line to the turbo. A little too much vigor caused the turbo T junction to crack, ouch! Yes, the T junction can be replaced with a brass fitting for $10 (ECS) but availability was delayed and it also required clamps of unspecified size. Removing the reservoir might give a bit more space for leverage.
Also, I haven't seen anyone mention that a wiring (?) line was clamped to the Tstat on that stub near the crossover pipe connection. That needed to be pried open and seemed to be metal. Was that the right way to do it? Access and visibility are very limited.
The Crossover Pipe. I'd bought one having read that they often break. Getting the Tstat off may have caused that 'cos while the A1Auto guy (Youtube video) prised his off with a carefully placed screwdriver and reused it, my attempt immediately cracked the fragile outside ring - it also might have something to do with aforementioned wire clamped to the Tstat that wasn't discovered immediately. Initial efforts to pull Tstat resulted in nothing and then it just popped off (Yes the bolts were out!).
The Project Mini guy on Youtube does a great job explaining things. Thoroughly recommend his videos for people like me. He alluded to some some clips at the back along the pipe that attach to those tabs on the pipe, and are basically invisible. Luckily my son has strong hands and got these off. We couldn't reattach them so hope that does not create an issue in the near future. Gently wiggling the old pipe eventually got it off but it still broke at the water pump end. Have a long arm? You can reach all the way behind the engine to the water pump and gently pull any remaining fragments out of the water pump. Most bits fell out. Found the O-ring in my coolant collection pan.
New Crossover Pipe. Greased O-ring with vaseline as recommended. Initially it went in but then popped out while we were trying to get Tstat in place. On second attempt it went in further to the notches on the pipe and stayed there much better. You can see this by looking down where the Vanos solenoid is and it can be helpful to have a someone guiding the pipe placer from above.
The Dreaded Clip. I got it off reasonably easily. I started trying to get it on using some clamping pliers (actually hemostats), but it folded over flat. Son got it on with about 5 minutes effort - not sure what his secret is!
Getting the Tstat bolts back in was a chore. Good luck trying to torque them - I had no room to swing my torque wrench.
Flushing. Decided I might as well flush with distilled water as I doubt the previous owner did and we've had the car for 2 years and about 14K miles (at 70.9k for this exercise). Did 2 flushes, but obviously not getting it all out. On the second flush we reversed the car's position so nose was slightly downhill, but still only got about 4L out (6L capacity?). Refilled after 2nd flush with about 4L of Peak 50/50 for Euro cars - that's all I could get locally. Bled as per recommendations. Ran car for a bit and seemed to settle at about 102˚C. Seem normal? Searching this forum and my new Bentley manual didn't offer a normal operating temp. 102˚C is close to the redline on the OBDlink we have. Still the fan didn't come on and the cabin heat did arrive after a bit and no warning lights. My son drives the car mostly so have asked him to keep close eye on temperature and coolant level. With only 2/3 recommended 50/50 coolant I suppose I should drain some more out and refill with some more 50/50 to get closer to a real 50/50, especially with winter around the corner.
It took us 3-4 hours to get things apart and about the same to get it back together, lots of breaks and interruptions along the way.
I searched and read the forum going back a number of years while trying to decide if I'd DIY it, send it to a local indie who I'm not completely confident in, offer it to my vocational HS as a good learning tool, or to a more pricey Euro specialist shop. The HS said too complicated for them, so no. The Euro shop said more or less everything but Minis and so I decided to have a crack ourselves. With the invaluable help of the forum and Youtube we seem to have succeeded. I'm pretty disappointed in my new Bentley manual - suggested this only requires 3 steps!

 10-03-2021 | 08:56 AM