Mini Cooper 2001-2006: How to Replace Parking Lights with LEDs
LED parking lights are brighter and better looking than florescent lights. Here's how to install them.
This article applies to the 1st Gen Mini Cooper (2001-2006).
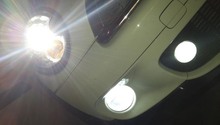
Are you tired of those dull, yellow parking lights? Do you wish they could be brighter? How about replacing them with LED bulbs? LED bulbs are brighter and last longer than standard parking light bulbs. However, there is a caveat; LED bulbs have so little current draw that the Mini's computer can't even tell when they are installed and running. This can sometimes result in an error code or hyper-flashing from the bulb. If you have either of these problems, check out the last section of this article for help. Otherwise, here's how to install LED parking lights to the 1st Gen Mini Cooper.

Materials Needed
- Type W5W LED bulbs
- Needle nose pliers
- Resistor
- Wire stripper
- Electrical tape
Step 1 – Remove the original bulbs
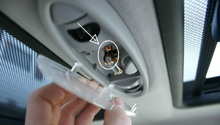
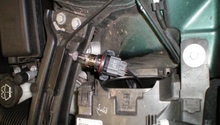
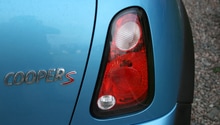
Open the hood. On the backside of the headlight assembly there should be an opening below where your headlights are normally located. Inside is the turn signal light and the parking light. The parking light has a smaller grey electrical connector. Since the opening is not very wide, you may want to use needle nose pliers to remove the bulb.
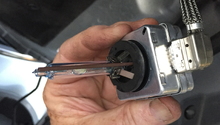
Reach in and squeeze the tabs on the sides of electrical connector and pull it loose. Then, twist the bulb holder counter-clockwise and pull it out. The factory bulb can be pulled straight out of the bulb holder.
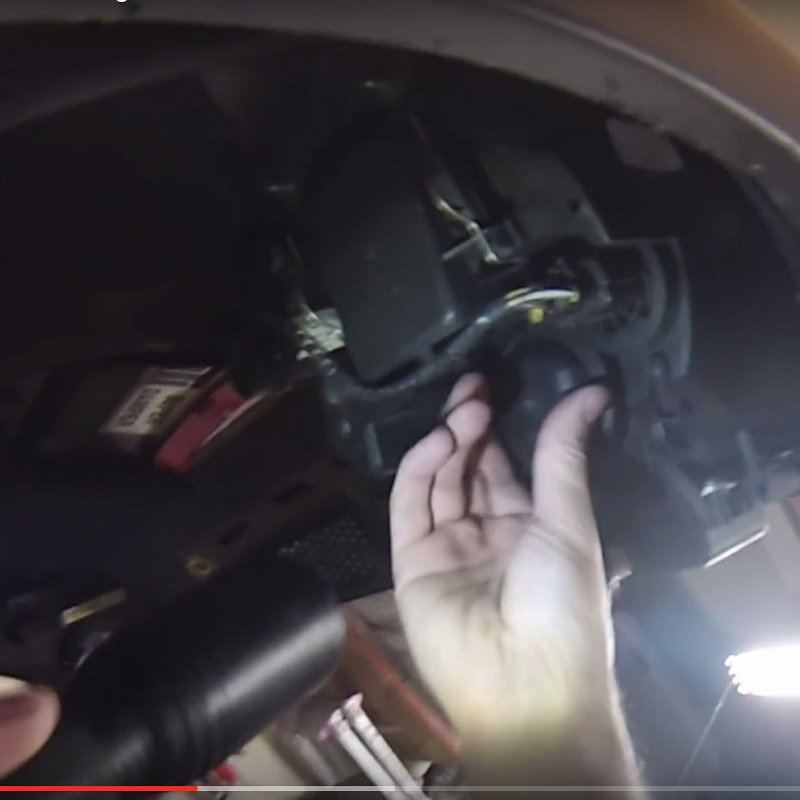
Figure 1. Twist protective cap anti-clockwise to remove. 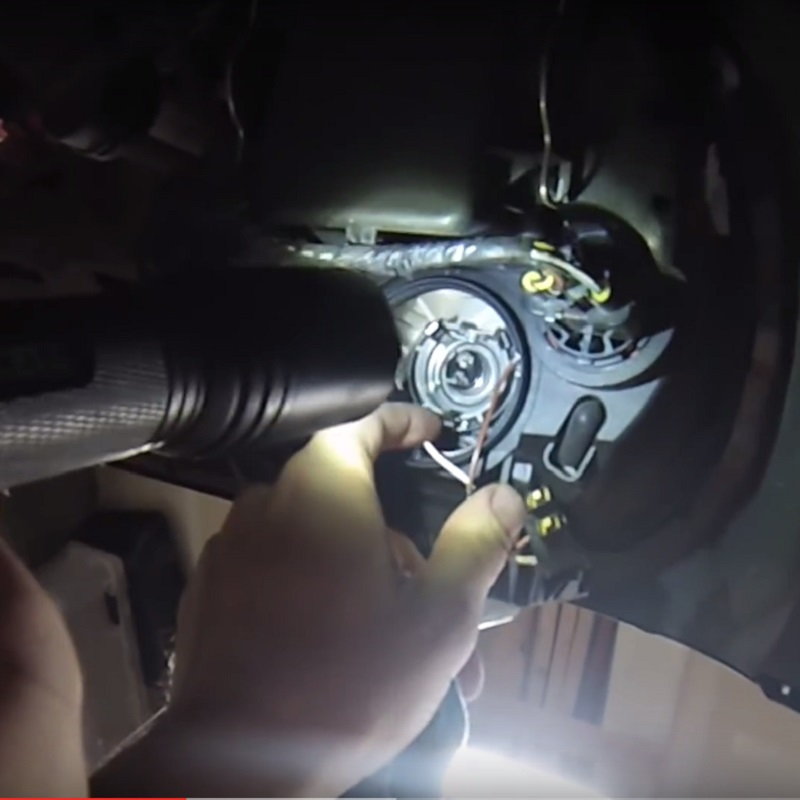
Figure 2. Pinch the three prongs on the back of the bulb to remove.
Step 2 – Install the LED bulbs
Insert your LED bulb to the bulb holder. Then, insert the bulb holder to the parking light housing. Reconnect the electrical connector. Immediately test the parking lights. If they don't come on, try turning them around in the bulb holder. LED lights are sensitive to polarity, so they have to be connected to the bulb holder a certain way.

If you get hyper-flashing or an error code, don't worry; we'll talk about the different ways you can solve for this in the next step.
Step 3 – Fixing error codes and hyper-flashing
How the Mini reacts will depend on the bulb you're using. Sometimes this results in an error code saying the bulb is broken. Other times it can cause the light to rapidly flash.
One option is to use an extra powerful bulb with a higher current draw. This will pass the computer's bulb checks and prevent problems, but these types of bulbs tend to be more expensive.
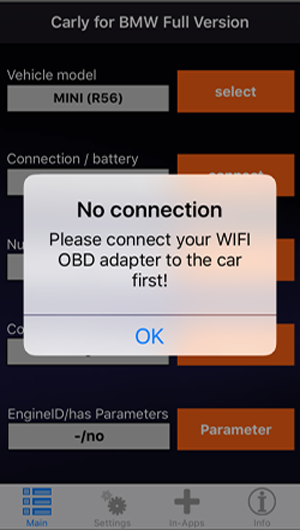
Another option is to remove the code for the bulb checks. This requires access to BMW recoding software and an OBD-II interface.
The cheapest option is to install a resistor to the parking light circuit. This will draw off enough energy to trick the computer into believing it's a regular bulb. You'll want to keep the resistor away from any sensitive components because it will generate some heat. This will also require cutting and splicing into the factory wiring.

A less intrusive option is to install an LED flasher module to replace the parking light fuse. This does the same thing as the resistor and is quite easy to install.
Featured Video: Mini Cooper LED High Beam/DRL Installation
Related Discussions
- LED Parking Lights - NorthAmericanMotoring.com
- LED Bulbs - NorthAmericanMotoring.com
- Bulb Conversion Chart for the MINI Cooper S - NorthAmericanMotoring.com
- Parking Light Wire Colors - NorthAmericanMotoring.com