Mini Cooper 2007-2013: How to Install Lowering Springs
Lowering springs not only give your Mini a cooler stance, but also flatter handling through the corners.
This article applies to the Mini Cooper (2007-2013).
Mini Coopers have always been the Autocrosser's best friend. Their balanced chassis and suspension make for an excellent racing platform, almost resembling adult sized go-carts. However, with any car, there's always opportunity to improve and your Mini has one of the best bases to start from. A lowering kit is supposed to bring the car's center of gravity closer to the ground, improving the overall response of the suspension. With sharper handling and better looks, sounds like a win-win to us, so let's figure out how to install them.

Materials Needed
- Metric socket set and ratcheting wrench
- Tire iron/breaker bar with 17mm deep socket
- Jack
- Jack stands
- Spring compressor
- Extensions
Disclaimer: You can replace the coils in whatever order you choose, but for the sake of clarity, we've decided to remove all shocks at the same time.
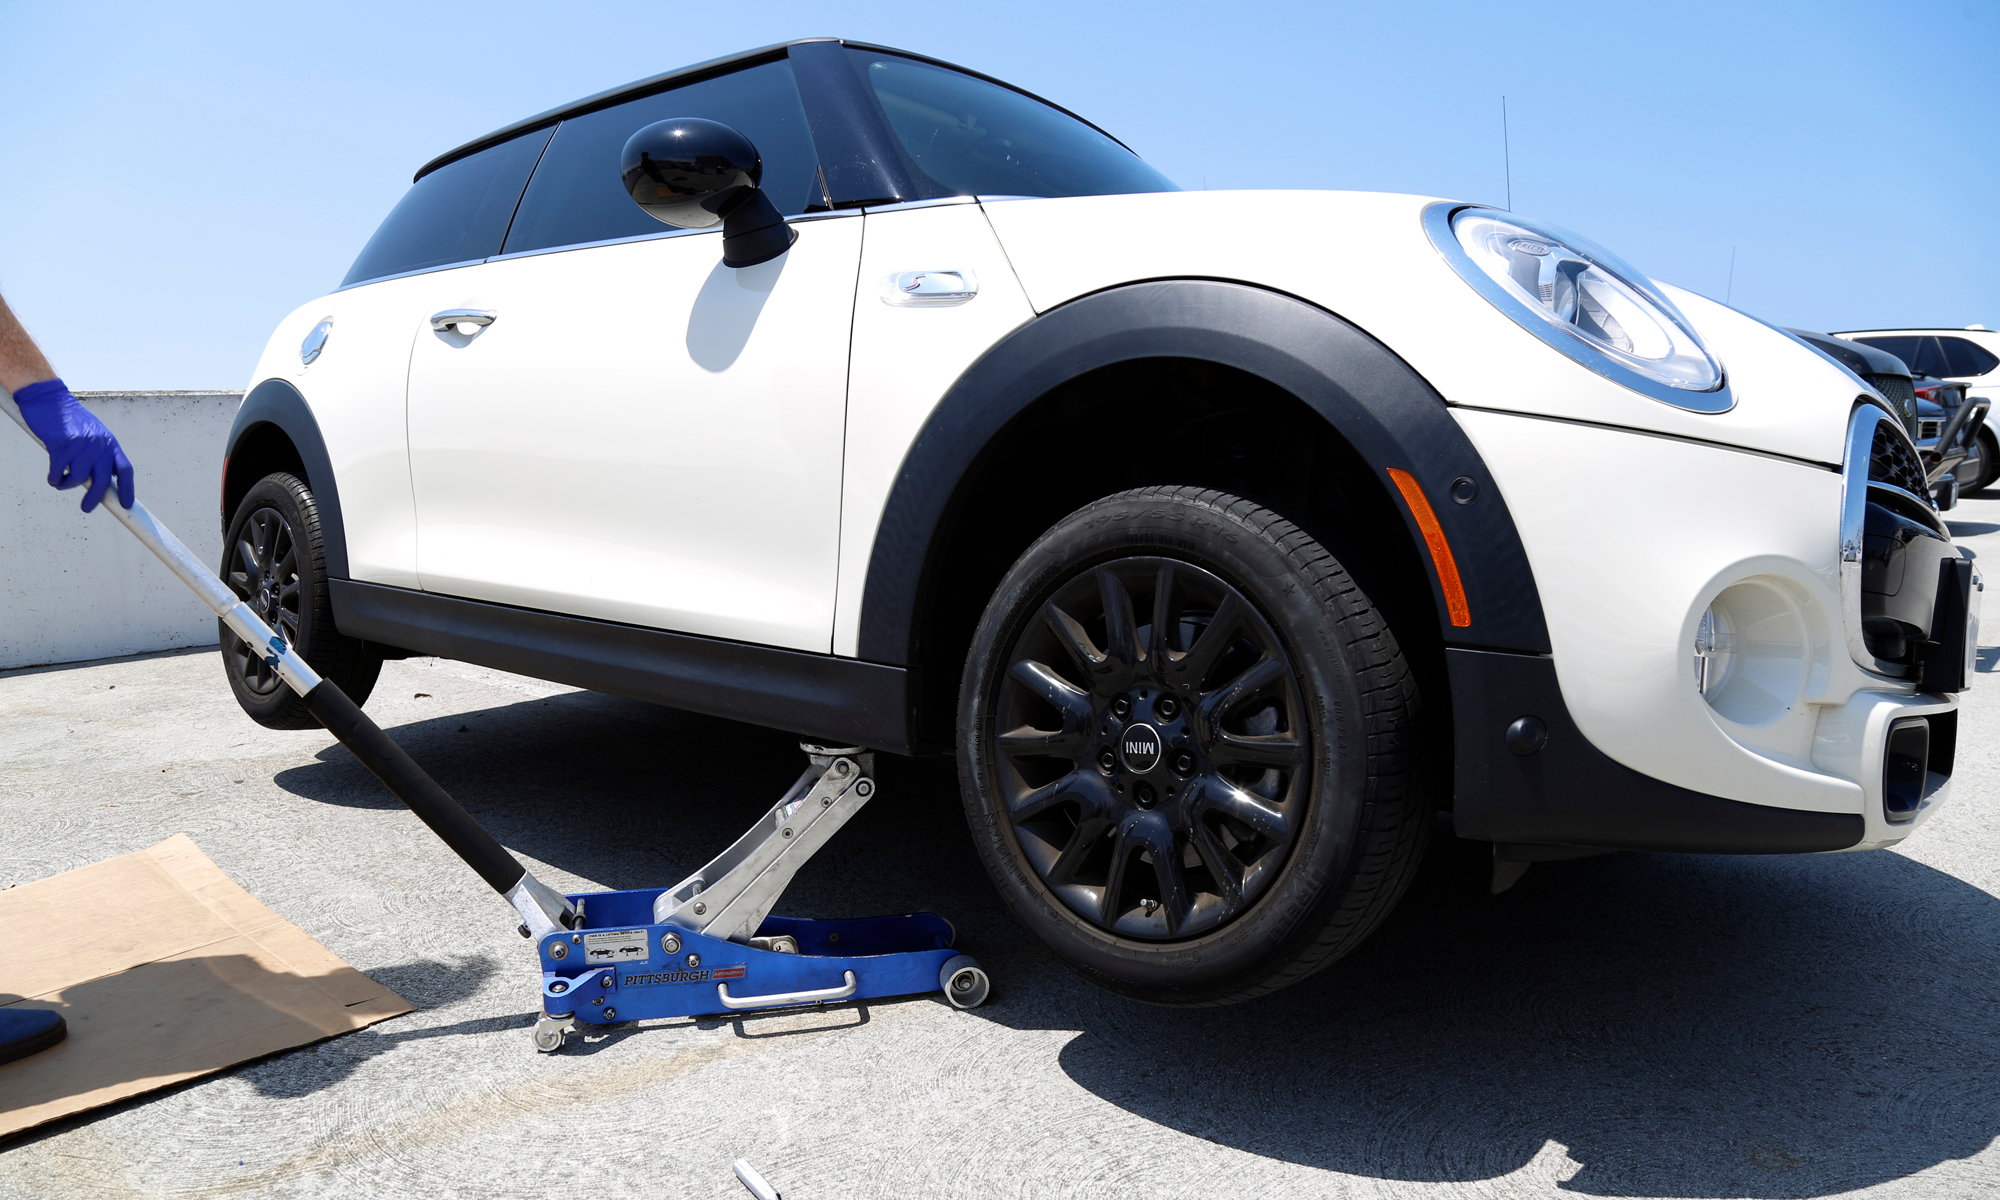
Step 1 – Raise up your chassis
With the car still on the ground, use your breaker bar with the 17mm socket and break all of the lug bolts loose for all four wheels. Raise the car up and support it using jack stands, positioned at the correct jack points.
Step 2 – The front suspension
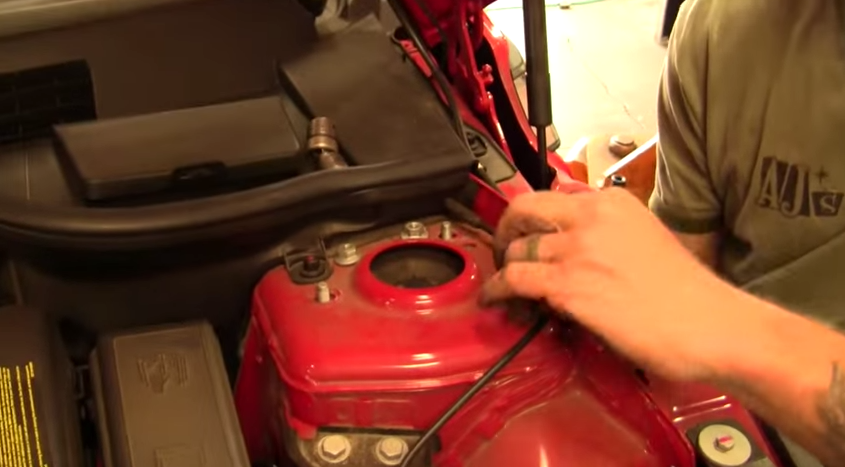
The front struts get removed completely, and have to be accessed from the engine bay. So pop the hood, and locate the strut mounting locations. Once found, look under and locate the lower mounting bolts. There are two: one is located just under the spring perch, while the other is all the way at the bottom, behind the rotor. Remove the brake line and ABS cable.
- Now, turn your focus to the tie rod. Remove the 16mm nut and remove the tie rod from its mounting location.
- Then remove the two 13mm bolts from under the hub assembly.
- Now you can easily reach the bottom 18mm bolt holding the bottom of the shock in place.
Make your way back into the engine bay and loosen each of the strut's 13mm top nuts. Once the shock is loose, pull it down and remove it from the chassis. Repeat this for the passenger front side.
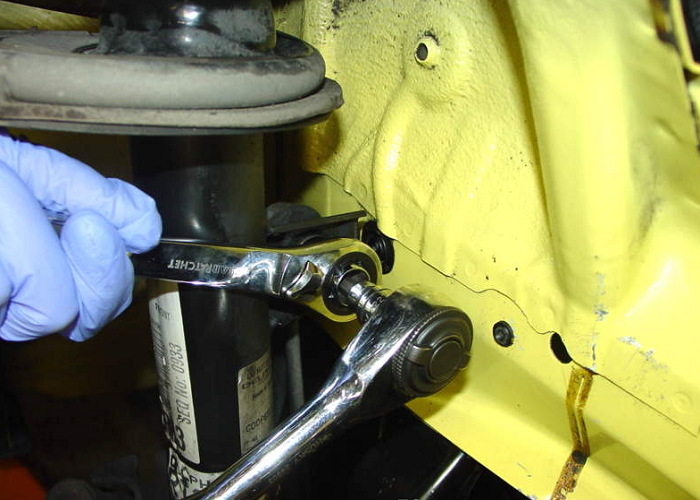
Figure 2. Remove the sway bar end-link. 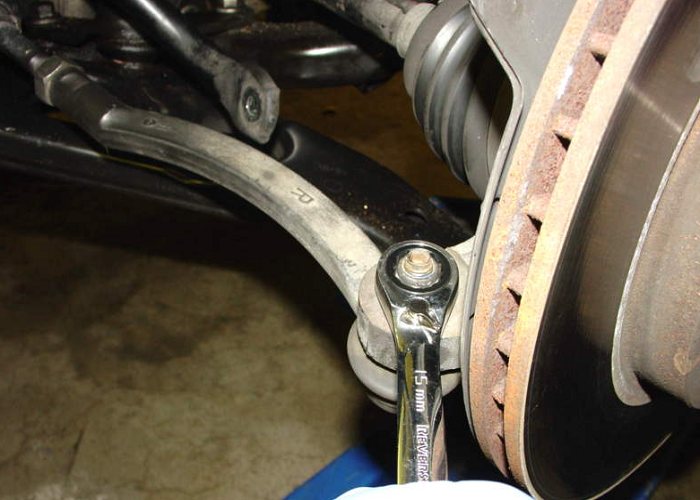
Figure 3. Remove the lower tie rod. 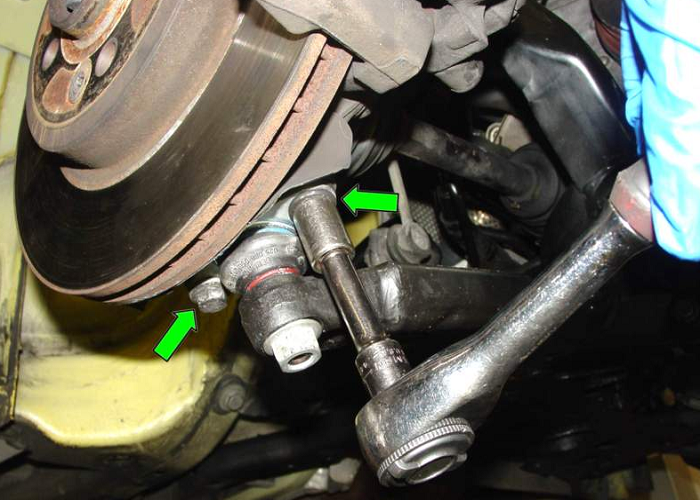
Figure 4. Remove the ball joint bolts. 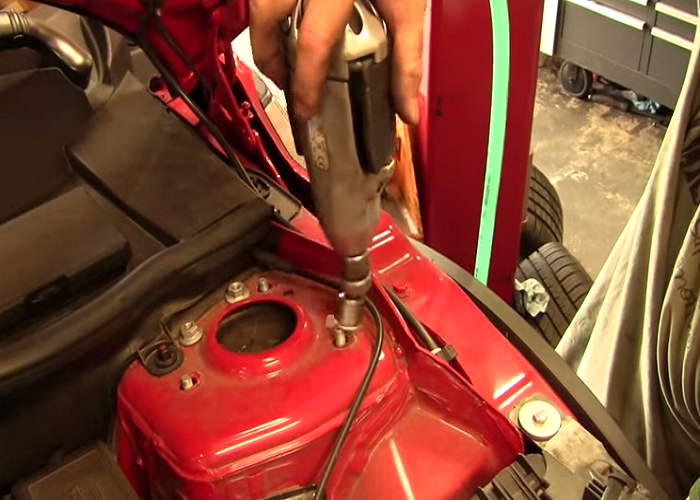
Figure 5. Loosen the top shock nuts.
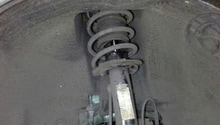
Step 3 – Remove the rear struts
The rear strut assemblies have a lot less hardware holding them in place. Remove the bottom bolt and then remove the two top nuts. A long extension and swivel socket make the top nut removal a lot easier. Take off the brake line. Then remove the shock assembly out of the chassis.
Figure 6. Loosen the rear bottom bolt. 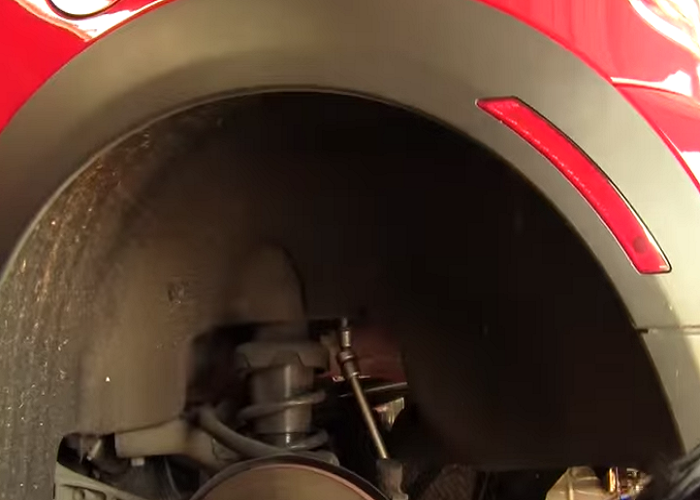
Figure 7. Remove the top mount bolts.
Step 4 – Compress the strut assemblies
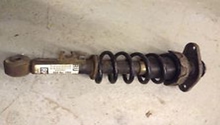
If you are just replacing the stock coils with lowering springs, then you will have to go through the process of compressing each coil just enough to remove the top hat and replace them. If you are replacing the entire strut assembly, then you will still have to compress each spring in order to move each top hat to the new struts.
- Attach the spring compressor.
- Compress the spring enough that you can safely remove the top hat.
- Swap out the spring and/or top hat.
- Install the new lowering spring.
Now, after you install the new lowering spring, you will either have to use the compressor to compress it or have enough space to actually just install the top hat on the shock. If you are using new shocks, make sure you assemble the top hat along with the proper washers.
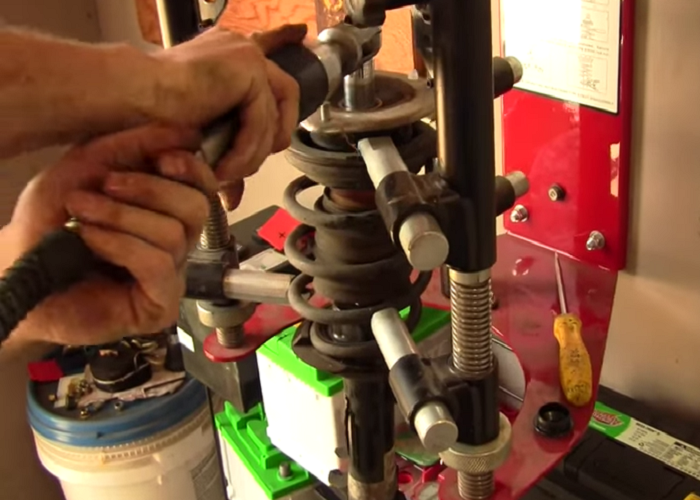
Figure 8. Compress and remove the original spring. 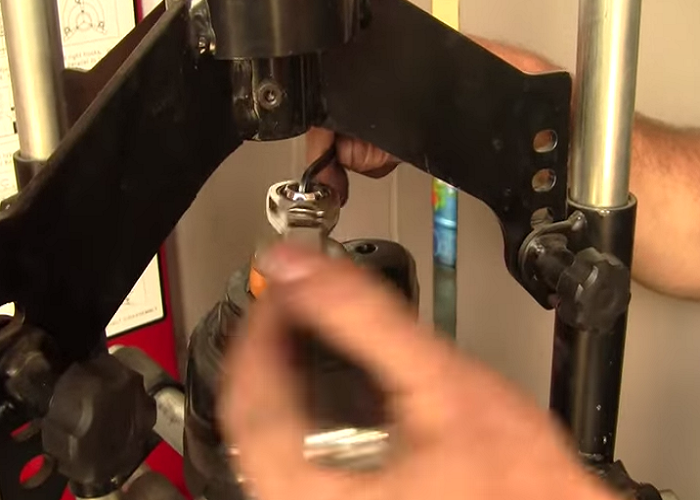
Figure 9. To remove it, you'll need the appropriate sized Allen key and 13mm wrench. 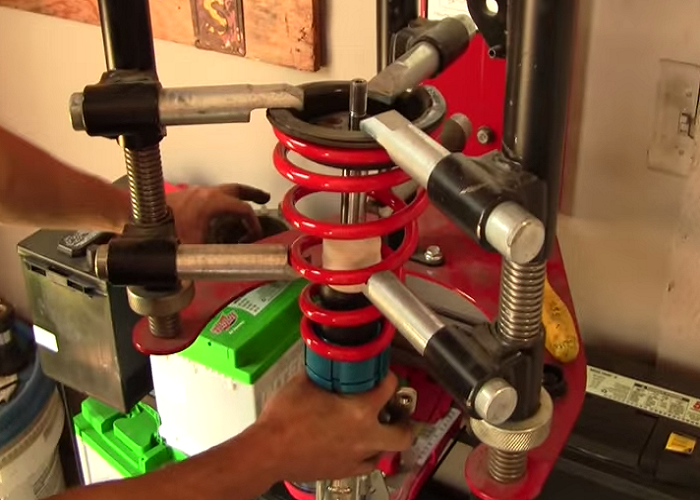
Figure 10. Fitting the coil on the new rear shock.
Step 5 – Mount the fronts back on
With the strut assembly put together with the new spring, all that remains is installation. Just slide the shock right back on. It is easier to start by bolting on the lower bolts, getting the strut into the knuckle and lower arm, then swing it into place and tighten the three strut top nuts to 20 ft/lbs.
Step 6 – Mount the rear shocks
- Slide the rear shocks in place.
- Insert the metal bushing on the lower mounting point, then insert the bolt.
- Tighten the two top mount bolts.
- Mount the brake line.
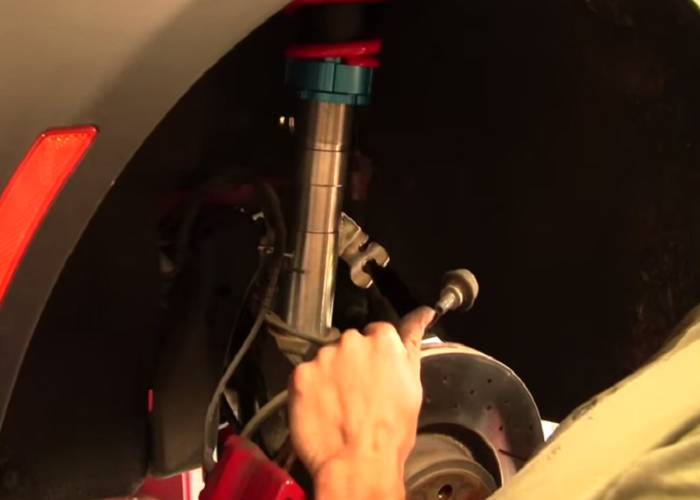
Figure 12. Slide the rear shock in place. 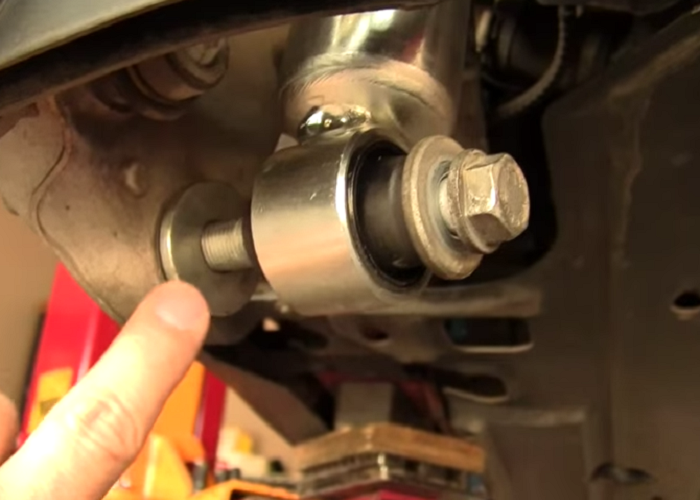
Figure 13. Slide the rear shock in place.
Step 7 – Get the car aligned
Put the wheels back on, then remove the jack stands and lower the car. Torque your lug bolts to 90 ft/lbs. Take a low speed test drive and ensure that there are no abnormal pops, clunks or bangs. Afterwards, schedule an alignment for your car. Any time you pull apart the suspension, it throws the alignment out of wack.

Featured Video: Mini Coilover Installation
Related Discussions
- Just installed H&R Lowering Springs - NorthAmericanMotoring.com
- H&R Springs with Craven Strut Defenders Installed - NorthAmericanMotoring.com
- Lowering Spring Install Cost - NorthAmericanMotoring.com
- Weird Vibration After Spring Install - NorthAmericanMotoring.com