Mini Cooper 2007-2013: How to Jump Start Battery
This article will walk you through the proper procedure for jumping your battery and getting your Mini moving once again.
This article applies to the Mini Cooper (2007-2013).
Dead batteries are no fun, and modern vehicles don't tend to give you much warning before they give up the ghost. Car batteries do tend to last for a pretty long time, generally five years or more, but accidentally leaving a light on or even a slight electrical issue can drain them quickly and leave you stranded. If you've never jump started a battery before, you might be a little timid about getting shocked, but there's nothing to fear if you do it right. Keep reading and we'll walk you through the proper steps for jump starting a dead battery.

Materials Needed
- Jumper cables
- Another vehicle or charged battery
- 13mm wrench or socket and ratchet
- Multi-meter (optional)
Step 1 – Access the battery
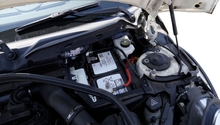
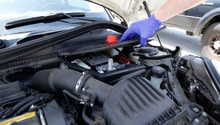
Pop the hood and locate the battery cover, which is near the back of the passenger side of the engine bay. Remove the plastic 13mm bolt on the left hand top side of the cover. Remove the second 13mm bolt, which is located behind the hood (Figure 2). Remove the weather stripping along the front side of the battery cover by pulling up on it. The battery cover is held in place by three clips; pull up to remove it.
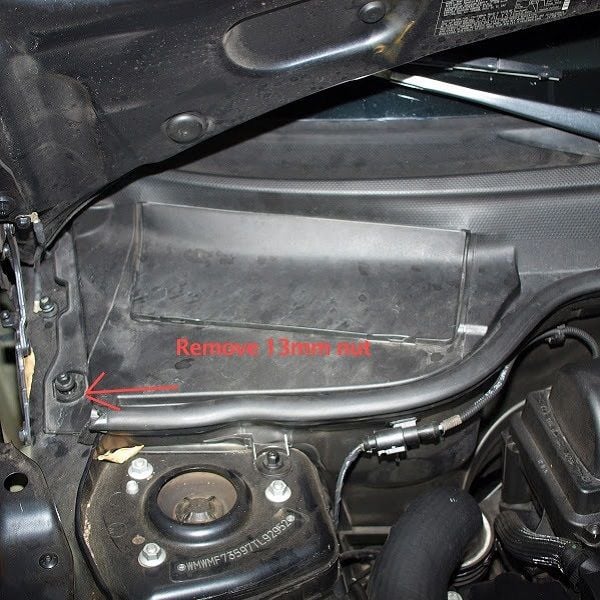
Figure 1. Remove the plastic 13mm bolt on the top of the battery cover. 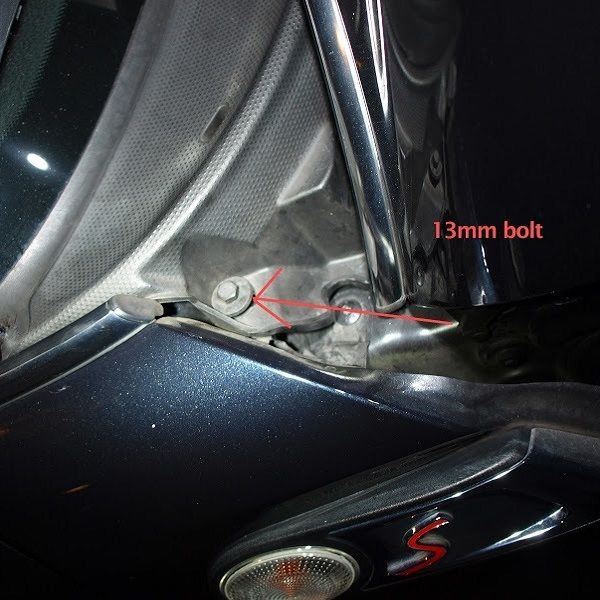
Figure 2. Remove the second 13mm bolt located behind the hood. 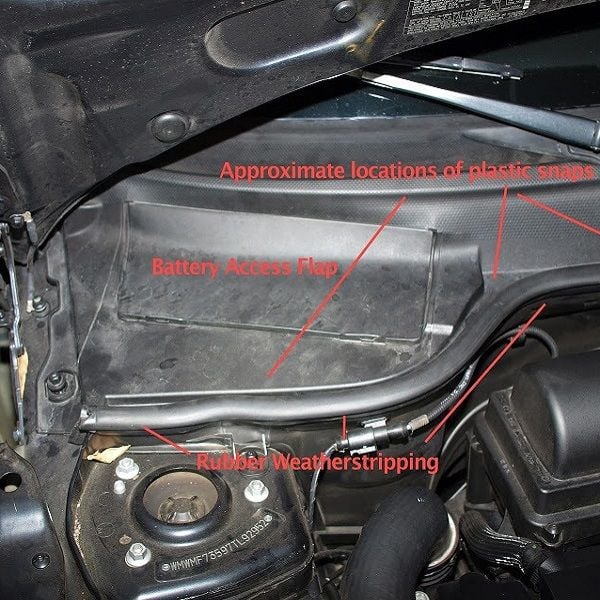
Figure 3. Remove the rubber weatherstripping and plastic battery cover.
Step 2 – Jump start the battery
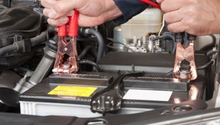
With the engine of your Mini and the vehicle you are using to jump the battery both off, attach the jumper cables in the proper order. First, attach one of the positive terminal clamps of the jumper cables to the positive post of the battery on the vehicle you are using to jump start your Mini. Attach the other positive terminal clamp to the positive post of your Mini's battery. Attach the negative terminal clamp to the battery of the vehicle you are using to jump your car, then attach the other negative terminal clamp to the battery in your Mini.
Start the engine on the vehicle you are using to jump your Mini and let it run for a few minutes. Start the engine in your Mini. If it won't start right away, wait a few more minutes and allow the battery to charge. Once your car has started, allow it to run for a few minutes. Disconnect the jumper cables in the following order: negative clamp on the Mini, then the support vehicle, positive clamp on the Mini, then the support vehicle.
Reinstall the plastic battery cover and weatherstripping, then replace the two plastic screws for the battery cover.
[Related Article - How to Replace Battery - NorthAmericanMotoring.com]
Pro Tip
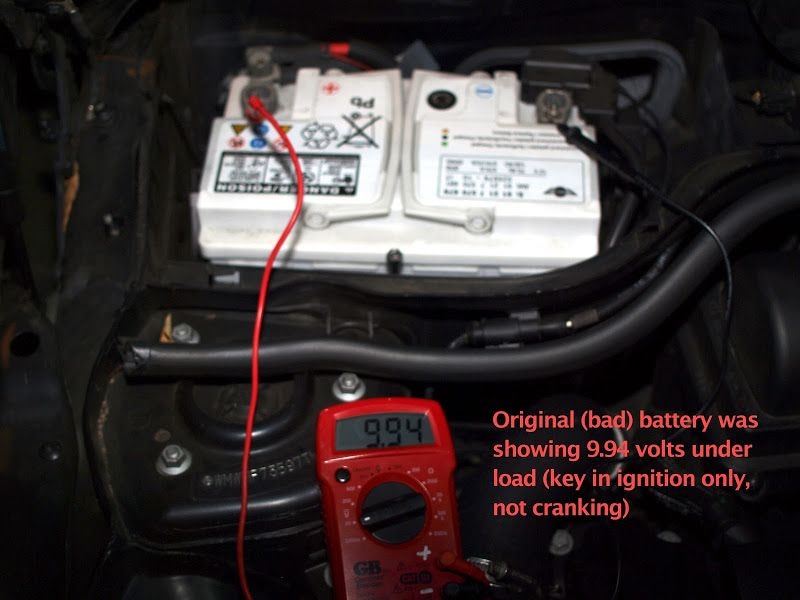
If your battery won't hold a charge or the car won't start after charging, you may need a new battery or alternator. You can test the battery using a multimeter. If your battery is producing less than 12 volts under load (with accessories like the radio and air conditioning turned on while the car is running), it likely needs to be replaced.
Related Discussions
- DIY Battery Replacement - NorthAmericanMotoring.com
- Battery Removal and Replacement - NorthAmericanMotoring.com
- Battery Dead - NorthAmericanMotoring.com

