Mini Cooper 2007-2013: How to Replace Fuel Door
The Mini Cooper S has a old school chrome filler cap, like the surface mounted fillers of yore. The plain "Justa" Mini Cooper has a door that sits flush with the rear body work. Which looks better? The other one, according to most forum members.
This article applies to the Mini Cooper (2007-2013).
Mini Coopers have a certain classic style that draws in the majority of their fans. Many Mini owners opt for S model chrome fuel cap to add some flare to their car, while some Mini Cooper S owners prefer the unbroken look of the flush filler door on the lower spec model. The following explains how to retrofit a S cap lid onto a stock Mini Cooper, but it is basically the same to go the other way as well.

Materials Needed
- Long flat head screwdriver
- Index cards
- Jack
- Jack stand
- Phillips screwdriver
- 10mm socket/ratchet
- WD-40
This DIY assumes the new gas cap being installed already has a trim ring or fuel door painted to match the car, but most you buy will be painted primer and need to be color matched.
Step 1 – Remove the gas cap lid
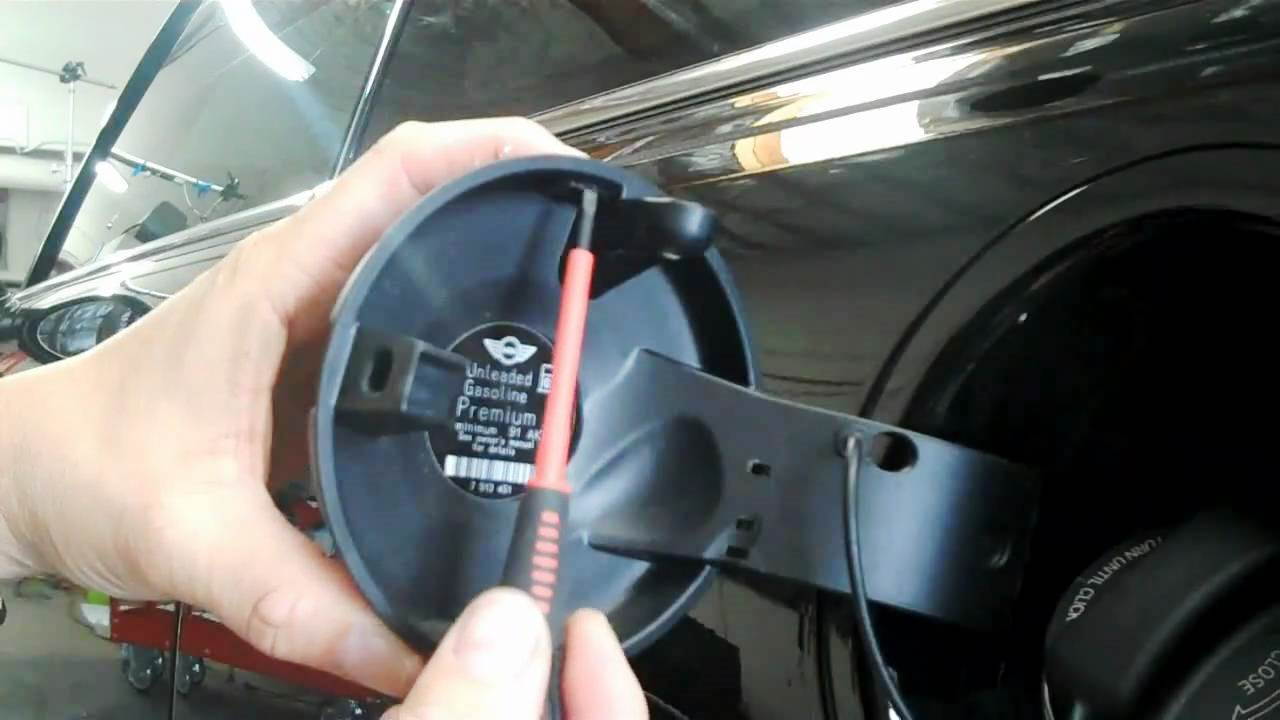
If you are just looking to replace the chrome cap on an S model Mini Cooper with a custom part, carbon fiber for instance, it is a five minute job. Open the door, press in with a small screwdriver and release the tab. The chrome part should just pull off now. If you are changing one type for the other, there is no need to do this step.
Step 2 – Remove the inner fender and fuel filler neck
In order to make this as easy as possible, you need to undo the inner plastic fender, and get access to the inside of the fender and the fuel filler neck. Holding the inner fender on are a series of plastic rivets and Phillips screws. Pry out the rivets and take out the screws until you can pull the inner fender free. Next unbolt the fuel filler neck where is attaches to the fender, and where it is clamped to the tank. There is no need to pull it completely out, you just need it free to manipulate the rubber seal between the inner filler door and the filler neck.
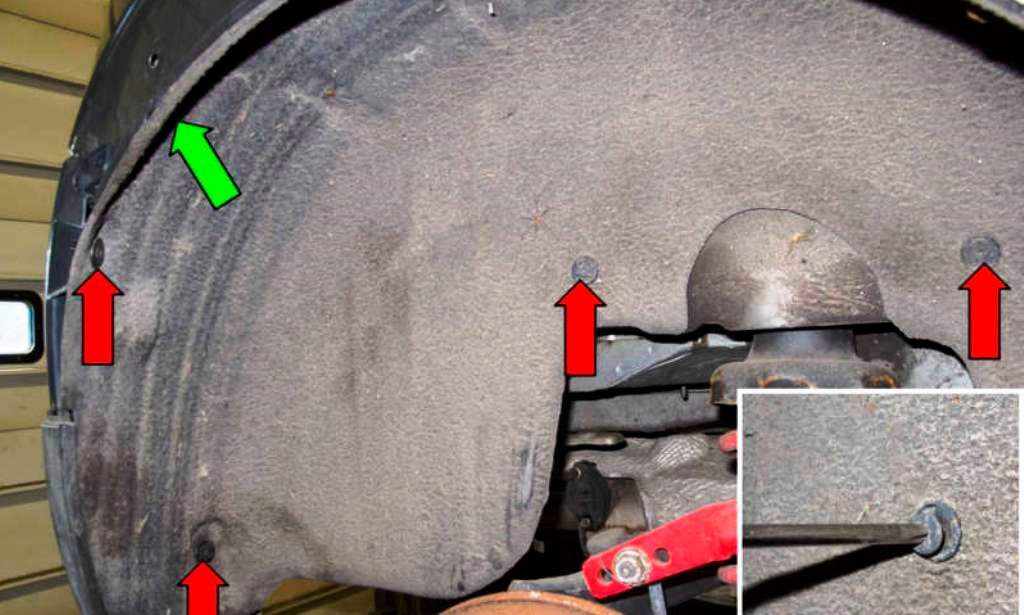
Figure 2. Remove the screws and rivets holding the inner fender. (This is the passenger side, but the fasteners are in the same place.) 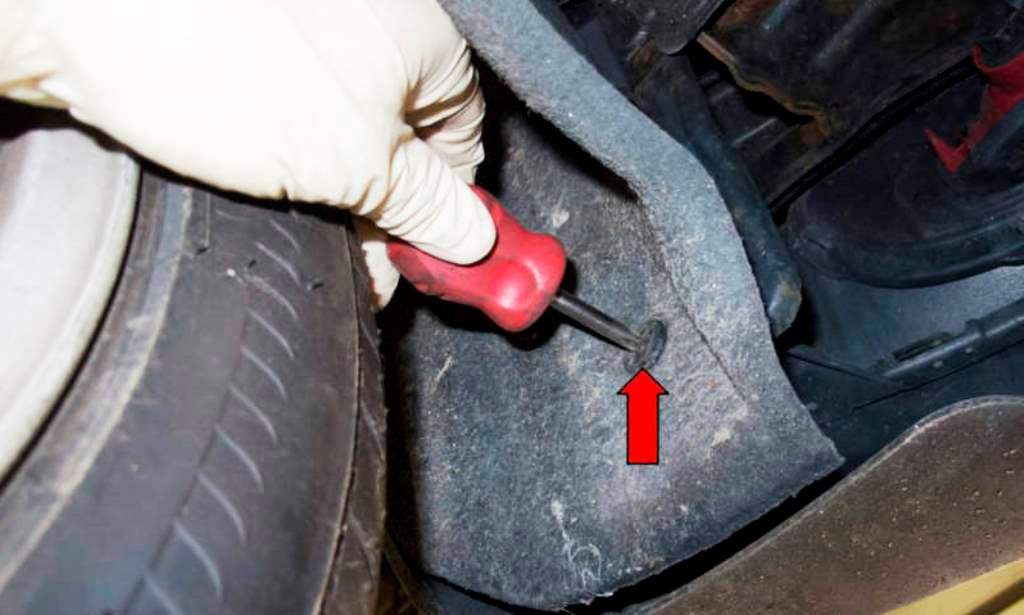
Figure 3. You can get away with not taking the wheel off, but it is easier if you do. 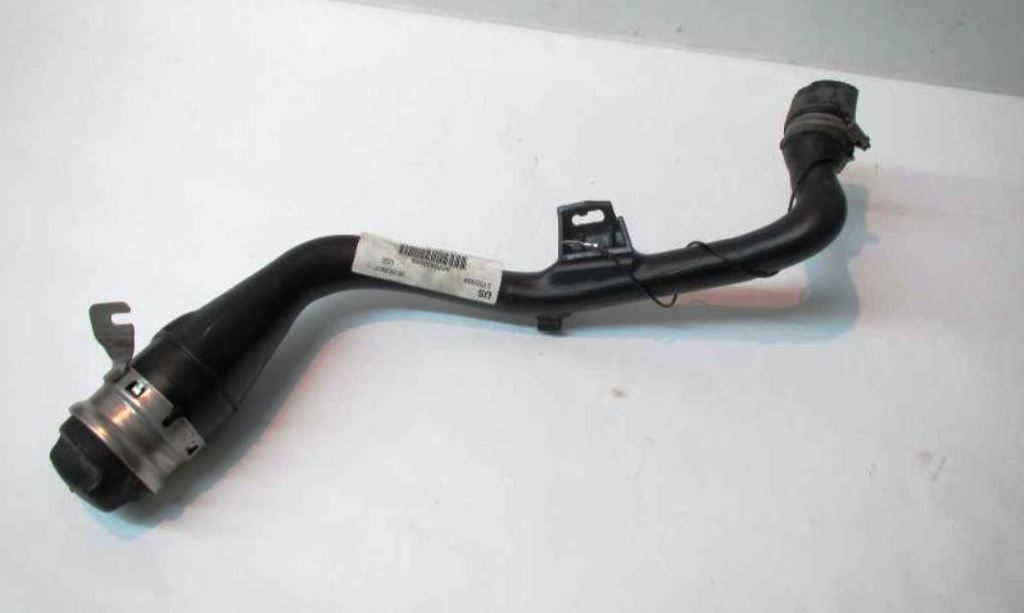
Figure 4. Mini Cooper fuel filler neck.
Step 3 – Remove the filler door assembly
The filler door, hinge and the underlying housing the mounts to the body are all one assembly on the Mini. There are two clips hidden behind it which click into the edge of the fender opening. You can try using a small screwdriver to press in and release them, but it is easier to drill two tiny holes where the dimples are in the ring and insert a screwdriver there. Then use the same screwdriver to pry the rubber ring on the filler neck away from the fuel door housing.
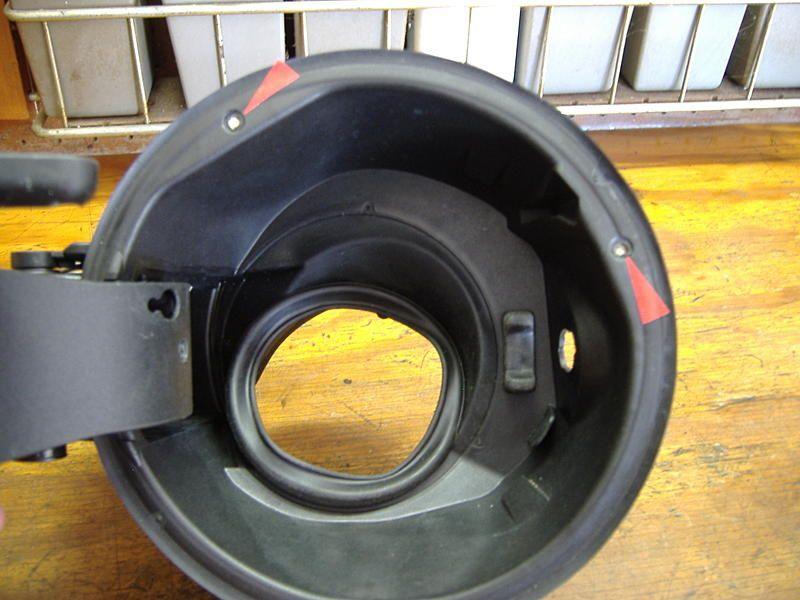
Figure 5. Drilling two small holes where these dimples are makes things much easier. 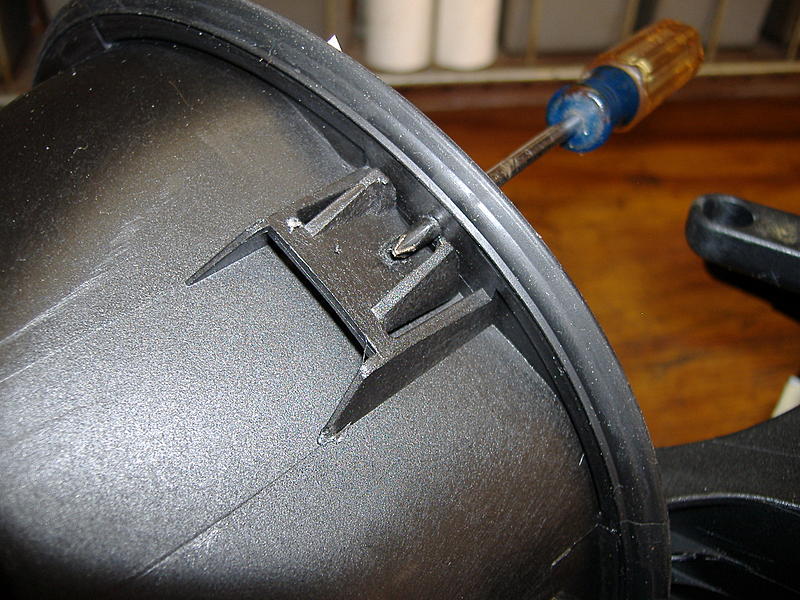
Figure 6. Insert screwdriver and pop the clips free.
Step 4 – Install new filler door assembly
With the old filler door assembly off, installing the new one is fairly easy. First, pull the filler neck partially out of the tank, for more room to work. Press the filler neck into the housing, and work the rubber ring into the corresponding groove. Spraying some WD-40 around the rubber parts will make this much easier. Once the filler neck is in the correct place, make sure the locking latch is still in its place in the fender. Press the filler housing into the fender until the clips click. Push the lock latch back through and check that it still lines up properly.
Tighten up the bolts and clamps on the filler neck and the fuel tank, then replace the inner fender and you are done.
Featured Video: Removing Chrome Gas Cover
Related Discussions and Sites
- Cooper S Gas Cap - NorthAmericanMotoring.com
- Paintable Fuel Door - NorthAmericanMotoring.com
- Mini Cooper Fuel Door - MotoringUnderground.com
- Cooper Gas Door - MotoringUndeground.com


