Mini Cooper 2007-2013: How to Replace Headlight Bulbs
Not only is light bulb replacement necessary maintenance on any car your own, but also very simple to do on your Mini. Check out how simple it really is.
This article applies to the 2nd Gen Mini Cooper (2007-2013).
The standard bulbs on your Mini Cooper are not meant to last forever. They have to be replaced anywhere from one to three years, depending on their usage. With that in mind, it's a good idea to know how to do this yourself as sometimes these lights can burn out before you even notice, resulting in dangerous driving conditions. Fortunately, replacing the bulbs on your Mini is actually very easy to do. Use the following instructions to replace the headlight bulbs on your Mini Cooper.

Materials Needed
- Flathead screwdriver
- Pliers
- Trim Tool
- Replacement bulb(s)
Step 1 – Disconnect the battery
A good rule of thumb when messing with any electrical component is to disconnect the negative battery cable. This will help prevent you from accidentally shocking yourself or damaging the bulbs. Remove the negative battery cable and place it aside.

Step 2 – Access the headlight bulb
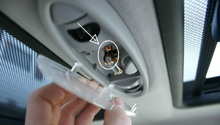
- Locate the tab that covers the headlight, pop it up and remove it.
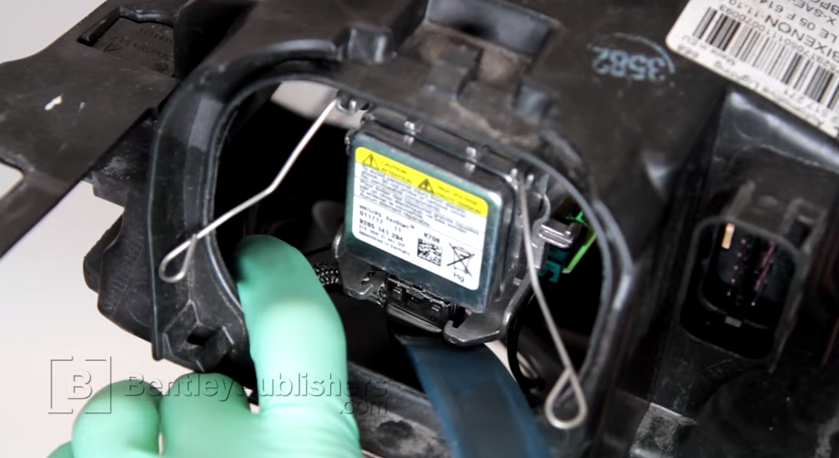
- Take your flathead screwdriver and pop off the headlight retaining clip.
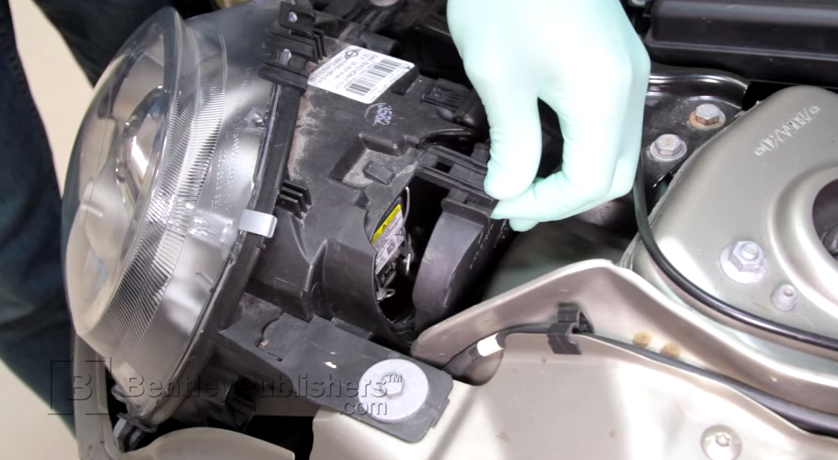
Figure 2. Remove the cover. 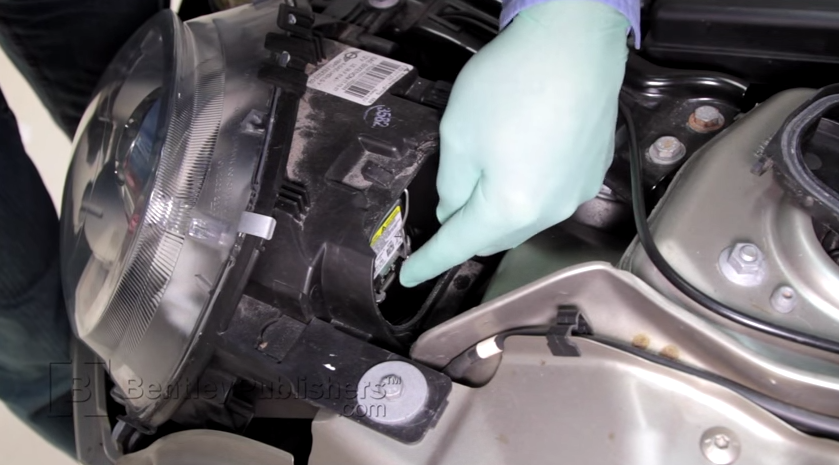
Figure 3. Remove the retainer clip.
Step 3 – Replace the headlight
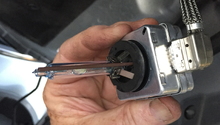
With the clip off, you will be able to spin the headlight bulb. Make sure to twist it counter clockwise until the bulb comes out of the socket, then proceed to disconnect the wire connector. Install the new bulb and twist it clockwise into place.

Step 4 – Connect the wire clip
This part can sometimes take a few minutes to get on. There isn't a lot of space between the housing and socket, so connecting the plug can sometimes be difficult. A quick way to connect is to use the trim tool to grasp the wire connector and slide it onto the bulb. Click it into place and place the retainer clip on, then install the cover.
