Mini Cooper 2007-2013: Why is My Battery Not Charging?
There is nothing more frustrating than your MINI Cooper failing to start every time you try going anywhere. Read on to learn how to diagnose your charging system.
This article applies to the 2nd Gen Mini Cooper (2007-2013).
When your MINI Cooper's battery isn't holding a charge, that doesn't necessary mean the battery is bad. There are a few components that could be faulty, which can cause your battery to not charge or at least not hold a charge. If every time you park somewhere you can't get your car to start back up, then this guide is for you. Before going to the dealership and spending a lot of money just to get your problem checked, try the few steps below to diagnose the issue yourself. A lot of the problems responsible for a battery not charging could be simple and possibly fixed by almost anyone. Read on to learn how to diagnose a 2nd Gen MINI's battery that isn't charging.

Materials Needed
- Wrench
- Water
- Baking soda
- Metal brush
- Voltemeter
Step 1 – Check the battery terminals
They could be corroded.
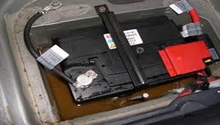
A big reason for batteries to not charge or operate effectively is their terminals. A lot of times the battery terminals get corroded and form a white substance. Although you may think it only looks bad, it also affects your battery tremendously. The corrosion covers the metal parts of your terminals, restricting the current going out of your battery and into it, which causes it to lose charge and not recharge. Visually inspect the terminals, and if you find any corrosion on it, use your wrench to disconnect the terminals from the battery, then use water mixed with baking soda to clean them. Scrub them with the wire brush until the corrosion is completely gone.

If the battery terminals are not corroded, proceed to Step 2.
Step 2 – Check the alternator
It could be faulty.
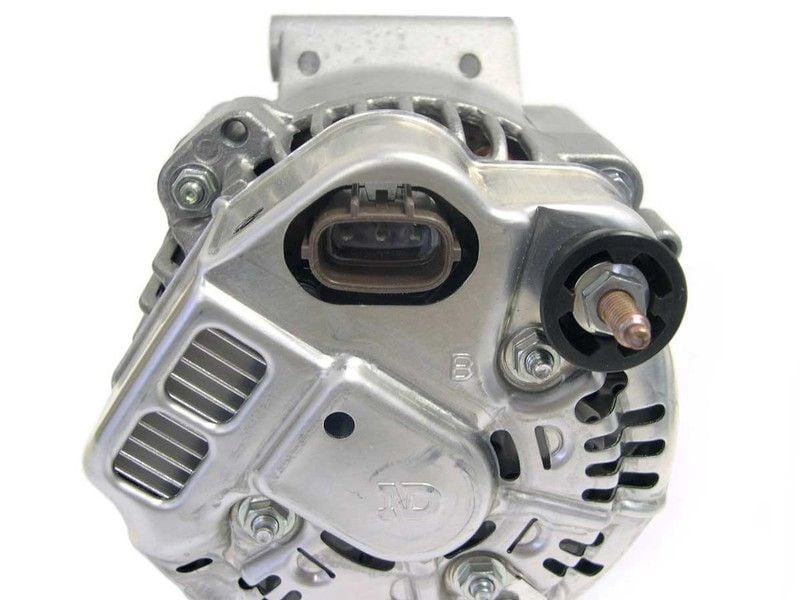
The alternator has an extremely important job: to recharge your battery. So the battery helps start your car, and once your car is on, the alternator takes over and charges the battery every time your engine is on. When the alternator fails, your battery uses all its charge to operate the car, and since it isn't getting recharged, it dies within minutes of driving. The easiest way to check if your alternator is working or not is to start your car (jump start it if you need to), then with the engine running, disconnect the negative battery terminal. If the car stalls and turns off, then your alternator is not working, but if the car continues to run, then your alternator is not the culprit. A bad alternator could also be accompanied by a mild burning smell, along with a slight whine.
If the alternator is properly operating, proceed to Step 3.
Step 3 – Check the battery itself
It could be faulty.
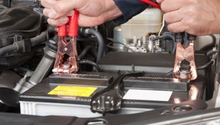
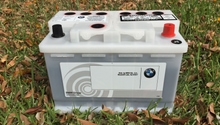
If your alternator is working properly, and your battery terminals are clean, then you know your battery has no excuse. When your battery is faulty, it could get charge and operate; however, it won't hold its charge. First, make sure all your electrical components are off. If you leave a dome light on, it could drain your battery, and the same goes for any other electrical components. Charge your battery at your local auto shop, a lot of them offer this service for free. You can also charge it by using jumper cables and the help of another vehicle, then drive the car for 15 to 30 minutes to recharge the battery. Once the battery is fully charged, use a voltmeter to test its voltage. Simply put the positive probe on the positive battery terminal, the negative probe on the negative battery terminal, and read the voltage on the voltmeter. A healthy battery should read between 12.4 V to 12.7 V. Anything lower than that means your battery needs charging. If your battery appears healthy then reads lower charge a little bit later, you may need a new battery.

Related Discussions
- Avoid battery drain - NorthAmericanMotoring.com
- Battery issues - NorthAmericanMotoring.com
- Battery discharge - NorthAmericanMotoring.com

