Mini Cooper 2014-Present: How to Install Lowering Springs
A set of lowering springs not only gives your Mini a ground hugging look, it can improve its already slot car-like handling as well. Here's how to install them on your ride.
This article applies to the Mini Cooper (2014-Present).
Lowering springs are one of the most popular aftermarket additions on every car, for a number of reasons. They are a reasonably priced modification that eliminate that ugly gap between your tires and fenders, vastly improving the looks of the car. Lowering springs also effectively lower the car's center of gravity, which in turn improves its handling characteristics. These lower springs are also stiffer, which means that the body roll around corners is reduced, as the car remains more flat and predictable, making them a worthwhile change for most anyone interested in improving the looks and handling of their Mini Cooper. Keep reading and we'll walk you through the process of installing lowering springs on your ride.

Materials Needed
- Floor jack and jack stands (or lift if you're fancy)
- Flat head screwdriver
- Spring compressor tool (can rent from auto parts store if needed)
- Metric socket size and ratchet, or wrenches
- Marker (or whiteout)
- Air compressor and wrench (optional, but helpful)
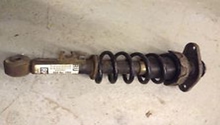
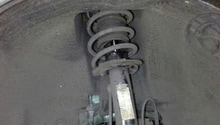
Step 1 – Remove rear coilovers
- Loosen your Mini's wheel lug bolts with a 17mm deep socket and a breaker bar.
- Lift up the rear of the car using a floor jack and place it on jack stands, then remove the rear wheels and tires.
- Remove the rear sway bar links at the sway bar and unbolt the lower shock bolt; for most models this requires a 13 and 17mm socket, respectively.
- If your car is equipped with LED lighting, remove the sensor lever on the passenger side for access.
- Once this is complete, pull and/or push down on the hub until it is low enough so that the coilovers can be removed.
- A pry bar or a friend can be helpful if you have trouble squeezing them out, as there is a good bit of pre-load present in the suspension.
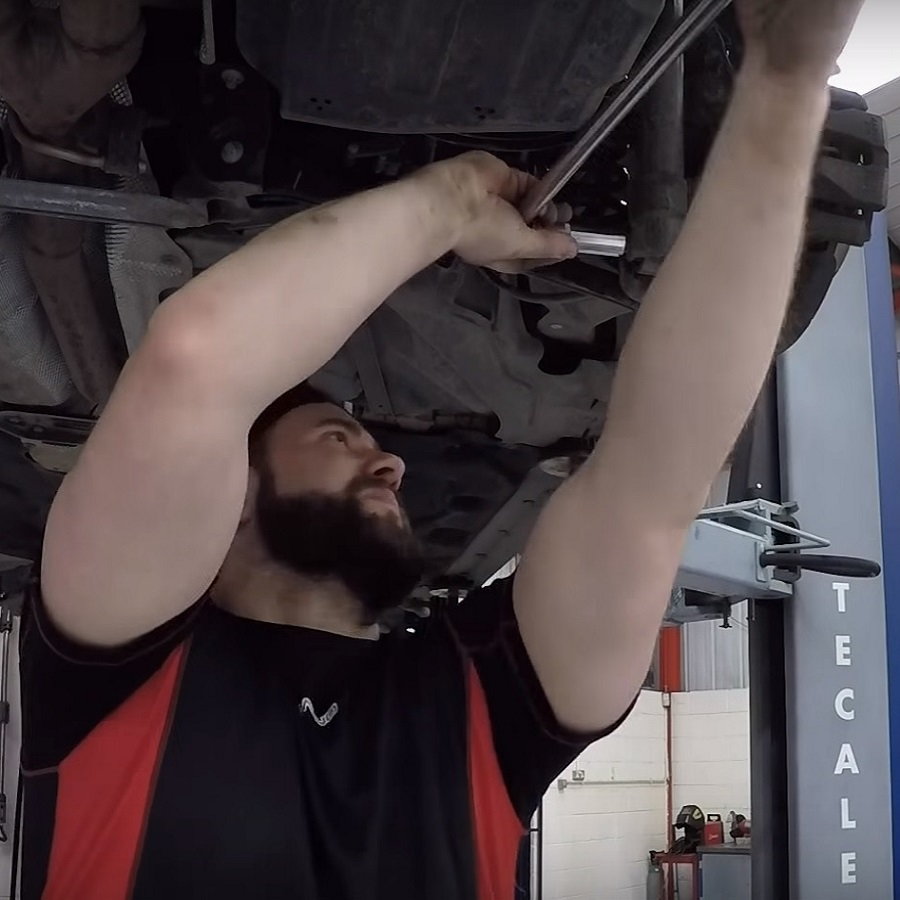
Figure 1. Remove the lower shock bolt. 
Figure 2. Remove the sway bar link bolts. 
Figure 3. Pull down on the hub until you are able to remove the coilovers.
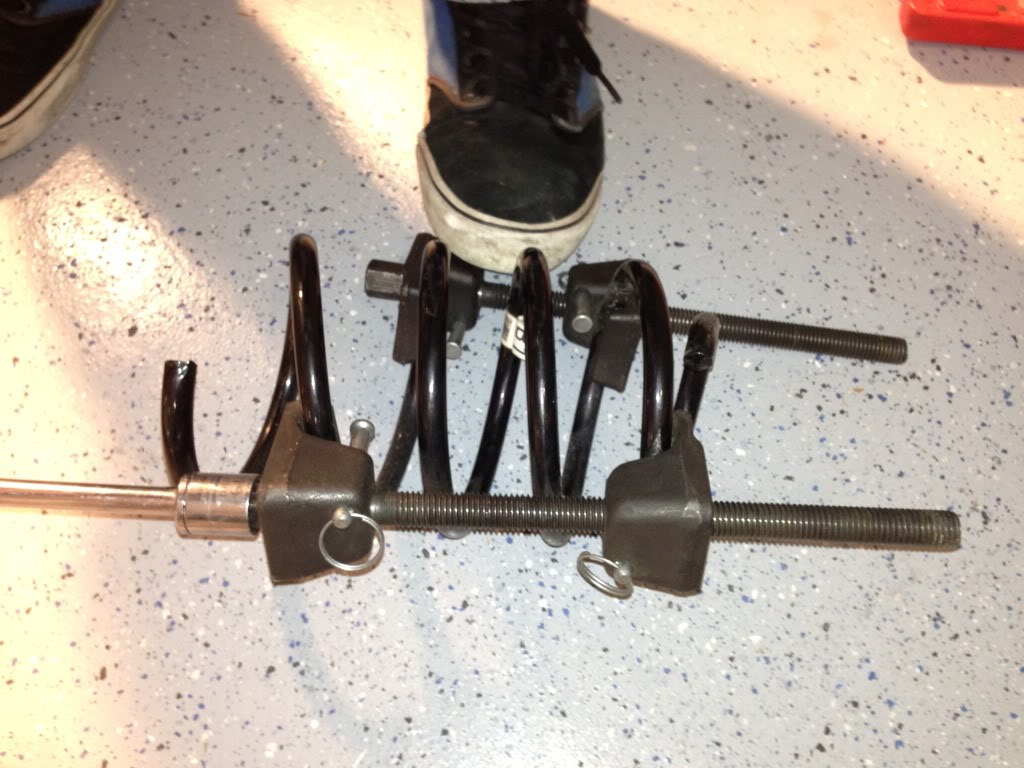
Step 2 – Replace stock rear springs with lowering springs
Use a marker (or some whiteout) to mark the placement of the top hat, rubber seat springs, and lower spring perch so that you can easily line them back up properly upon reassembly. Place the spring compressor tool on the springs and tighten it until it is compressed. Remove the top nut on the coilover (an air gun makes this a lot easier if you have one). Slide the spring off the shock and slowly decompress it with the tool. Place the tool on the lowering spring and compress it, then slide it on the shock. Replace the parts and line them up as marked, then replace and tighten the top nut and decompress the spring. Reinstall the coilover in the car and replace the bolts holding the shock to the knuckle, the sway bar, and refit the upper shock bolts. The rear of the car is not done, so double check that all of your bolts and hardware are tightened, throw the wheels back on the car, and lower the rear of the car back down. Torque lug bolts to 90 ft/lbs.
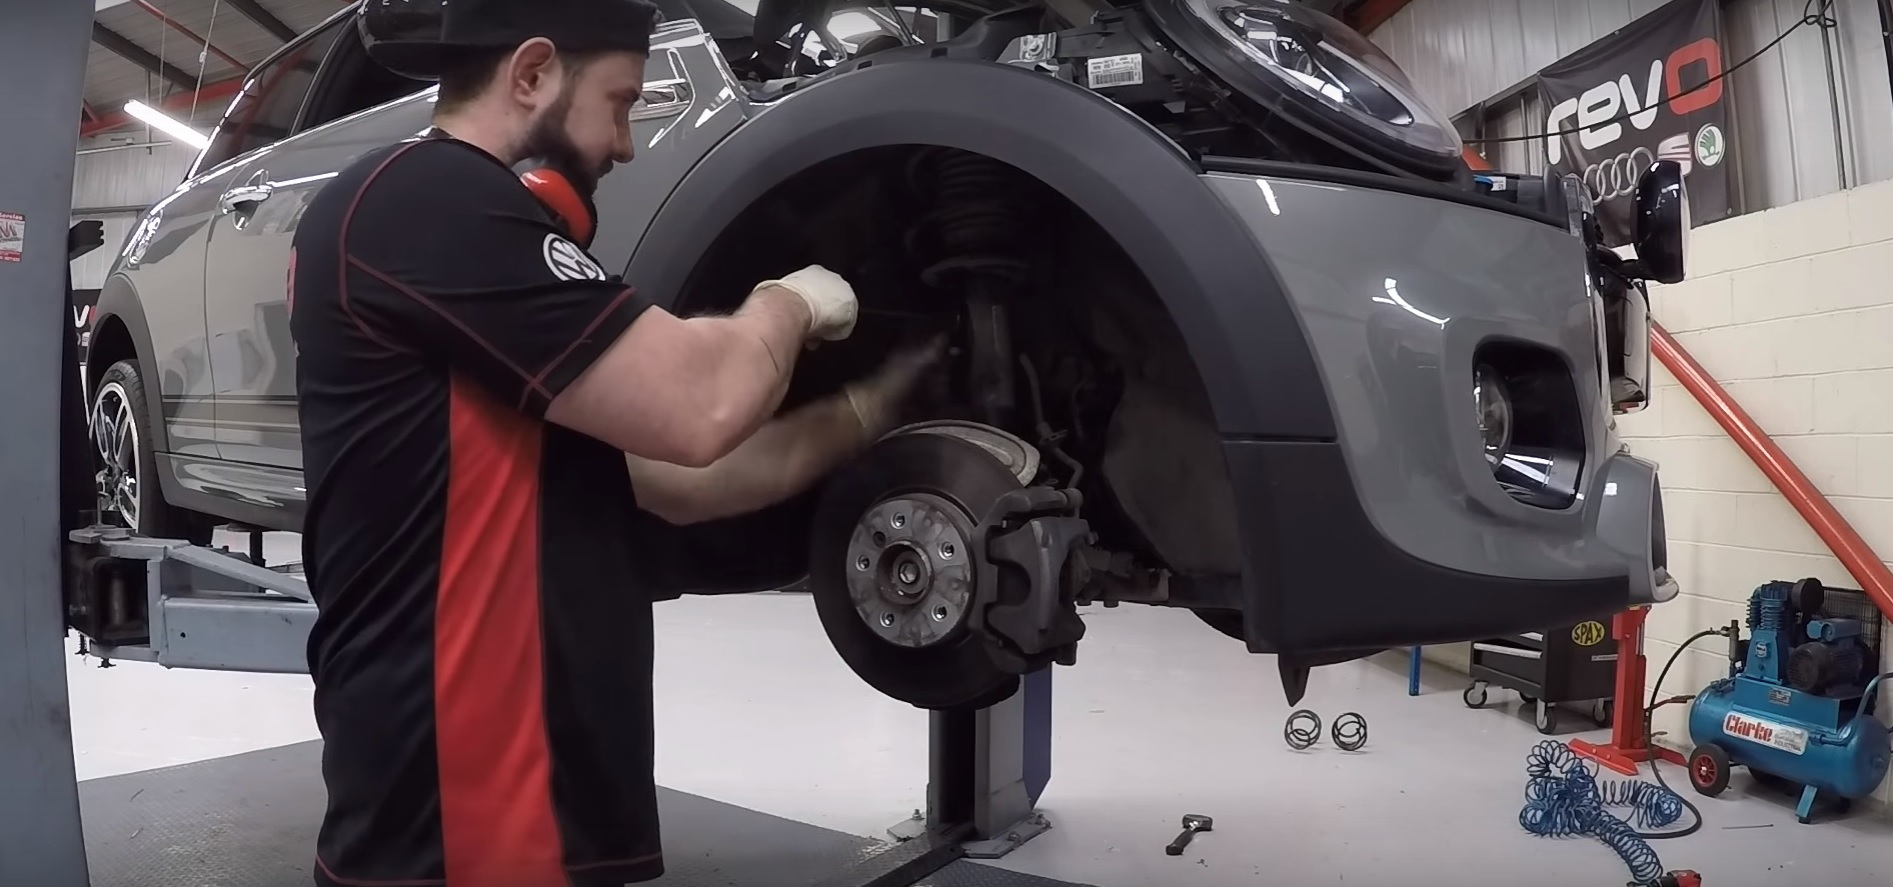
Step 3 – Remove the front coilovers
Lift up the front of the car and place it on jack stands, then remove the front wheels (17mm). Undo the sway bar links at the shock absorbers (17mm) and remove anything connected to the shocks, this is usually just the brake line and brake sensor. Remove the pinch bolt located at the back of the hub (17mm), then use a flat head screwdriver, punch, or spreader tool to spread out the shock hub. Remove the three bolts from the upper shock mount on each side in the engine compartment. Push or pull the hub down low enough so that the coilover will come out, using a pry bar or a friend if necessary.
Step 4 – Replace stock front springs with lowering springs
Use a marker or some whiteout to mark the placement of the top hat, rubber seat springs, and lower spring perch so that you can easily line them back up properly upon reassembly. Place the spring compressor tool on the springs and tighten it until it is compressed. Remove the top nut on the coilover. Slide the spring off the shock and decompress it with the tool. Place the tool on the lowering spring and compress it, then slide it on the shock. Replace the parts and line them up as marked, then replace and tighten the top nut and decompress the spring. Reinstall the coilover in the car and replace the bolts.
Featured Video: Mini F56 Lowering Spring Install
Related Discussions
- F56 Spring/Coilover Install - NorthAmericanMotoring.com
- JCW Pro Suspension Installed - NorthAmericanMotoring.com
- Cravenspeed Springs Installed - NorthAmericanMotoring.com
- Quoted $1200 to Install Lowering Springs and Swaybar - NorthAmericanMotoring.com
- AC Schnitzer Spring Kit - NorthAmericanMotoring.com