Mini Cooper 2014-Present: How to Replace Air Filter
Changing your air filter once every two years is easy maintenance to ensure that your Mini isn't just consuming dust and dirt for lunch.
This article applies to the Mini Cooper F56 (2014-Present).
Your MINI Cooper utilizes a highly efficient, turbocharged engine designed for both excellent acceleration figures and excellent fuel economy. However, common maintenance items that are left unaddressed can begin to spoil that performance. Your air filter is one of those things. It does an excellent job of preventing contaminants like dirt, dust, leaves and other miscellaneous things from entering your engine and causing damage. That means that over time, the filter becomes permanently covered or saturated with dirt, reducing its ability to filter incoming air. Fortunately for us, replacement filters are cheap, and accessing your MINI's filter is a piece of cake.

Materials Needed
- Torx drivers
- Ratcheting wrench
- Flat head screwdriver
Step 1 – Locate your MINI's air box
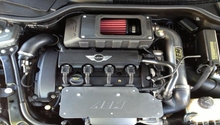
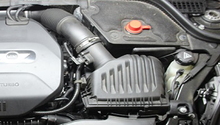
Pop the hood of your MINI to find the air box that contains the air filter. The air box is situated just next to the engine, on the driver's side.
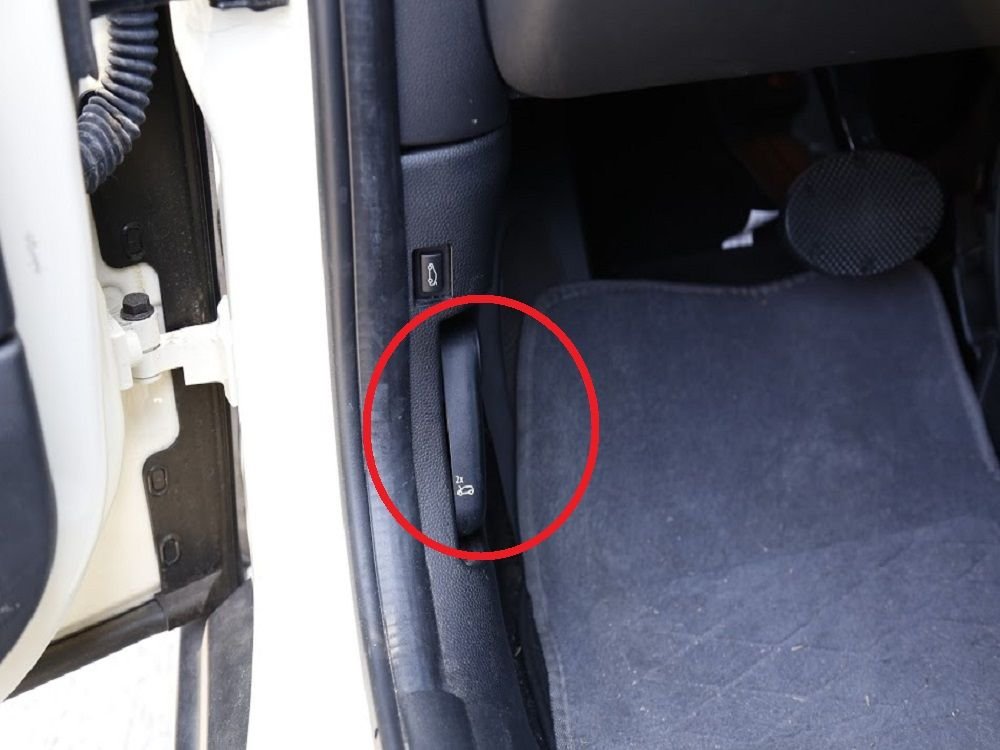
Figure 1. Hood release. 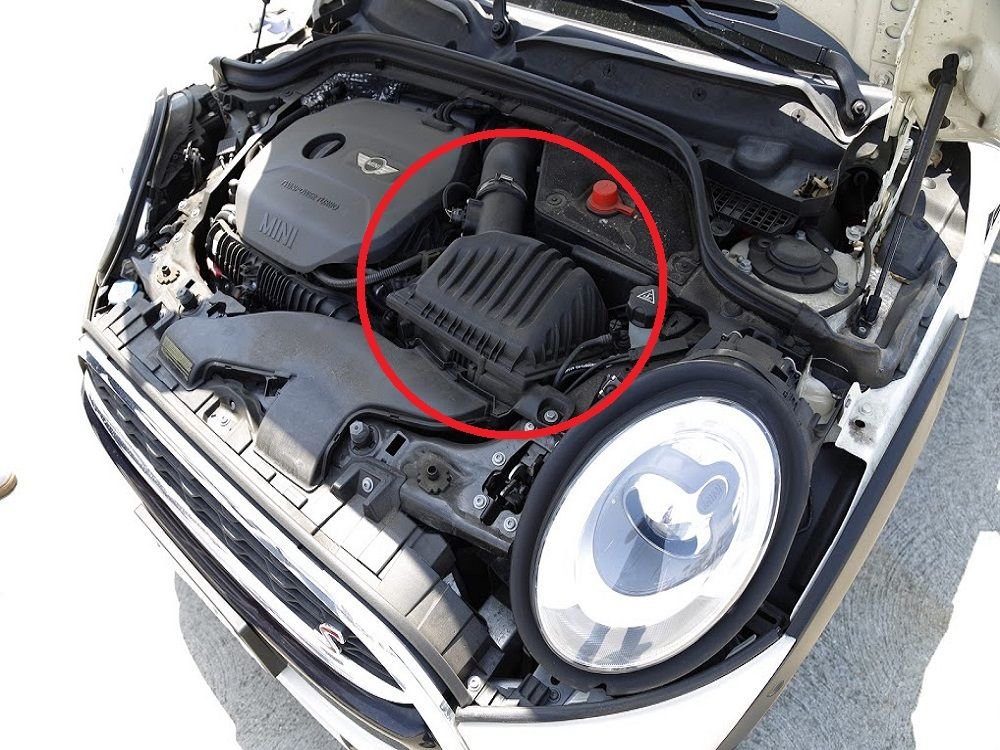
Figure 2. MINI Cooper-S air box assembly.
Step 2 – Remove the air box lid
In order to access the filter in the air box, we need to remove the upper component, often called the "lid." Begin by using your flat head screwdriver and loosening the hose clamp securing the intake tube to the air box. From there, use your T25 Torx driver, or T25 bit with a ratchet, and remove the Torx bolts securing the lid to the rest of the air box.
The top of the air box should now be free to be removed, but take special care to not damage the Mass Air Flow sensor (MAF) in the intake system. Be gentle removing the lid and don't stretch those wires! You can opt to remove the MAF completely with your Torx bit if that makes you feel better about it.
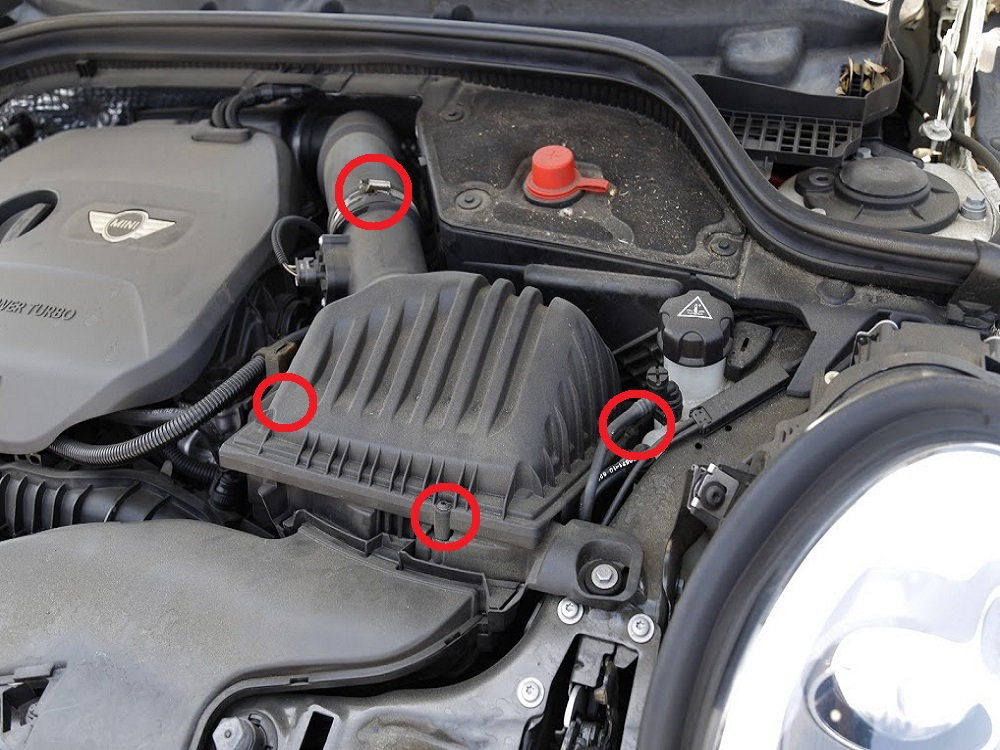
Figure 3. Remove the upper lid from the air box assembly. 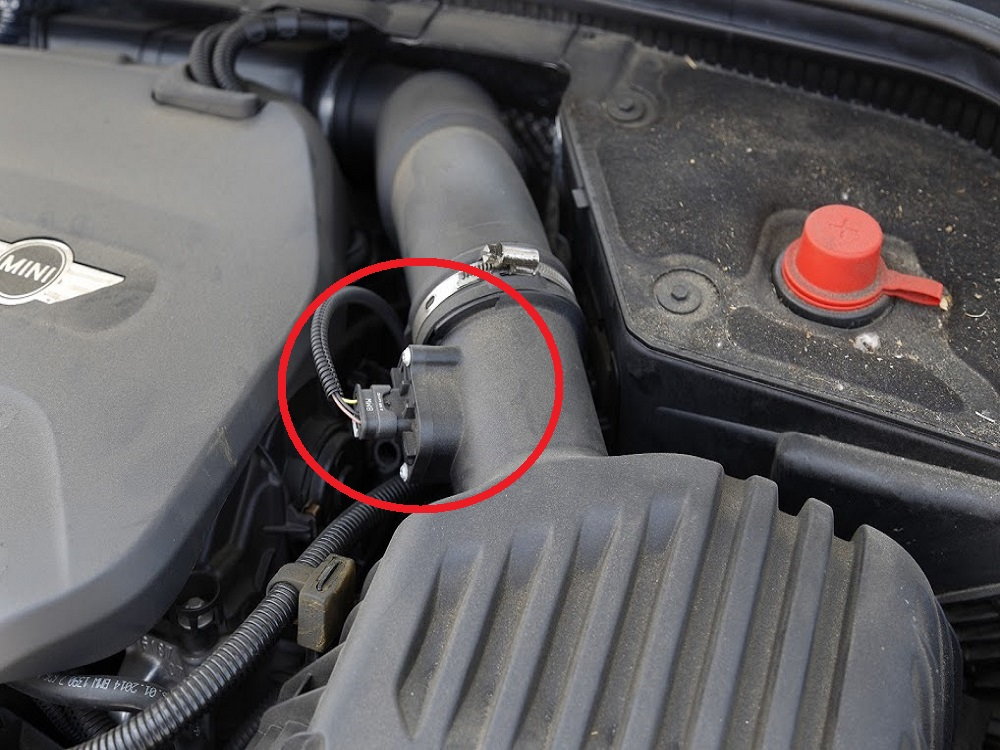
Figure 4. Be careful not to damage the MAF or stretch the wires.
Step 3 – Remove and replace air filter
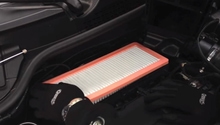
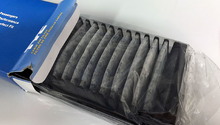
With the air box opened up, your filter is exposed. It should just pull right out. Replace it with the new filter. From there, all that remains is reassembly:
- Fasten the air box lid in place with the Torx screws and worm clamp.
- Reinstall the MAF if you removed it.
Now that the car is buttoned back up, start the car and ensure that everything is working fine and you didn't damage the MAF or anything else.
Related Discussions
- Air Filter Kits - NorthAmericanMotoring.com
- K&N Filters - NorthAmericanMotoring.com
- Air Filter Service - NorthAmericanMotoring.com
- F56 Mini Intake Filter - NorthAmericanMotoring.com

