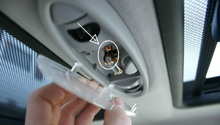
Mini Cooper 2014-Present: How to Replace Your Headlight Bulbs
Save yourself some hard earned money by replacing the headlight bulbs yourself with this handy guide.
This article applies to the Mini Cooper (2014-present).
A burnt out headlight bulb is bad news for your ability to see hazards in the road at night, plus it gives the local constabulary a reason to pull you over and write a ticket. Even worse, taking your car to the dealership for a headlight bulb replacement is a pricey endeavor for such a cheap and easily obtainable part. The good news is, changing out a burnt out headlight bulb in your Mini Cooper is a very easy job that you can do yourself in a short amount of time with no tools (other than your hands). Keep reading and we'll walk you through the process.

Materials Needed
- New H7 headlight bulb(s)
- Gloves
Step 1 – Remove old headlight bulb
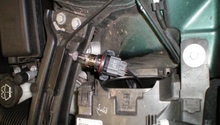
Pop the hood and look on the backside of the headlight of which you need to change the bulb. There are two rubber covers on the backside of the headlights that are held in place by tabs. Depress the tab, pull the rubber cover off and you will see a connector attached to the back of the bulb. Squeeze the connector and pull it straight off.
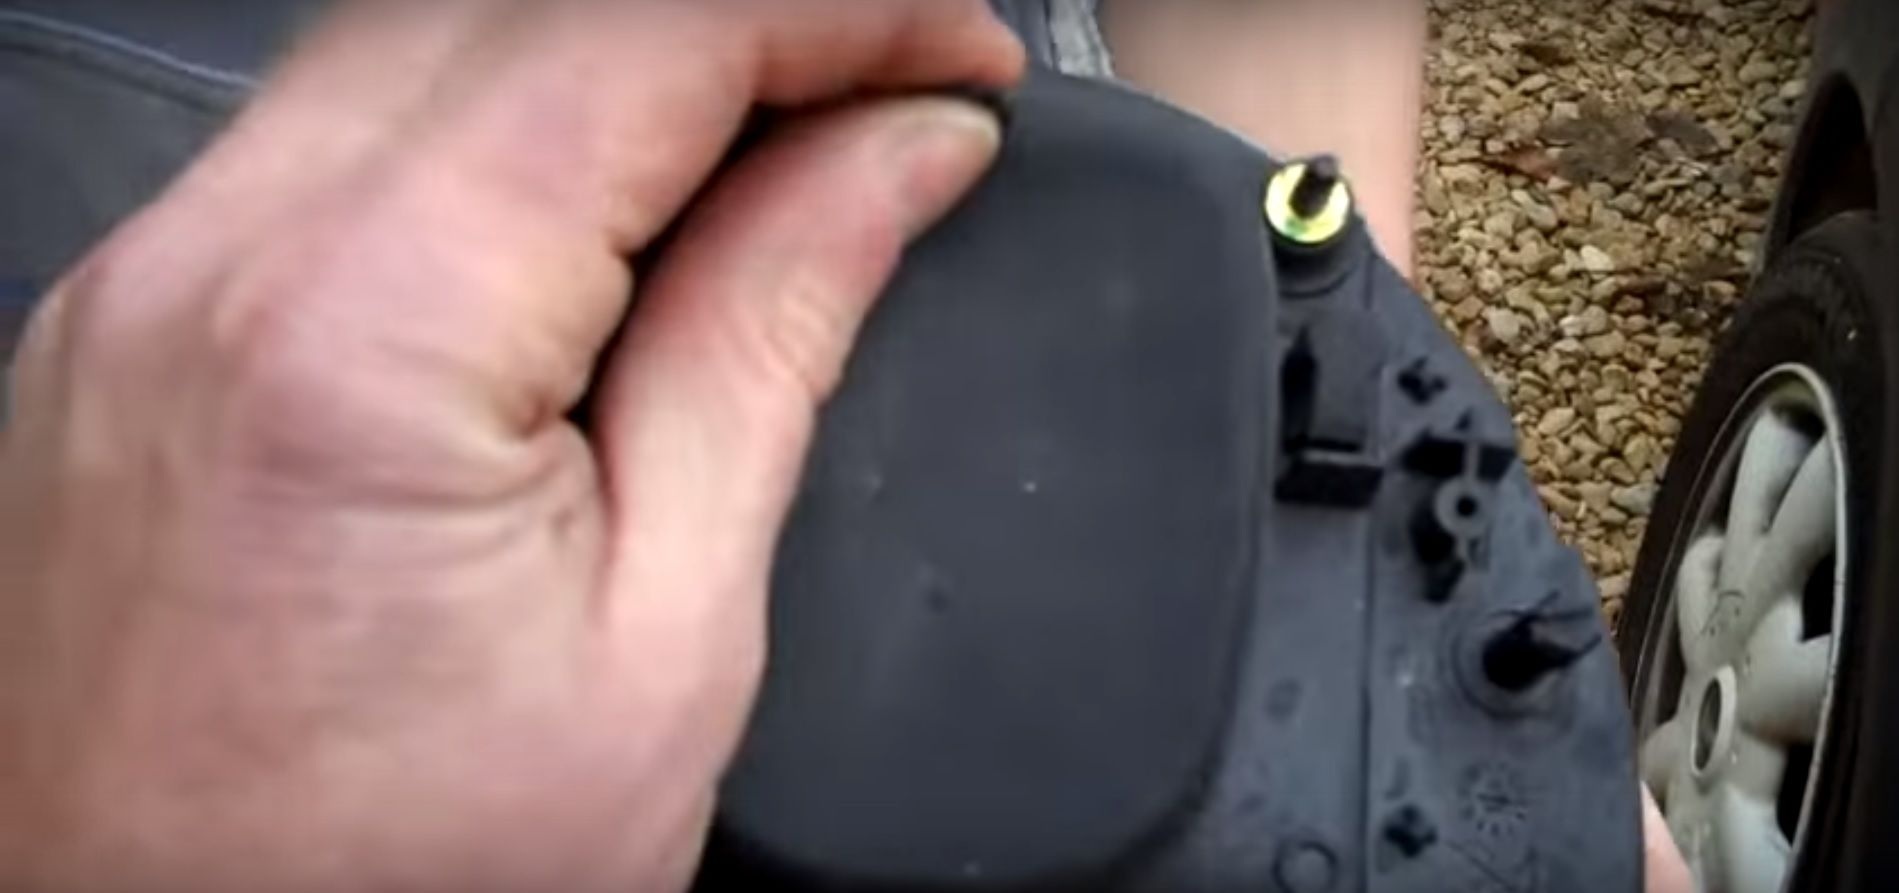
Figure 1. Remove the plastic cover on the back of the headlight by depressing the tab. 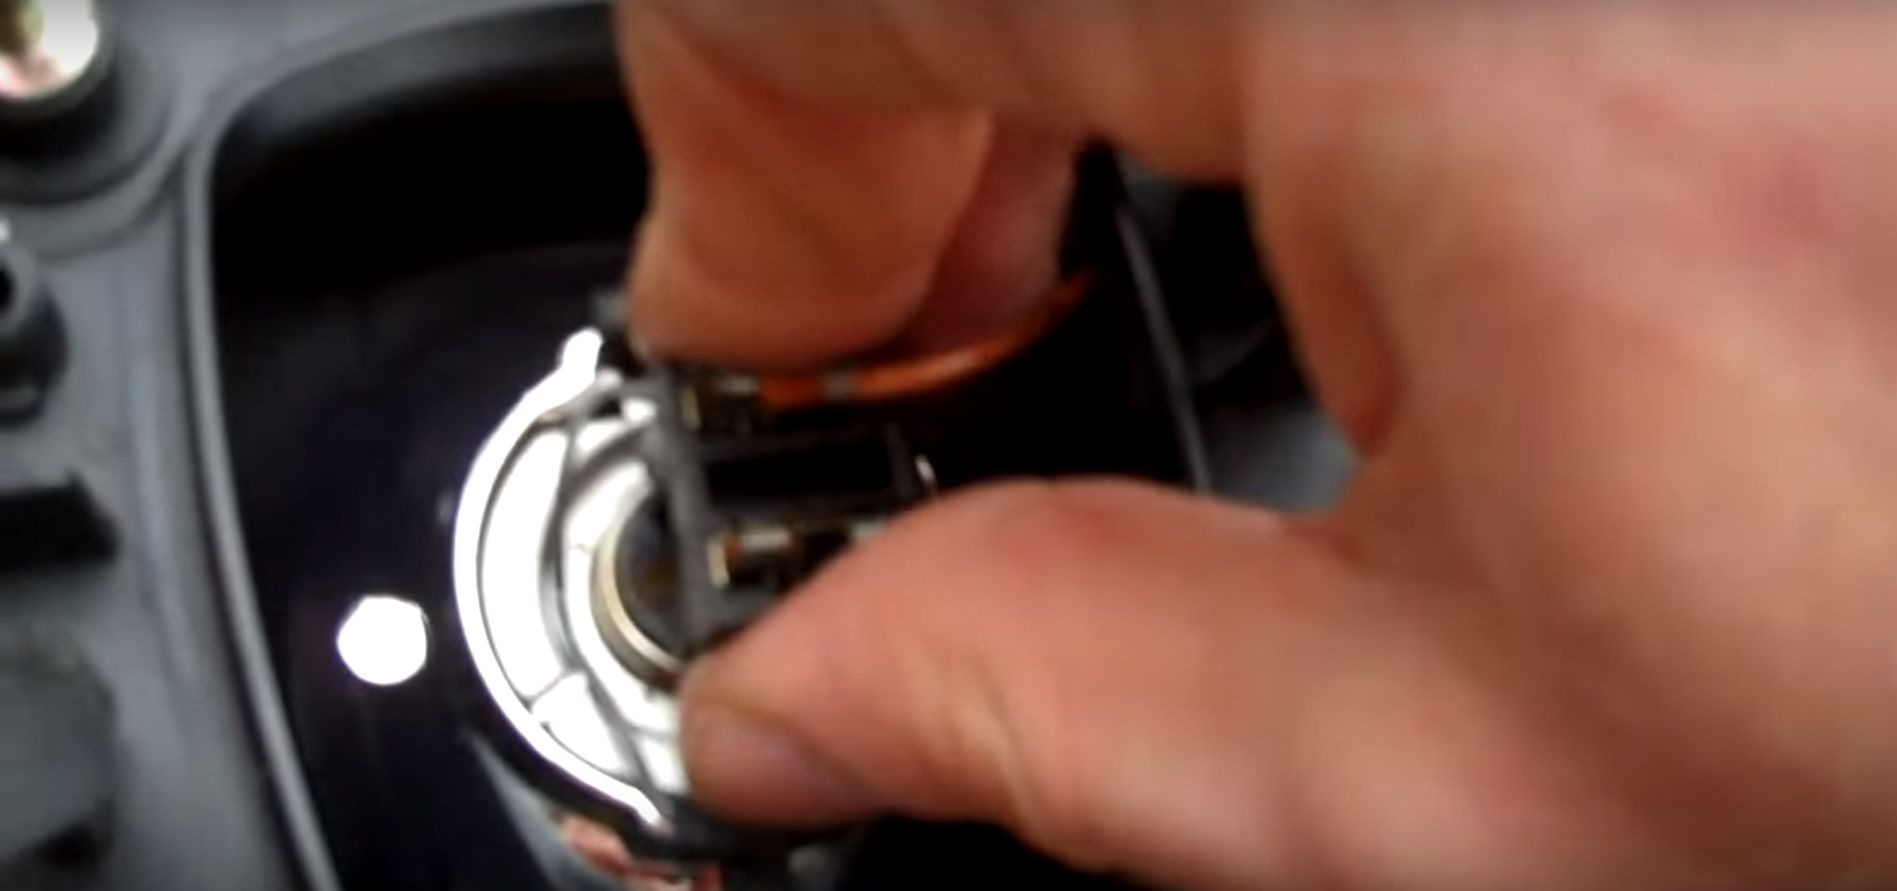
Figure 2. Squeeze the clamp and pull it straight off.
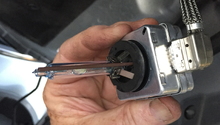
Push the spring clip to the side to release it, then flip the clamp down. Grab the back of the bulb and pull it straight out. If you need to change the bulb on the bottom, the steps are exactly the same. Remove the circular plastic cover on the bottom, squeeze and remove the connector, pull the spring clip off, and remove the bulb. Repeat on the other side of the car if necessary.
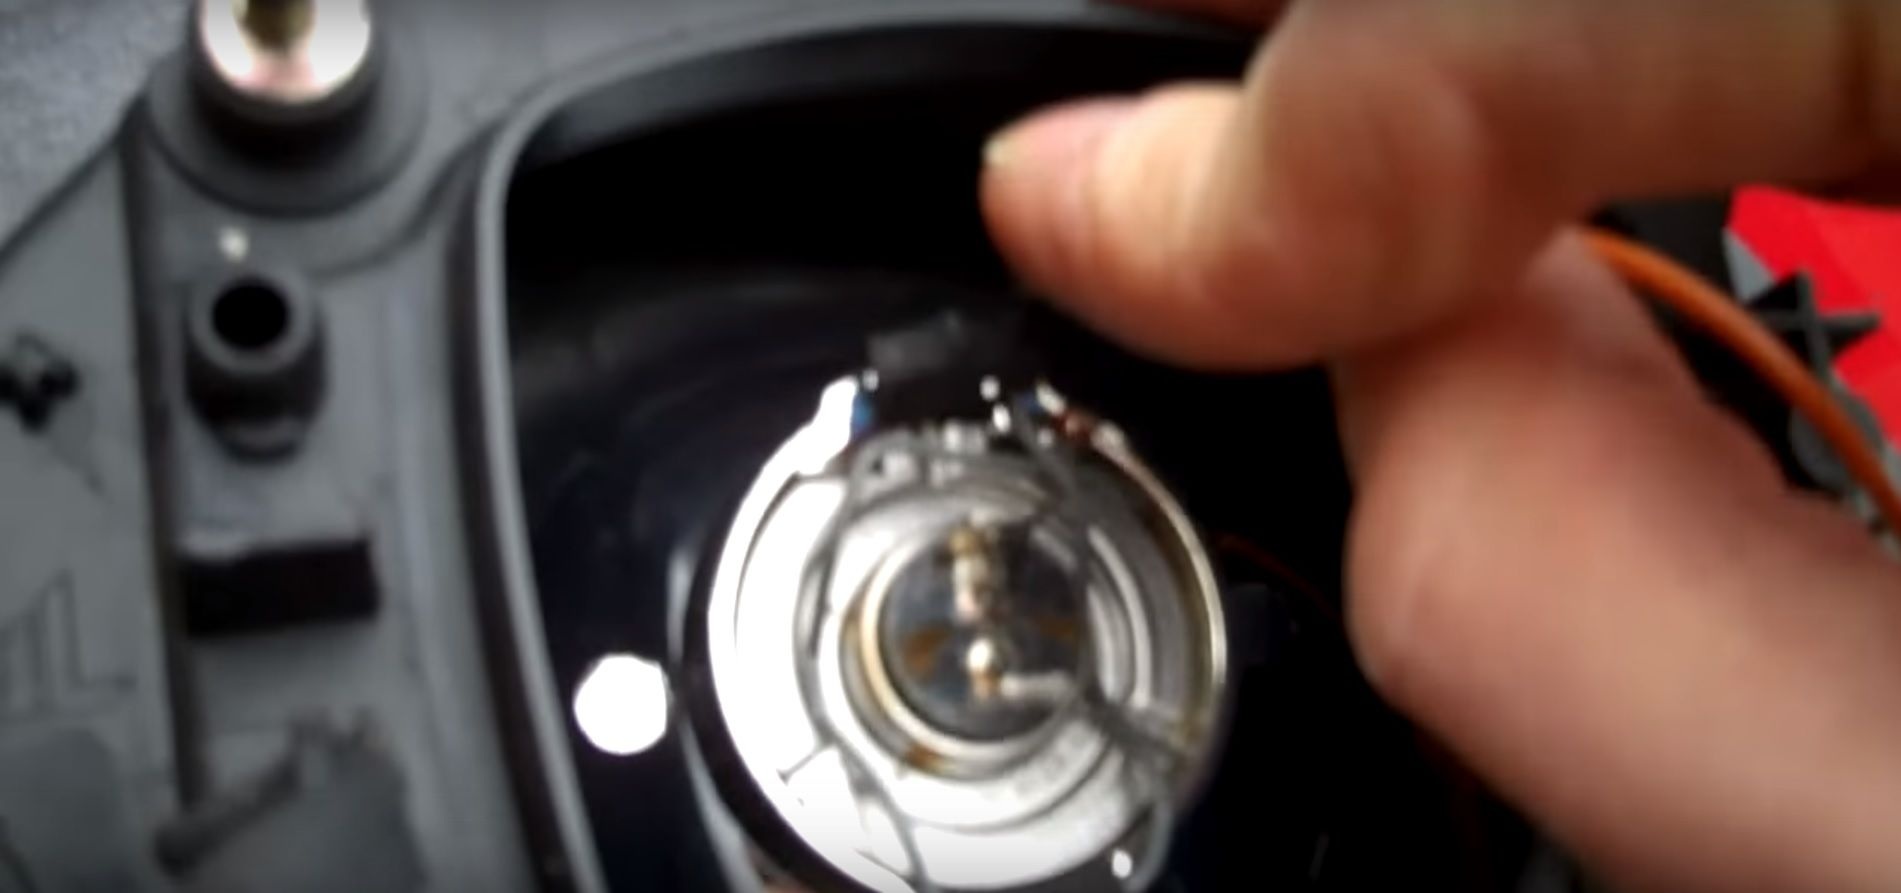
Figure 3. Push the top piece of the clamp to the right to release it. 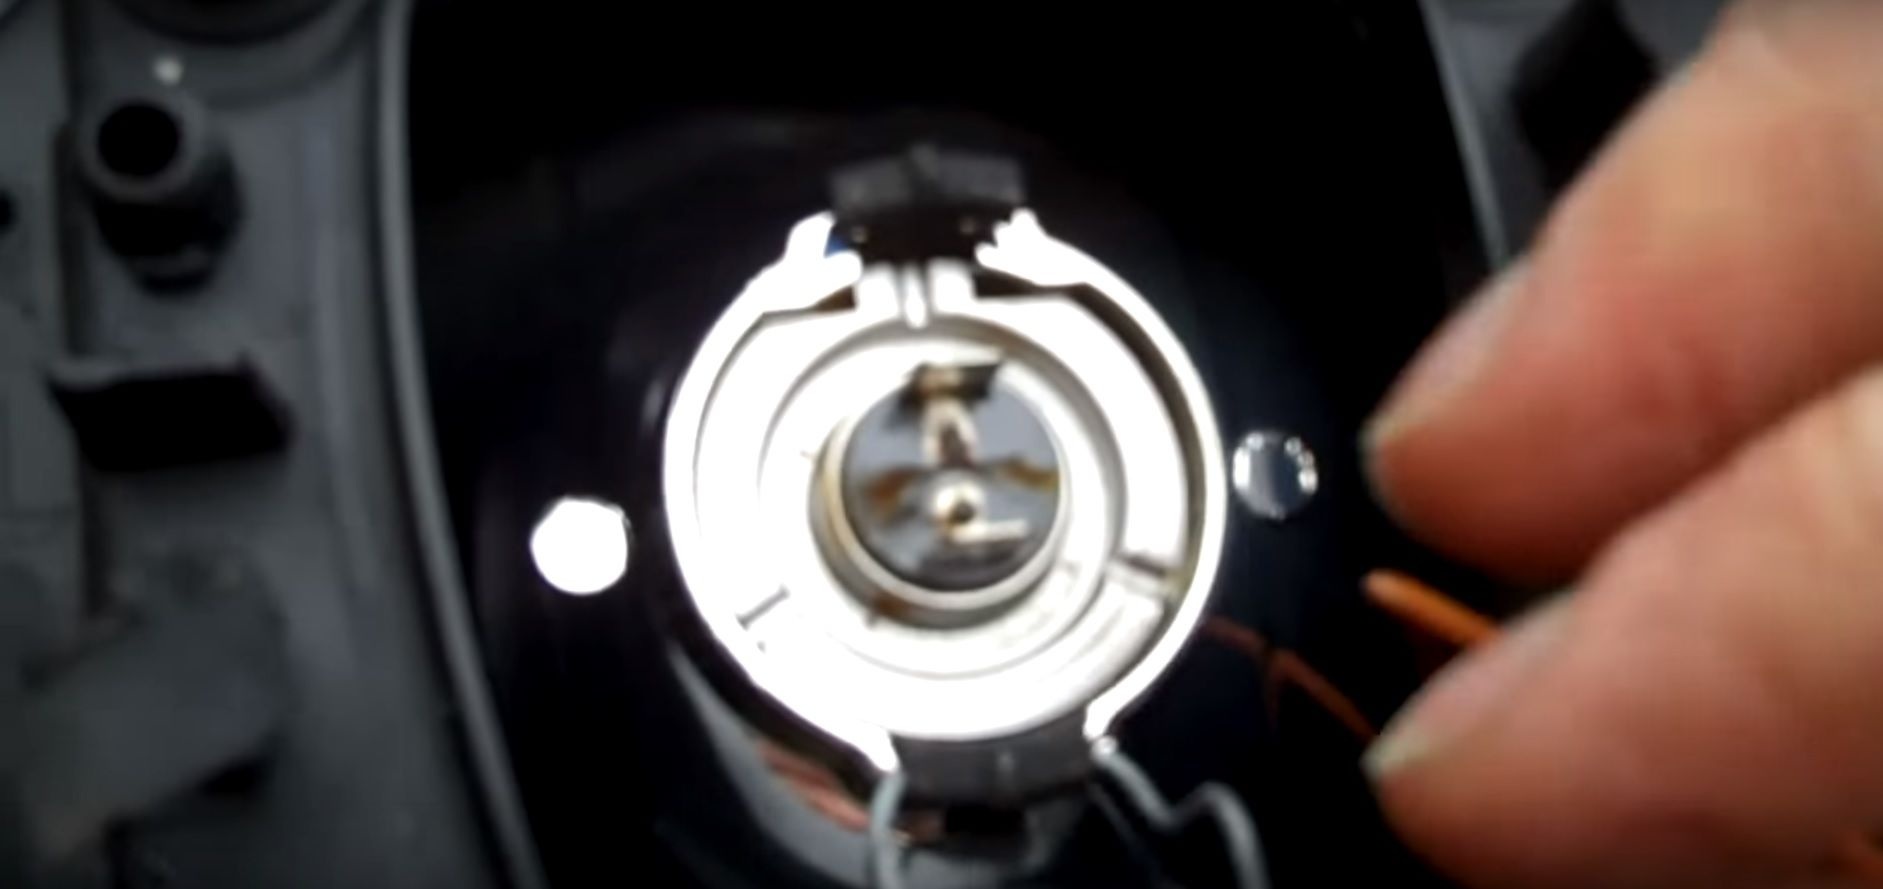
Figure 4. Flip the clamp down and pull the bulb out.
Step 2 – Install new headlight bulb
Wearing gloves, insert the new headlight bulb. Swing the clip back up and push it down and to the left to hook it back in place. Push the connector into the back of the headlight bulb until it clicks into place. Replace the plastic cover and push it down until the tab locks back into place. If you are also changing the bottom bulb, the steps are exactly the same. Replace the bulb, swing the clip back up and lock it into place, reinstall the connector, and replace the circular plastic cover. Repeat the steps on the other side of the car if desired.
Pro Tip
Wearing gloves when handling the new bulb prevents oil residue from getting onto it, which will cause it to prematurely burn out.
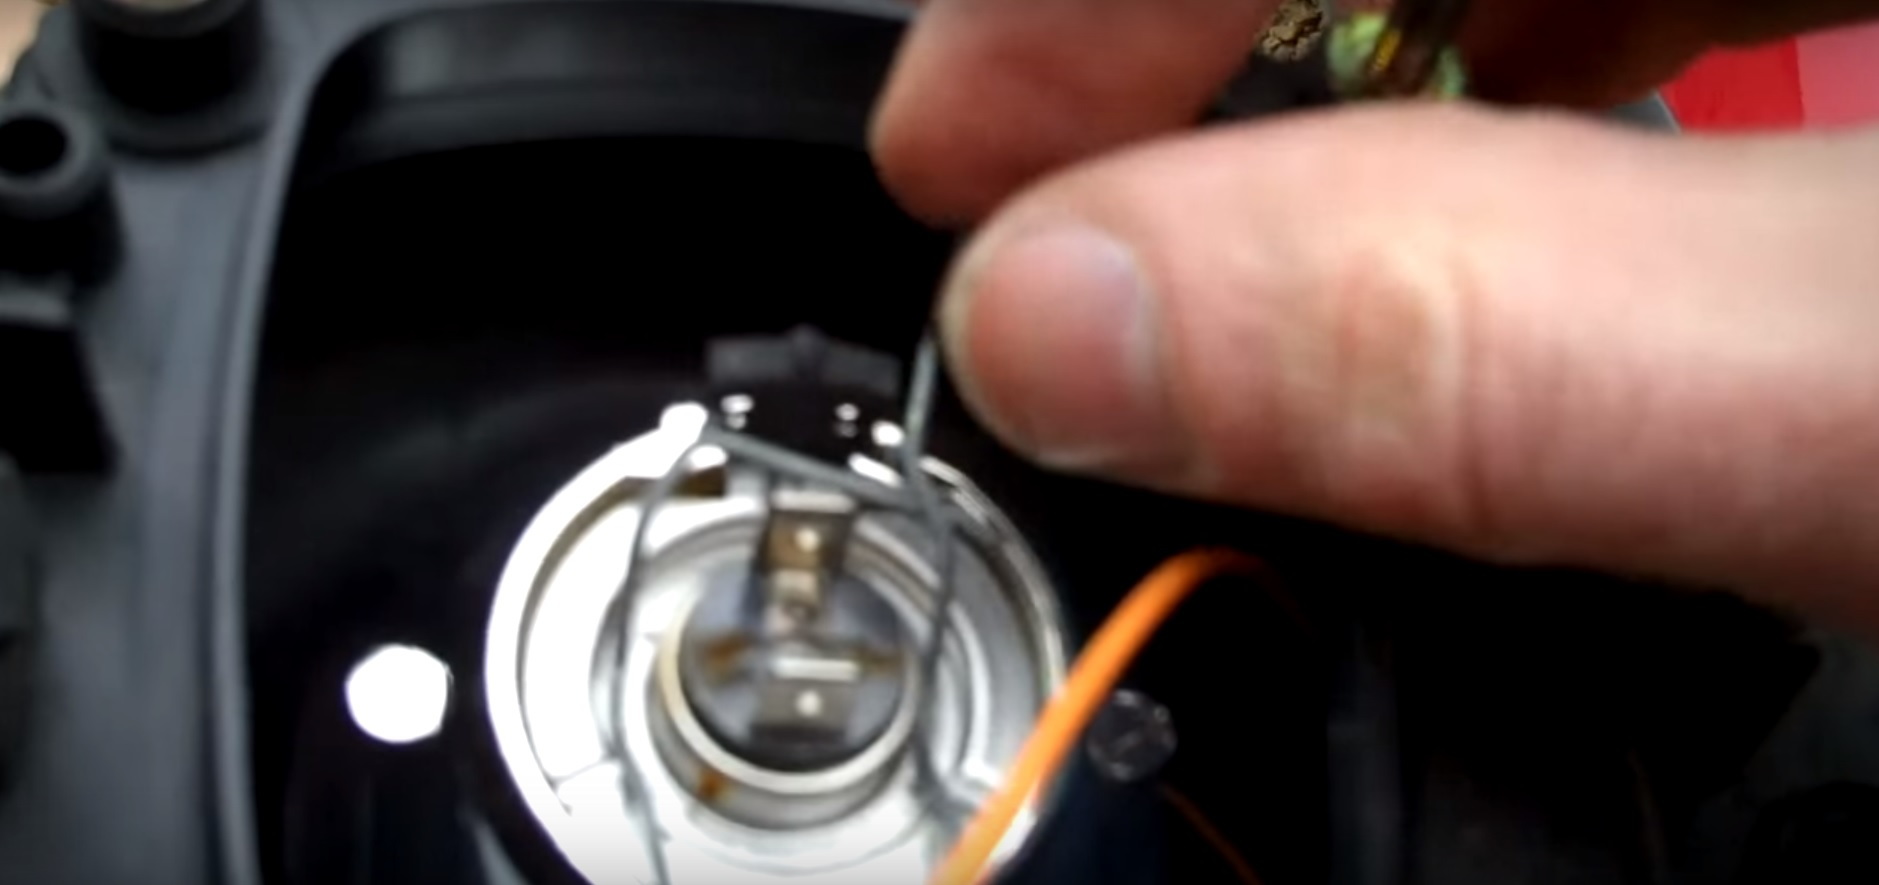
Figure 5. Insert the new headlight bulb and flip the metal clip up, then hook it down and to the left. 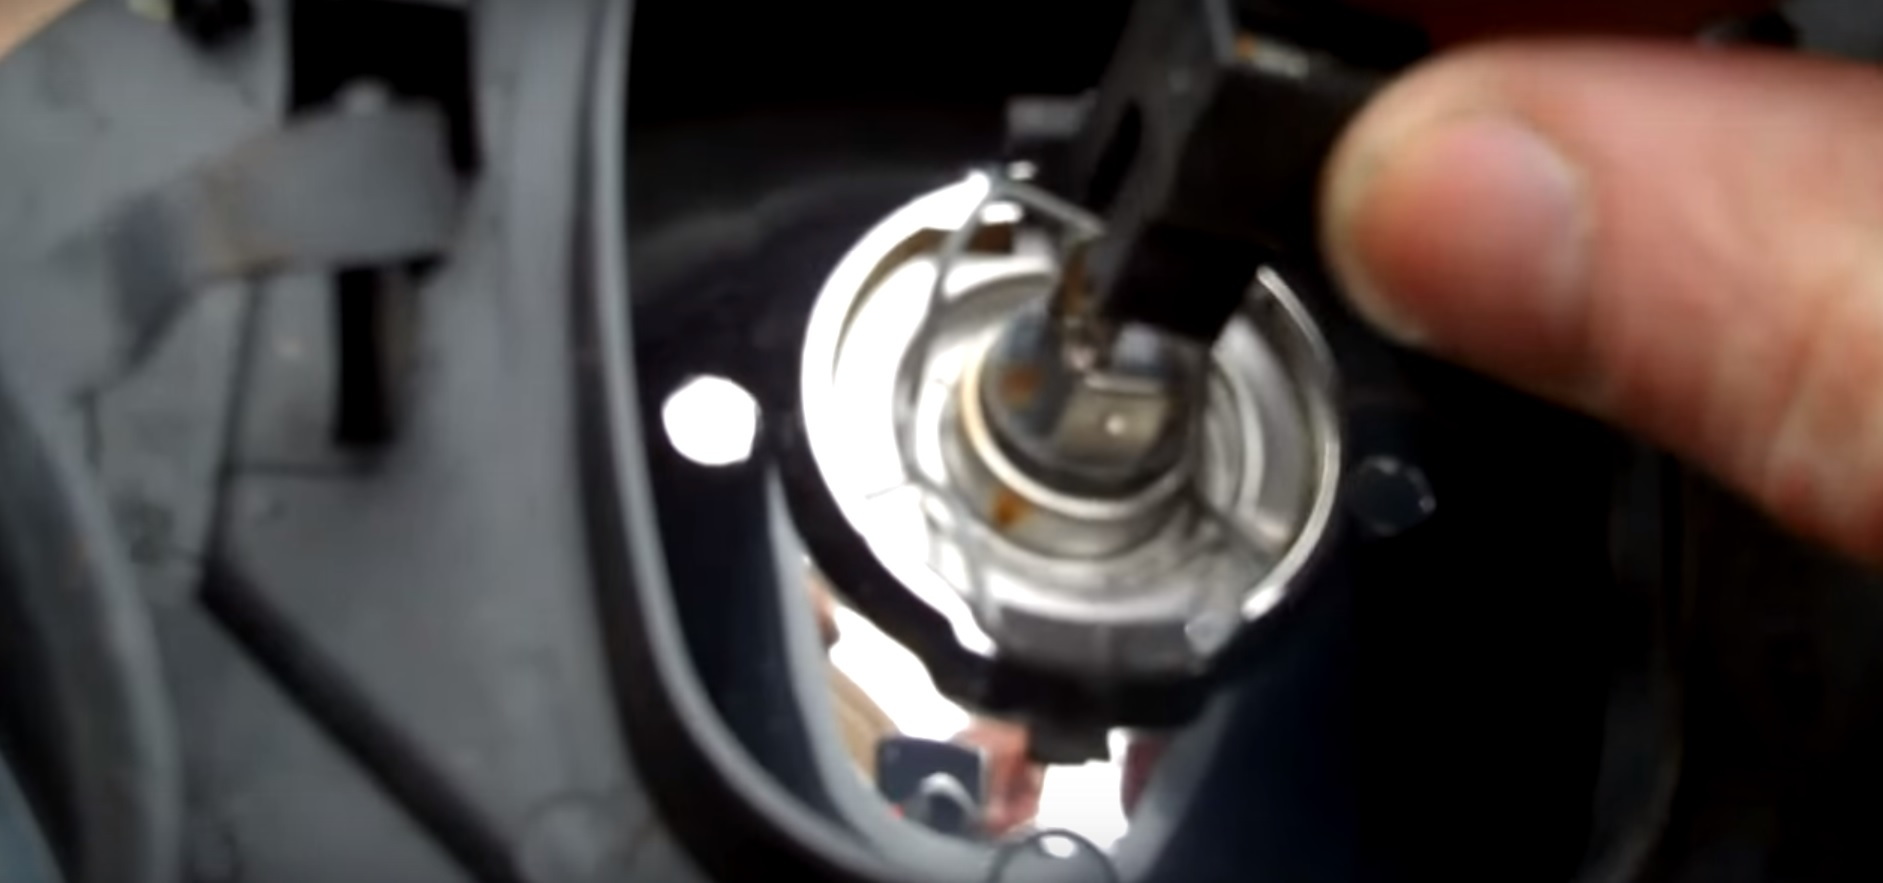
Figure 6. Push the connector into the back of the new headlight bulb and replace the cover.
Related Discussion and Video
- Headlight and taillight trim rings replacement - NorthAmericanMotoring.com
- How to change headlight bulbs in your Mini Cooper - YouTube.com

