Mini Cooper: Why Don't My Power Windows Work?
Non-working power windows are a major inconvenience. Learn how to diagnose the issue below for the Mini Cooper.
This article applies to the Mini Cooper (2001-present).
Trying to open or close your power windows but getting no response is an annoying problem. Whether your air conditioner works or not, having the freedom to breathe fresh air when you want to should be something every driver has. The problem could either be very simple or a difficult repair. An auto shop or the dealership could charge you a lot of money, so it's best you diagnose the issue yourself and maybe even repair it. This guide will help you diagnose this issue in the Mini Cooper, so read on to get to the bottom of it.

Materials Needed
- Flathead screwdriver
- Torx bit
- Multi-meter
Step 1 – Check the fuse
It could be blown.
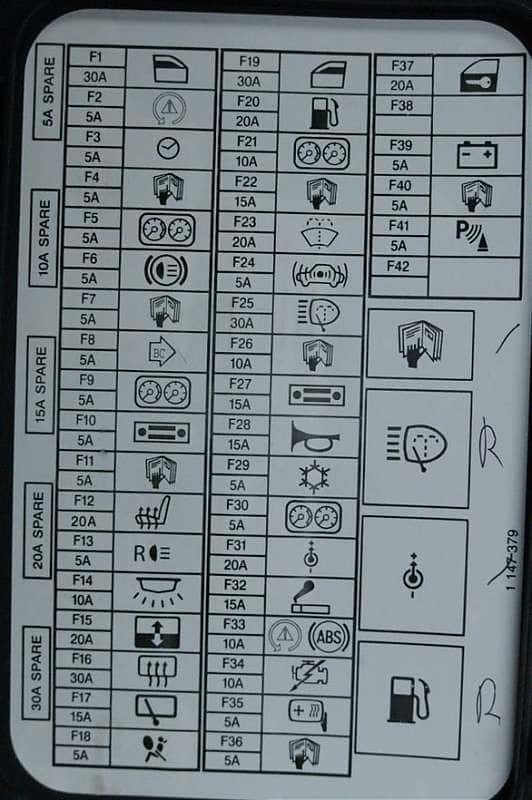
The fuse is the first suspect for this issue. Whenever there is more voltage flowing through the wires than needed, the fuse blows, which is a safety precaution so you don't have an electrical overheat. If the fuse is blown, then you are facing an easy and cheap fix. The power window fuse is located in the interior fuse box, which is located in the driver's footwell. Remove the door panel cover, then flip it over; on the back of it you'll see a diagram that will guide you right to your desired fuse. Remove the fuse and inspect it; if the metal bar inside of it is broken, then you have a blown fuse.
If the fuse isn't blown, then proceed to Step 2.
Step 2 – Check the motor's wiring
It could be disconnected, cracked, or worn.
The wiring going to your power window motor could be disconnected or worn, which can cause the voltage to not go through, thus not opening or closing the window. To reach the electric power window motor, you have to remove the door panel. First, pop off the trim piece around the door handle, then remove the small trim piece by the edge of the door panel, which covers the Torx screw holding the door panel in place. Remove the Torx screw. If your car was built after 2004, remove the trim piece by the door handle that you close the door from, then remove the Torx screw under it. Remove the door panel and inspect the wires connecting to the power window motor.
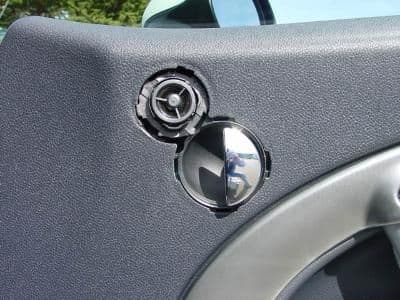
Figure 2. Remove door handle trim. 
Figure 3. Remove Torx screw. 
Figure 4. Check motor's wires.
If the wires are in good shape, proceed to Step 3.
Step 3 – Check the window regulator
It could be stuck.
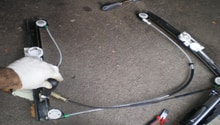
If the issue is from your window regulator, then you should hear the power window motor trying to move the window, but nothing happens. The regulator contains the rails that help the window move up and down, and if it collects a lot of grime without enough lubricant, then it may get stuck. Check to see if there is any rust or grime on it, and put some lubricant on the arms where the parts move. Make sure the regulator's cables are in good shape and connected properly.
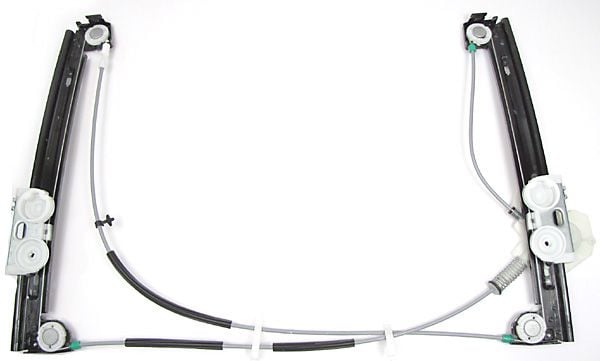
If the regulator is oiled up and is working properly, proceed to Step 4.
Step 4 – Check the power window motor
It could be faulty.
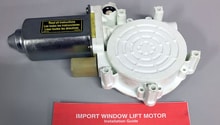
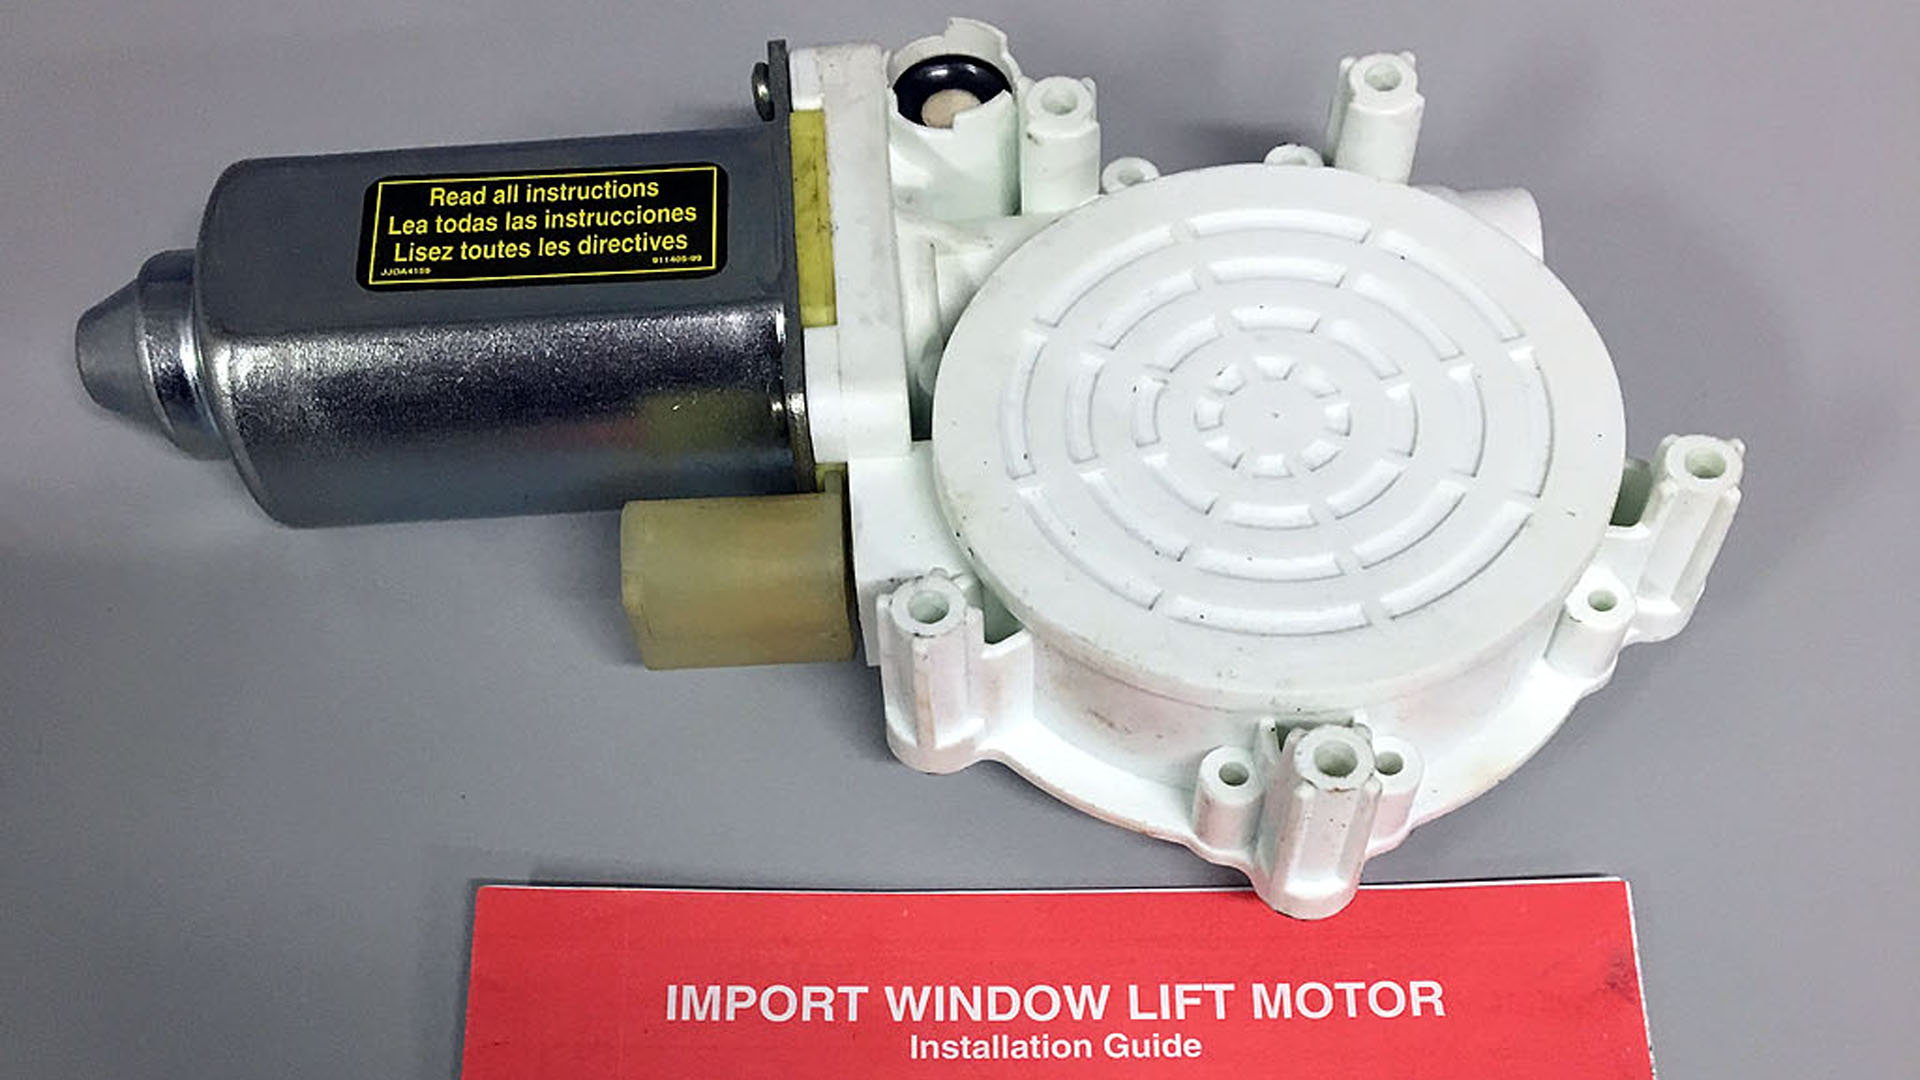
The power window motor is the machine that makes your window move when you press a button. The most effective way to check an electric power window motor is to use a multi-meter to see if there is any current around the motor. Use the multi-meter and connect touch the positive probe with the wire going into the motor, then touch the negative probe with the wire going out of the motor. If you are getting 12V reading, that means your motor is defective. If your motor is getting the proper voltage, it should be working properly, and if it is indeed getting the proper voltage but the window isn't moving, then it's time for a new motor.
Related Discussions
- Power Window Failure - NorthAmericanMotoring.com
- Power Window Issues - NorthAmericanMotoring.com
- Driver Side Window - NorthAmericanMotoring.com

